Phone:
(701)814-6992
Physical address:
6296 Donnelly Plaza
Ratkeville, Bahamas.

Phone:
(701)814-6992
Physical address:
6296 Donnelly Plaza
Ratkeville, Bahamas.
Seal attic gaps first to prevent drafts, but discover the crucial step most homeowners miss before insulating.
You’ll want to air-seal your attic before adding new insulation to stop drafts and boost your home’s comfort. Start by inspecting for dirty insulation or frosty spots, then seal major gaps with low-expansion foam and small cracks with caulk. Be careful around hot flues and always test for backdrafting safety. It’s a bit of detective work, but doing it right means your new insulation will actually work. Your next steps for a warmer home are just ahead.
Table of Contents
Before you just pile on more insulation, it’s important to know that if your attic has air leaks, you’re basically trying to heat the outdoors. That’s because fluffy attic insulation isn’t an air barrier. Drafts sneak right through it, wasting your money.
Before adding more attic insulation, know that drafts easily pass through it. Air sealing is essential to stop wasting money heating the outdoors.
Proper attic air sealing stops this convective heat loss cold. You’ll tackle spots like top plates and your attic hatch first.
This step is so vital that experts recommend doing it before adding any new batts or blow-in. Otherwise, you’re just burying the problem.
Air leaks cause drafty rooms, high bills, and even ice dams. Sealing creates a true thermal seal, making your attic insulation perform as advertised.
Think of it as fixing the holes in your bucket before you fill it up.
Before you can fix the leaks, you need to find them, so start by looking for clues like drafty rooms, high energy bills, or dust drifting down from your attic.
Grab a flashlight and head up there, carefully checking common trouble spots like the areas around lights, pipes, and where your walls meet the attic floor.
You’re looking for signs of air movement, like dark or frosty spots on insulation, which tell you exactly where the sneaky drafts are getting in.
Also consider replacing or upgrading exterior door weatherstripping to help reduce drafts.
How can you tell if your attic is leaking air like a sieve and sending your hard-earned energy dollars straight through the roof?
Start by looking at your attic insulation.
Dirty or dust-streaked insulation is a dead giveaway; it means air in the attic is constantly moving through it, depositing grime.
Next, hunt for gaps around common trouble spots like light fixtures, plumbing pipes, and where walls meet the attic floor.
Also, check for compressed or missing insulation, as these thin spots are major escape routes for air.
In winter, you might even see frosty patches where warm, moist air has leaked up and frozen.
These clues are your home asking for a little sealing attention.
Now that you’ve spotted the telltale signs of leaks, it’s time to grab your flashlight and get a little more hands-on, because finding exactly where that draft is sneaking in makes sealing it up a whole lot easier.
Systematically check common trouble spots on the attic floor. Shine your light around top plates, plumbing stacks, and electrical boxes.
Pay special attention to dropped soffits and the bottoms of knee walls—these are draft superhighways. Don’t forget to check for exhaust fans that mistakenly vent right into the attic; that’s a big no-no.
Look for gaps, holes, or dirty insulation that traces the air’s path. Pinpointing these leaks is the critical first step for effective air sealing and insulation.
While you’re focused on keeping drafts out, it’s important to remember you’re also sealing yourself in with your home’s air, making safety checks an absolute must-do before you grab that first tube of sealant.
Your air sealing work can trap pollutants, so start by having a pro test all combustion appliances to prevent dangerous backdrafting.
Before sealing, have a pro test all combustion appliances to prevent dangerous backdrafting of trapped pollutants.
Next, protect your Indoor Air Quality by confirming all vents exhaust outside and not into the attic itself.
You’ll also want to get an EPA-listed Radon Test Kit for after the job, as a tighter home can concentrate this gas.
When applying sealants like spray foam, keep it well away from hot masonry chimneys and flues—those clearances are non-negotiable for fire safety.
Consider installing a whole house air purifier to improve indoor air quality after sealing.
Now that you’ve checked safety, you’re ready to tackle the most common air leaks.
You’ll start by finding and sealing gaps at the top plates and around large openings, which are like the biggest holes in your home’s cozy sweater.
Then, you can address smaller gaps around wires and pipes, making sure your hard work really pays off.
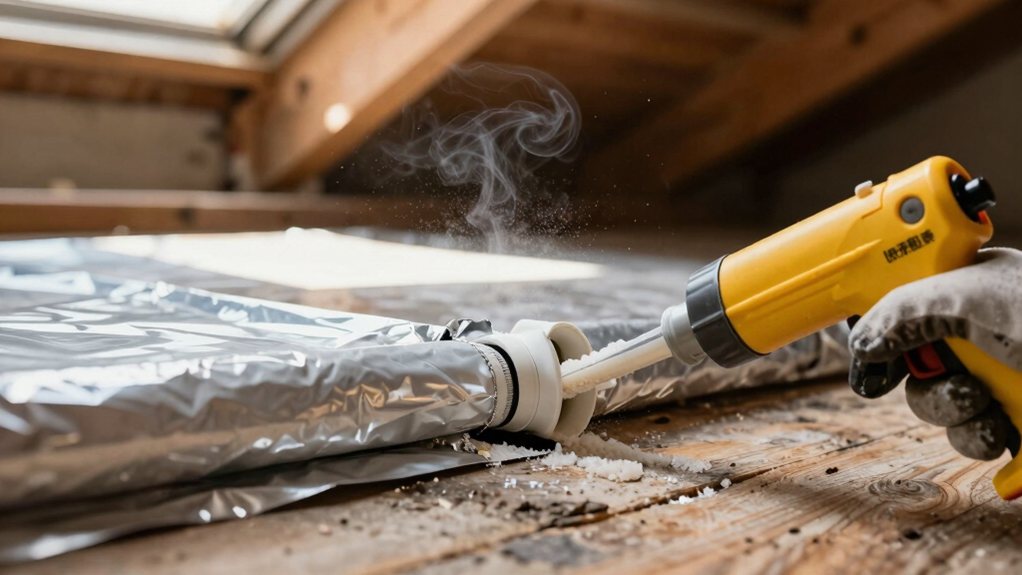
For best results, use a professional foam applicator gun to apply consistent, controlled sealant to gaps and openings.
How exactly do you track down those sneaky drafts that are hiking up your energy bills? Start on the attic side with a simple visual check on a cool day.
Look for darkened insulation or frost, which are telltale signs. You can also use a smoke pencil or a handheld fogger while a helper opens and closes windows downstairs; watch where the smoke wavers to leak air.
Pay special attention to gaps around the opening where pipes or electrical wires enter, and don’t forget to check those open joist cavities under kneewalls. These are often major culprits.
Thermal imaging cameras can help, but your own eyes and a bit of detective work will find most problems. Consider renting a thermal imaging camera to quickly spot temperature differences behind walls.
Grab your caulk gun and get ready to plug those energy-draining holes, because it’s time to tackle the biggest air leaks first.
Your priority is sealing the large openings that let warm air rush into your attic. Think of it as patching the biggest tears in a coat before winter.
This air sealing foundation makes your new insulation dramatically more effective. A quality professional caulking tool kit includes a caulk gun, smoothing tools, and sealant to make these repairs faster and neater.
Having tackled the major attic leaks, shifting your focus to the smaller gaps is where you’ll really lock in your home’s comfort and efficiency.
Hunt for dirty or frosty spots in your existing fibrous insulation—these are air-leak clues.
For wiring holes or plumbing vents under ¼ inch, a simple caulk line does the trick. For larger voids, use low-expansion spray foam insulation, but don’t overfill it. Stuff mineral wool behind openings wider than 3 inches so the foam has a backing.
Always seal electrical boxes with approved gaskets or caulk, safeguarding your conditioned space. Remember, never seal hot flues directly—use high-temperature sealant instead. This careful work pays off, especially before adding new blown insulation.
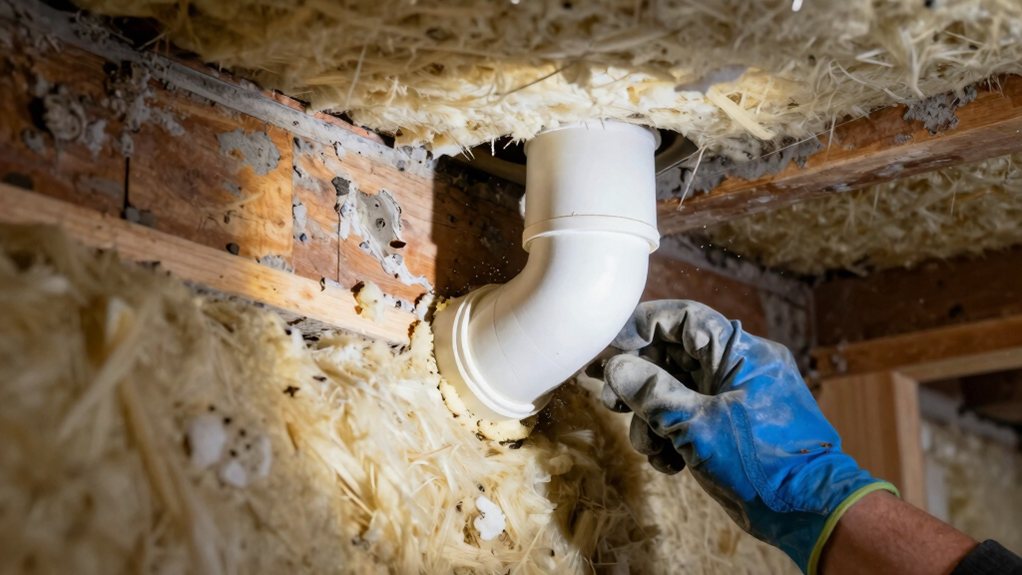
Now, what about those tricky spots like flues, pipes, and kneewalls where drafts love to sneak through?
Some of the sneakiest drafts come from tricky spots like flues, pipes, and kneewalls.
In building science, these are key things to keep in mind, as sealing them stops cold air from draining your comfort.
Here’s a quick visual guide to doing it right:
Also, be aware that high humidity or moisture can prevent some sealants and insulating materials from performing properly, so make sure surfaces are dry before sealing.
Before you can pile in the fluffy new insulation, you’ve got to do a bit of detective work in your attic—because skipping this prep is like putting a fresh coat of paint over a rusty spot.
First, hunt down any last gaps you missed and seal them tight. In an old house, you might use foam board or reflective foil to block specific drafts. This final sweep stops warm air from escaping, which is how you really save energy.
Double-check that your ventilation channels are clear so the new insulation won’t block airflow.
Finally, make sure any hazardous materials, like old knob-and-tube wiring, are professionally addressed. Only then is your attic truly ready for its cozy new blanket.
So, you’ve tackled those tricky drafts and sealed up your attic. Great job! Your home is now a much cozier fortress, ready for that new insulation. Remember, this work pays off all year, keeping you comfortable and saving you money. Grab a well-earned drink, maybe admire your handiwork from below—no need to go back up there! You’ve just made a seriously smart upgrade to your house. Enjoy the comfort.