Phone:
(701)814-6992
Physical address:
6296 Donnelly Plaza
Ratkeville, Bahamas.

Phone:
(701)814-6992
Physical address:
6296 Donnelly Plaza
Ratkeville, Bahamas.
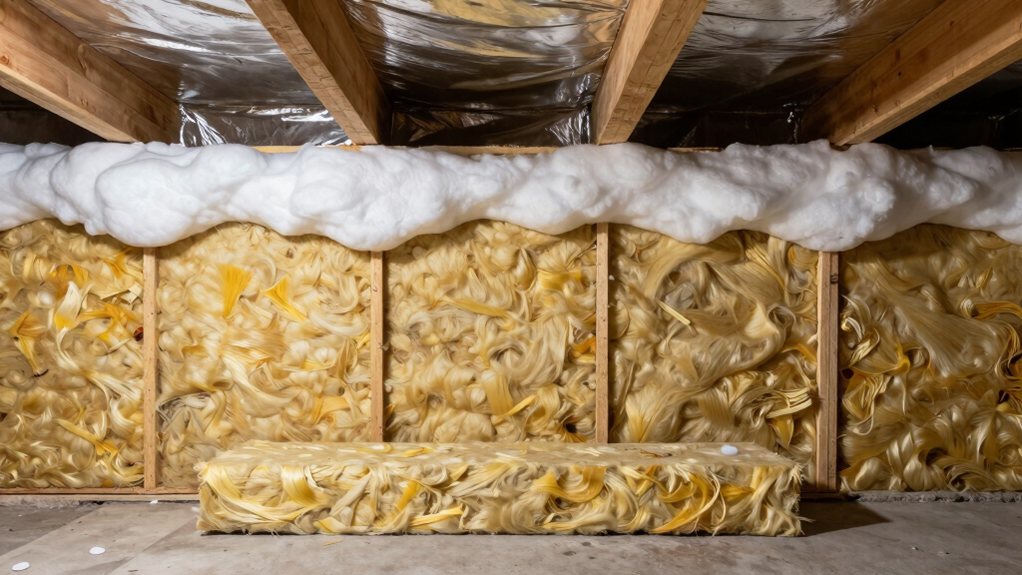
Here's how to insulate your basement walls, rim joists, and ceiling correctly.
To insulate your basement effectively, you need three targeted strategies. Start by air-sealing and insulating the rim joist with rigid or spray foam to stop major drafts. Then, install continuous rigid foam insulation against your basement walls to prevent heat loss and manage moisture. Finally, decide on your ceiling—batt insulation works if the space above is unfinished. It’s a systematic approach that makes the whole home cozier. Keep going to nail the details.
Table of Contents
Because your basement isn’t just one big, simple room, you can’t tackle it with a one-size-fits-all insulation plan.
Your basement is a system of parts, each needing its own tailored insulation solution.
Your basement walls need continuous rigid foam or foam board outside or inside to block heat loss through the concrete.
Up top, the rim joist is a major leak spot; it demands air sealing with closed cell spray foam or thick rigid boards to stop drafts and condensation.
Finally, the basement ceiling is different—its job is more about sound and thermal separation than direct heat loss.
Think of it like dressing for winter: you need a coat (walls), a snug hat (rim joist), and maybe cozy indoor slippers (ceiling). Each part has its own job, and doing all three gives you a comfy, efficient basement.
So, you’re ready to pick your insulation, but with so many options, how do you decide?
For your rim joist, a closed-cell spray foam is a top-tier choice. It’s a superb air barrier with a high R-value.
The DIY-friendly alternative is rigid foam, like polyiso, XPS, or EPS panels, cut to fit and sealed with canned foam.
Just avoid using fiberglass batts or mineral wool alone here, as they don’t stop air leaks.
Remember, vapor permeance matters for moisture control; in cold climates, low-permeance foam keeps wood safe.
Your choice balances performance, budget, and DIY sweat—spray foam is pro-grade, rigid foam is cost-effective, and batts are best saved for secondary layers.
For precise application and reduced waste, consider using a professional foam applicator gun designed for compatibility with common two-component spray foams.
Now that you’ve tackled the tricky rim joist, let’s move to the main event: your basement walls. For real warmth and moisture control, you’ll want to use continuous rigid foam (like polyiso, EPS, or XPS) right against the concrete.
Run it from the slab up to the sill plate to keep everything cozy and push condensation risk outside.
In cold climates, aim for at least two to three thick inches. Meticulous seam sealing with tape or spray foam is your best defense against drafts and dampness.
Finally, remember to cover the foam with a proper thermal barrier, like drywall, for safety—because, while effective, exposed foam is a definite no-go for finished spaces.
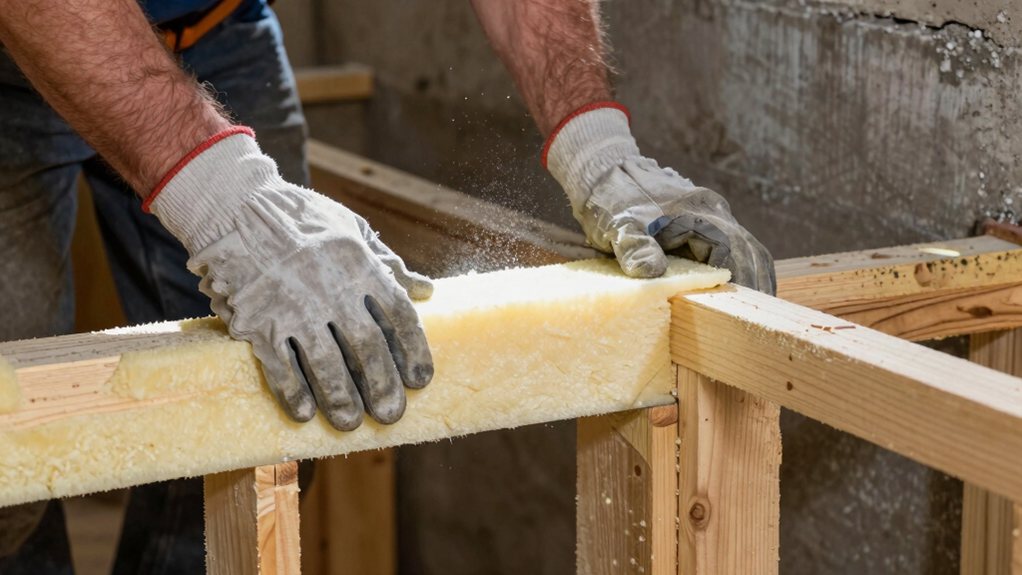
While insulating your basement walls is a big step toward a cozy space, there’s another spot that deserves your immediate attention before you go any further: the rim joist.
This area is a major highway for drafts and moisture, so your top priority is to air-seal it thoroughly. First, seal all gaps at the sill plate and subfloor with canned spray foam.
For insulation, choose closed-cell spray foam or rigid foam panels; avoid fluffy batts, as they can trap moisture and cause condensation.
This smart vapor control stops rot and saves energy. It’s a bit of a fussy job, but think of it as buttoning up your home’s winter coat—a vital step for lasting comfort and warmth downstairs. Also, professionals spend a large portion of their time on hidden prep work to ensure proper waterproofing membrane and long-term stability.
If you’re planning to keep your basement as a cool storage space and focus your heating efforts solely on the floors above, then insulating the basement ceiling is your next strategic move.
Remember, always complete your air sealing at the rim joist first. This stops warm, moist air from sneaking into joist cavities and causing condensation—a recipe for mold.
For the basement ceiling itself, you have good options. Fiberglass batts fitted snugly between joists are a classic DIY choice.
But if you want top air sealing and insulation in one step, applying spray foam to the subfloor underside is superb. It creates a continuous barrier, outperforming batts and even rigid foam in tricky spots, keeping your toes warm upstairs.
Before you begin, you’ll need to gather your materials and tools, and then prepare your walls and rim joists.
The installation and sealing steps are essential, so you’ll want to pay close attention to the order you do things in.
Let’s get you set up for success, turning this big job into a manageable, satisfying weekend project. Inspect for water damage in walls and rim joists before insulating so you can address any rot or leaks that would compromise the insulation and framing.
Getting your basement cozy and energy-efficient starts with gathering the right gear, and you’ll be happy to know you don’t need a truckload of exotic tools.
For rim joist insulation, you’ll choose rigid foam boards like polyiso, extruded polystyrene (XPS), or expanded polystyrene (EPS). Seal them in place with a strong caulk/adhesive and use canned spray foam for airtight edges. You’ll also need a utility knife, tape measure, and safety glasses.
Remember, if the foam is left exposed, local code will likely require a thermal barrier, like half-inch drywall, for safety.
It sounds like a lot, but once you have your materials lined up, the project will move along seamlessly. Consider investing in a professional caulk gun kit to ensure you have caulk, sealant, and the right applicator for the job.
Now that you’ve gathered your materials, let’s roll up our sleeves and get the basement ready, because a good insulation job starts with a clean, sealed, and solid foundation—literally. This prep work is your secret weapon against cold and pests.
1. Begin with a Clean Slate: Start with insulation removal of any old, nasty material.
Then, inspect the sill plate and rim joist for mold or rot, cleaning everything with a brush and vacuum.
2. Seal the Deal: Air-seal every crack and hole.
Use caulk for small gaps and spray foam for bigger, irregular spots around pipes.
3. Plan Your Insulation: For rigid foam panels, cut them slightly small so they fit snugly, ready for sealing.
4. Critter-Proof It: Finally, rodent-proof any gap larger than a pencil with metal mesh or special barriers.
Also, verify substrate evenness with a straightedge to spot dips, humps, or gaps that can lead to telegraphing and premature failures.
With your walls and rim joist cleaned and sealed, you can move on to the really satisfying part—putting up the insulation itself.
For the rim joist, start by installing your chosen rigid foam panels or spray foam.
Cut the rigid panels slightly undersized, then air-seal every edge and around all penetrations with canned foam.
Use construction adhesive and mechanical fasteners for a solid hold.
Remember to seal the sill plate area thoroughly, too!
Finally, tape all panel seams and cover any exposed foam with a code-approved thermal barrier, like drywall.
This careful sealing locks out drafts, making your basement cozy and efficient—a job you’ll be proud of every time you walk down there. If you discover compromised joists, consider hiring professional floor joist repair services to ensure structural safety.
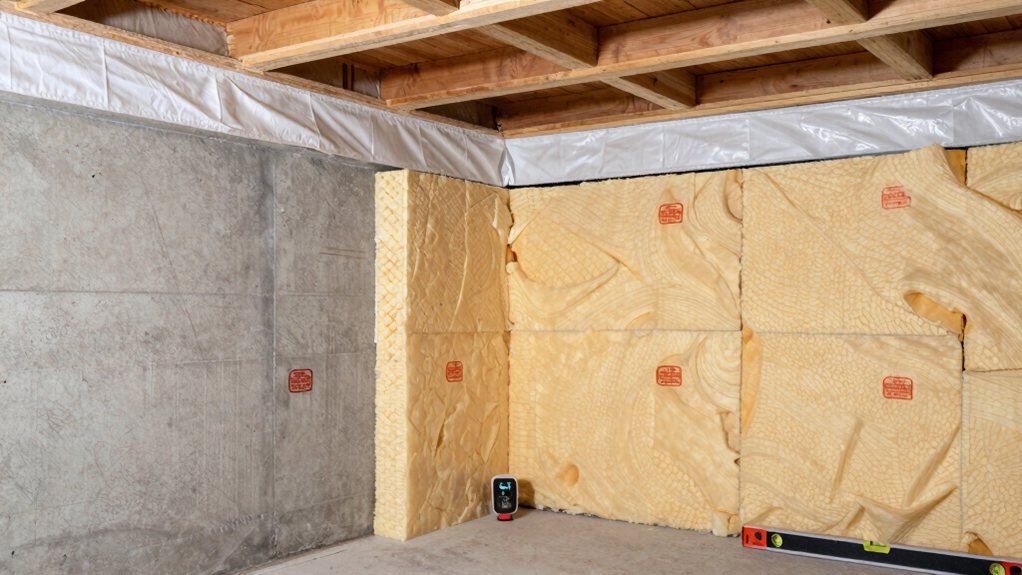
Because you’re investing your time and money, you’ll want your basement insulation to meet local building codes and perform well in your specific climate, all while dodging those common slip-ups that can lead to trouble later.
Think of it like building a good defense against drafts and dampness.
1. Start by tackling your rim joist.
Air-seal every gap, then install rigid foam or spray foam to meet your zone’s required R-value.
2. Don’t just stop at the rim; insulating your basement walls is key to creating a healthy, conditioned basement.
3. Pay attention to vapor-permeance so your assembly can dry properly and avoid mold.
4. Finally, always cover exposed foam with drywall for fire safety—it’s a simple, non-negotiable step.
Selecting the right exterior door replacement weatherstripping can further reduce drafts where exterior doors meet the conditioned basement and complement your insulation work.
Remember, you’re not only adding insulation; you’re building a cozy, healthy basement. Tackle those rim joists first, then handle the walls and ceiling as your plan and budget allow. You’ve got this! With the right materials and a bit of elbow grease, you’ll save money and gain a comfortable space for years to come. Enjoy the process, and soon you’ll be enjoying your newly finished basement, too.