Phone:
(701)814-6992
Physical address:
6296 Donnelly Plaza
Ratkeville, Bahamas.

Phone:
(701)814-6992
Physical address:
6296 Donnelly Plaza
Ratkeville, Bahamas.
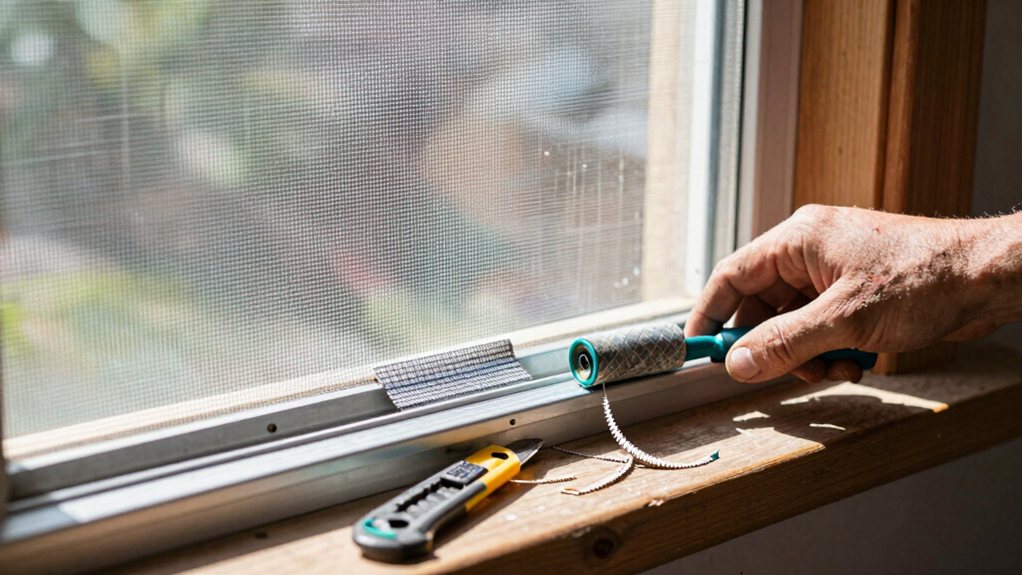
Tackle torn screens with simple fixes or full replacements—learn how to achieve a bug-proof seal.
You can handle a torn screen yourself! Start by checking if it’s a small tear you can patch, or if the frame is damaged, needing a full replacement. For patches, a bit of clear glue or an adhesive patch works wonders. For a replacement, measure your frame carefully and pick a tough material like fiberglass. With a simple spline roller and some patience, you’ll have a snug, bug-proof screen in no time. There’s plenty more to explore for a perfect fix.
Table of Contents
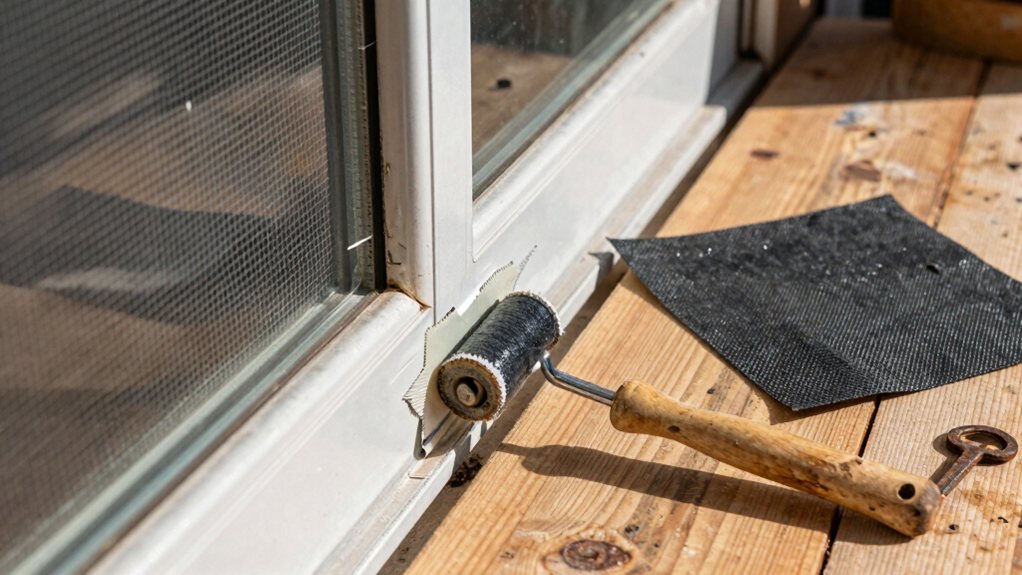
First off, how do you know if your screen needs a simple patch or a whole new one?
You’ll need to do a quick inspection.
Grab a notepad and make a simple Inspection Checklist.
Look at the frame—is it bent or rotting?
Before you start, inspect the frame for any signs of warping or wood decay.
Check the mesh—is the tear tiny, or is it a giant gash letting in every bug in the neighborhood?
Your Replacement Thresholds are pretty straightforward.
If the frame’s solid and the hole’s smaller than your fist, you can probably fix it yourself with a cheap patch kit.
But if the frame is damaged or the screen is sagging badly, it’s time for a full replacement.
Honestly, sometimes starting fresh is just easier and looks way better. For larger jobs, consider using a Professional screen replacement kit designed for flawless repairs.
So, you’ve got a small tear in your screen—don’t worry, it’s not a lost cause!
For tiny punctures, a drop of clear UV glue can work wonders. You simply apply it and cure it with sunlight, sealing the hole almost invisibly.
If the tear is a bit larger or you want to add personality, consider using decorative patches. These come in fun shapes and are applied with adhesive; they turn a fix into a feature.
Just clean the area first, press the patch firmly, and you’re done. This approach saves you the cost of full replacement and is satisfyingly quick.
Honestly, patching is such an easy win that you might feel a little too handy afterward. For larger repairs, you might use tools from a professional caulk gun kit to ensure a watertight seal.
Now, how on earth do you get the right measurements for your screen frame without making it more complicated than it needs to be? You’ll want to measure the inside channel where the screen spline sits, not the outside edges. Grab a metal tape measure for accuracy.
Measure the width at the top, middle, and bottom, and do the same for the height, noting the smallest of each dimension. Manufacturers provide tolerance guidelines, so your new screen mesh can fit snugly. Also, check if you need to account for any corner allowances—some frames have rounded corners that require a slightly different cut. Write the numbers down clearly, double-check them, and you’ll avoid that “oops, it’s too big” moment. If you’re unsure about measurements or frame compatibility, consider professional door frame installation to ensure a precise fit.
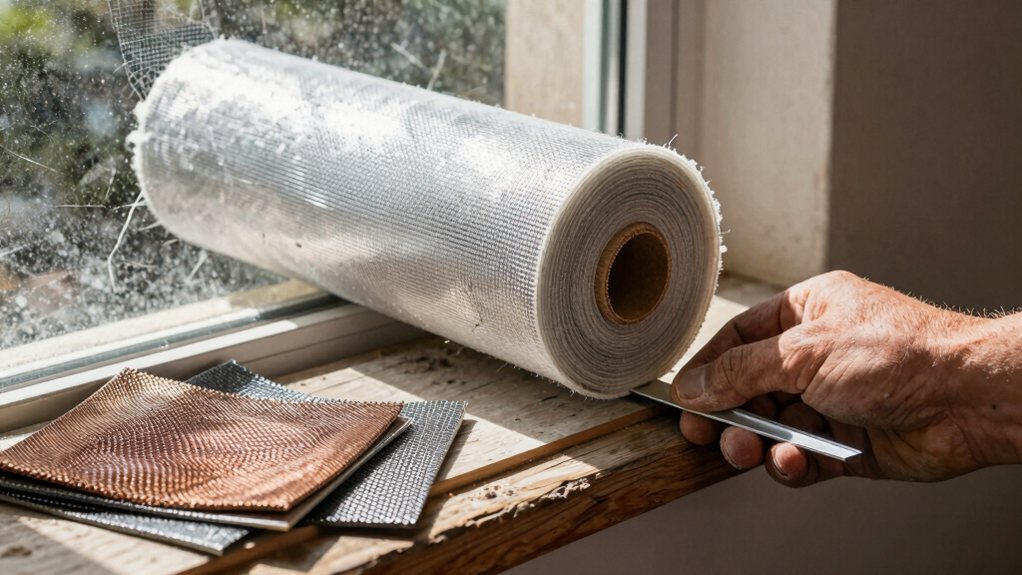
Once you’ve got your measurements sorted out, you’ll need to pick your screen material, which is a bit like choosing the right tool for the job—the wrong one just makes everything harder.
Think about your main goals. Do you need pet-proof durability or super-fine bug blocking?
A simple material comparison helps. Fiberglass is affordable and common, while sturdy aluminum suits high-traffic doors.
For a clearer view and less maintenance, consider polyester. Each choice has an environmental impact, too; longer-lasting screens mean less waste over time.
It’s not brain surgery, but a good pick saves you future hassle. So, weigh your daily needs against each material’s pros—your future self, free of mosquito bites and repair bills, will thank you.
Also consider how these choices integrate with outdoor patio privacy screens to maintain a cohesive look and function in your outdoor space.
With your screen material picked out, you’re ready to get your hands on a few basic tools—think of it as gathering your kitchen gear before you start cooking.
This step makes the actual repair go easily.
Good organization and a little preparation are your best friends here.
For convenience, consider a Professional Tool Kit Set that contains all these essentials.
Now that you have your tools ready, let’s get that old, damaged screening out of its frame.
Carefully remove the old spline and clean the channel, then roll your new screen material into place, making sure it’s nice and taut.
Finally, press the new spline into the channel with your spline roller, trimming away the excess screen for a crisp, clean finish.
Getting ready to remove the damaged screening is your first real step toward a clear view and bug-free breezes. You’ll want to start by taking a few simple safety precautions, like wearing gloves to protect your hands from sharp edges or old splinters.
Once you’re geared up, it’s a straightforward process.
Now your frame is clean and ready for the new screen! Consider using quality weatherstripping when reinstalling screens on exterior doors to improve sealing and energy efficiency.
Unrolling your fresh screen material brings you to the exciting part—transforming that empty frame into a crystal-clear barrier.
Lay it over the frame, making sure you have several inches of overlap on all sides.
Starting at one corner, press the new spline into its channel using your spline roller, working your way down each side.
Pull the screen taut as you go to eliminate wrinkles; an even screen is key for proper ventilation optimization.
Once secured, trim the excess with a utility knife.
This is your chance for aesthetic customization—choose a classic aluminum or a sleek, darker fiberglass.
A perfect install means no bugs, a great view, and the proud feeling of a job well done.
For best results, use a professional tool set to ensure proper tension and clean trimming.
When you’re dealing with door screens that include pet doors or oversized frames, you’ll need a slightly different approach. These aren’t your standard, off-the-shelf replacements. You have to account for the extra stress points and unique sizes.
Installing door screens with pet doors or oversized frames requires special attention to unique sizes and stress points.
Take your time with these steps, and you’ll have a secure, long-lasting screen that keeps pests out and pets happy. For best results, consider using a professional woodworking tools set to make precise cuts and bracing for the frame.
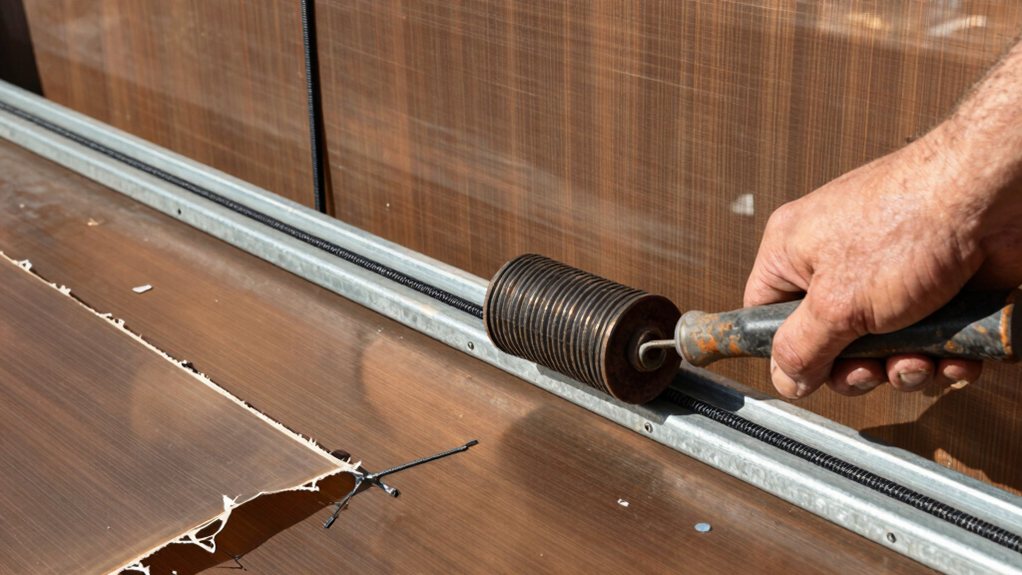
Mastering the spline roller is your secret weapon for creating a screen that’s not only tight but built to last.
Start by placing the new spline into the channel, then use your roller’s wheel to gently press it in.
Good roller ergonomics mean holding it firmly and pushing away from you with steady pressure. The key is the angle technique; tilt the roller slightly to guide the spline deep into the groove without skipping.
It’s like coaxing a stubborn zipper—firm but patient. Work your way around the frame, and you’ll hear a satisfying *click* as the screen fabric locks in.
This simple tool provides a seamless, professional finish that keeps bugs out for years. For best results, use tools from a premium professional tool set designed for durability.
If your screen is sagging or the spline feels bumpy, you’ve got a couple of easy fixes.
You can often solve the problem by replacing the old spline with a fresh piece that holds the mesh snugly, or by gently realigning the screen frame if it’s gotten a little bent out of shape.
Let’s figure out which solution will get your screen looking and working great again.
Working with a screen spline that’s popped loose or become bumpy can turn a sleek window into a frustrating mess.
It’s a common issue, but a full spline replacement is your ticket to a perfect, taut screen.
It’s easier than you think once you know the steps. For best results use a professional tool set kit matched to the task when replacing spline.
Sometimes you’ll replace the spline and still find your screen feels loose or the spline looks wavy. This often means the frame itself is out of square, a common issue with seasonal expansion and contraction of the material.
Don’t worry, a simple corner adjustment can usually fix it. Lay the frame on a flat surface and check if it rocks. If it does, gently twist the opposite corners until it sits flat. You’re basically giving it a gentle persuasion to remember its proper shape.
Once it’s square, reinstall the screen mesh and spline. The tension will now be even, banishing those annoying bumps and sags for good. It’s a quick fix that makes a world of difference.
Ever wonder how you can keep your screens looking fresh and functional year after year?
A little regular care makes a huge difference.
By following a few simple, pro-level tips, you can prevent most common damage and avoid frequent repairs.
You’ve got this! With a little patience and the right technique, you can tackle those torn screens. Remember, a small patch or a full replacement will both get your screens back in fighting shape, keeping bugs out and letting that fresh air in. Keep your tools handy and don’t forget a little routine maintenance. Now, go enjoy your view and your pest-free breeze—you’ve earned it.