Phone:
(701)814-6992
Physical address:
6296 Donnelly Plaza
Ratkeville, Bahamas.

Phone:
(701)814-6992
Physical address:
6296 Donnelly Plaza
Ratkeville, Bahamas.
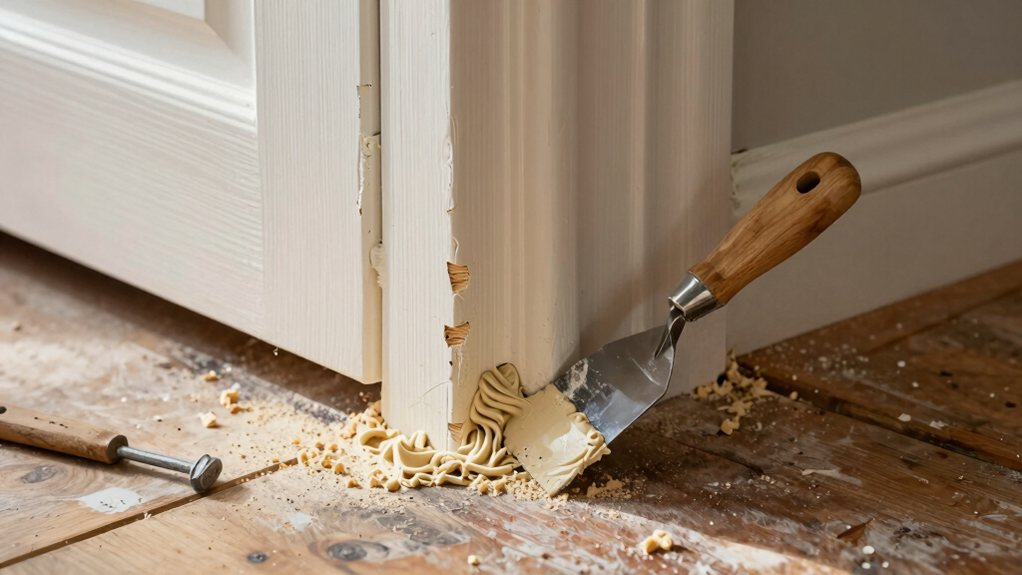
I fix damaged door frames with simple steps that ensure lasting repairs—discover the secret technique here.
First, assess your door frame’s damage, grabbing your gloves and safety goggles. You’ll clean out any loose wood, then press wood filler into small dings or use epoxy for deep gouges. After it dries, sand it even, prime the spot, and carefully paint with a color-matched shade, feathering the edges with a nearly-dry brush. It’s easier than you think, and sticking around will show you how to make that fix last for years.
Table of Contents
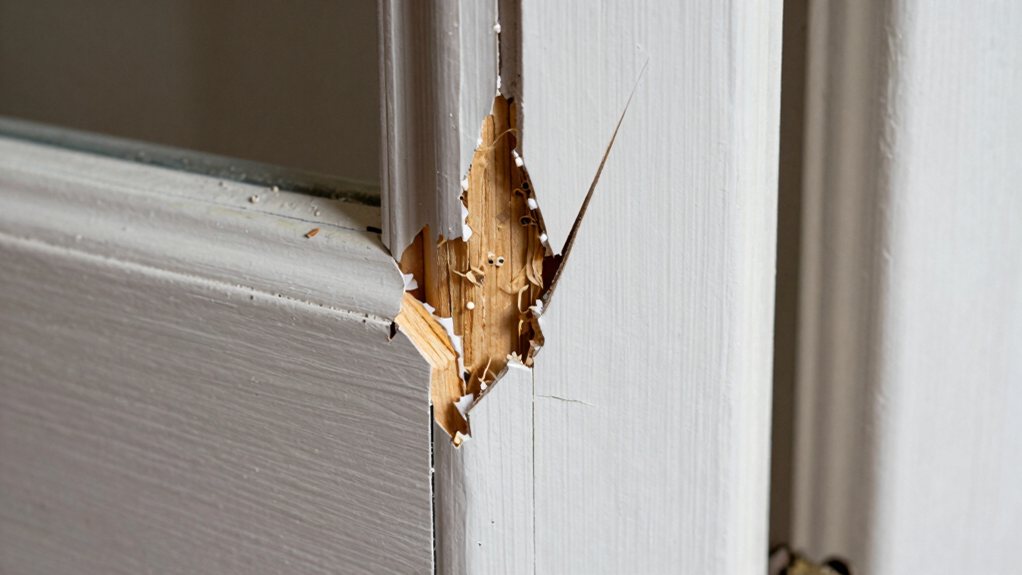
So, what exactly happened to your door frame or trim? Before you grab your tools, take a good look at the damage. Is it a small cosmetic scratch, a deep gouge, or is the wood actually splintered?
You’ll also want to check for pest indicators, like tiny holes or sawdust, which mean you might’ve unwelcome insect guests. Don’t forget to take into account weather impacts, too. Sun, rain, and humidity can warp wood or cause paint to peel over time.
Identifying the real culprit saves you effort later. It’s like being a detective for your own home—figure out the “who” or “what” before you start the fix, and you’ll be on the right track. If the damage is extensive, consider contacting door frame installation professionals listed by Expert Door Frame Installation Services.
Now that you’ve played detective with your door frame, it’s time to gather your repair squad.
Having the right gear makes the job safer and way easier, so let’s build your tool checklist.
Start by grabbing your safety equipment, like goggles and gloves—splinters are no joke!
You’ll also need a few key items to get the work done.
With this simple kit assembled, you’re all set to move on to the fun part—the actual fix. If you want a ready-made option, consider purchasing a professional tool set kit that includes many of these items.
Before you can bring that door frame back to its former glory, you’ve got to clear the stage for the main act.
Start by protecting your worksite.
Lay down a drop cloth to catch all that old paint dust and wood debris.
Trust me, your vacuum will thank you later.
Next, contain the mess before it starts.
If you’re sanding or sawing, consider hanging a plastic sheet over the doorway.
This simple step for dust containment saves you hours of cleaning the rest of the room.
Now, grab your tools and carefully remove any loose or splintered wood from the damaged section.
You want a solid, clean surface for the new material to adhere to, setting you up for a truly seamless fix.
For best protection, lay down a canvas drop cloth when you need an absorbent, reusable barrier.
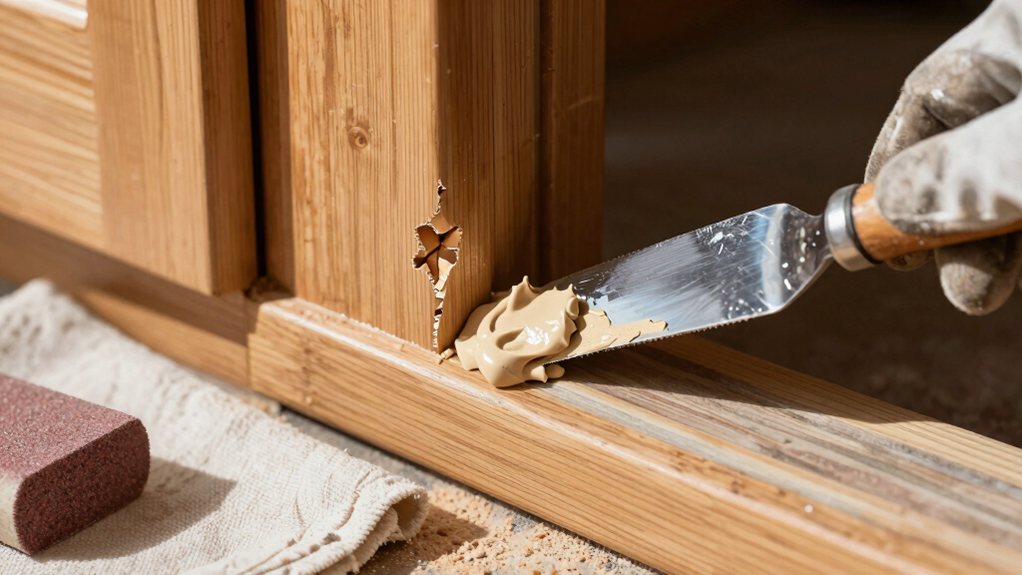
Clean up, and you’re ready for primer! Ensure thorough degreasing before priming to prevent paint adhesion failures.
For deeper gouges or even missing wood chunks, you’ll first want to assess how much material is gone, as this determines your next steps.
Once you know the size of the gap, you can fill it with a strong two-part epoxy wood filler, which is great for bonding and rebuilding those areas.
After it hardens, you’ll sand it level, and your door frame will look good as new, ready for a fresh coat of paint.
Using a professional wood refinishing kit can provide the proper tools and materials to achieve a durable finish.
Honestly evaluating this now prevents bigger headaches later.
You’ve got this! If you see that joists or framing are compromised, consider contacting professional floor joist repair services to address structural issues promptly.
Filling those gaps and reinforcing the damaged spots is where your repair project starts to feel like magic.
For deep gouges or missing wood chunks, you’ll use a quality wood filler. Press it firmly into the void, overfilling slightly so you can sand it flush later.
For hairline cracks or seams, your best friend is proper caulking techniques; a neat bead seals out drafts and looks pro.
If the structure feels weak, like around a busted corner, consider adding reinforcement strips of wood glued and screwed into place behind the trim. This hidden bracing is your secret weapon for a rock-solid fix.
Let everything dry completely—patience here saves you a headache later!
Having a professional caulking tool kit on hand makes applying neat beads and finishing much easier.
For best results, consider using a professional furniture refinishing kit that includes glue, sandpaper, and small brushes to streamline the repair.
Now that your wood glue has dried nice and solid, it’s time to make that repair feel invisible, which means you’ll want to sand everything perfectly flush.
Start with coarse-grit sandpaper to level any proud filler or wood, then switch to a finer grit.
The key is edge feathering—gently blending the repaired area into the original trim so your fingers can’t detect a seam.
Work patiently in the direction of the wood grain to avoid scratches.
Once seamless, run your hand over the surface. It should feel perfectly continuous.
This careful prep guarantees your final paint or stain will have a uniform surface sheen, making your fix disappear.
A little patience here makes all the difference, turning a good repair into a great one.
For larger drywall or trim jobs, consider a drywall finishing tools kit to achieve professional results.
Consider using a professional drywall repair kit to ensure you have the right tools and materials.
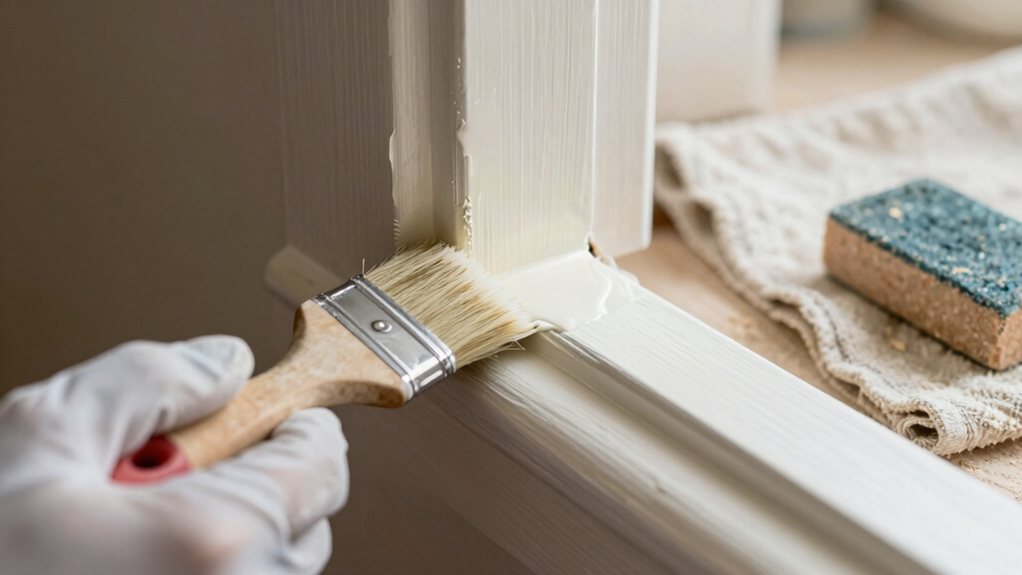
With that well-sanded, primed canvas ready, you can grab your paint and get ready to make that repair disappear into the surrounding door frame. The absolute key here is color matching.
If you saved the original paint, you’re a hero. If not, take a small chip from an inconspicuous spot to your hardware store for a custom match—it’s worth the trip.
Apply your first thin coat, letting it dry completely before adding a second.
The real magic is in feathering edges. Use a nearly dry brush to lightly blend the new paint outward onto the old surface. This softens the hard line, making the patch visually vanish. With a little patience, you’ll be staring at a seamless finish, wondering where the damage ever was.
You’ve put in the hard work to make that repair look invisible, so it’s only natural you’d want it to stick around for the long haul. The secret is simple prevention.
Think about moisture control, since wood swells and shrinks with humidity. Good ventilation is key. Also, consider hardware upgrades; stronger hinges and screws can prevent future stress cracks.
A little ongoing care makes a huge difference.
Stay ahead of problems, and your repair will look great for years.
And there you have it! Your door frame or trim should look as good as new. Remember to let your paint fully cure before you start using the door like a champ again. With a little patience and these steps, you’ve saved yourself a repair bill and learned a handy skill. Give yourself a pat on the back—your home looks better already, and you did it yourself!