Phone:
(701)814-6992
Physical address:
6296 Donnelly Plaza
Ratkeville, Bahamas.

Phone:
(701)814-6992
Physical address:
6296 Donnelly Plaza
Ratkeville, Bahamas.
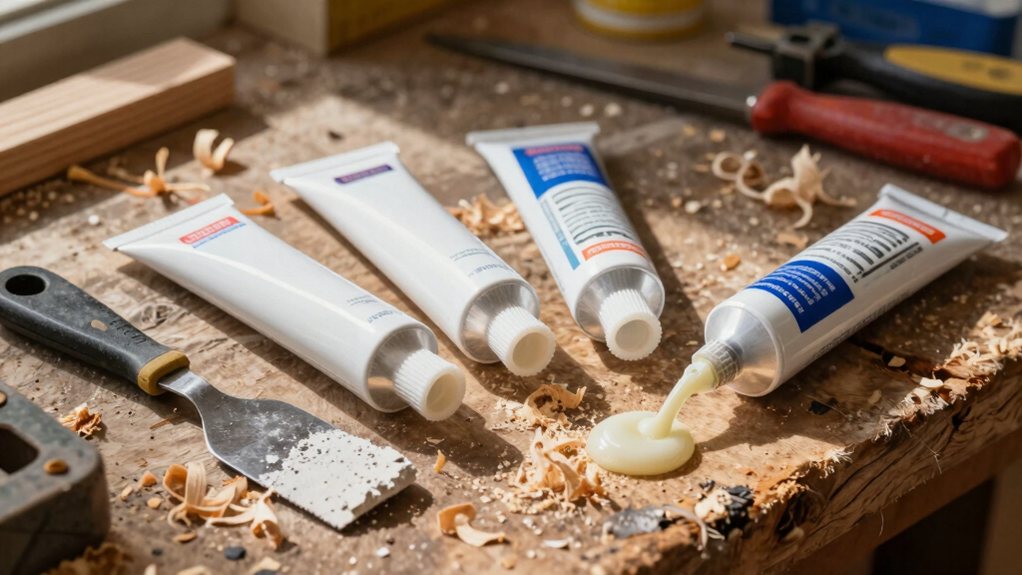
Know when to use wood filler, spackle, or adhesive for your DIY projects and discover the crucial details you're missing.
For your basic home repairs, you’ll use wood filler for sandable fixes on furniture or trim. Use spackle for quick, small holes in drywall—it dries fast and paints easily. Construction adhesive is your go-to for heavy-duty, permanent bonds, not for cosmetic gaps. Start with low-VOC options for indoor safety. Once you know these basics, you’re set to handle most common fixes and can learn the finer details next.
Table of Contents
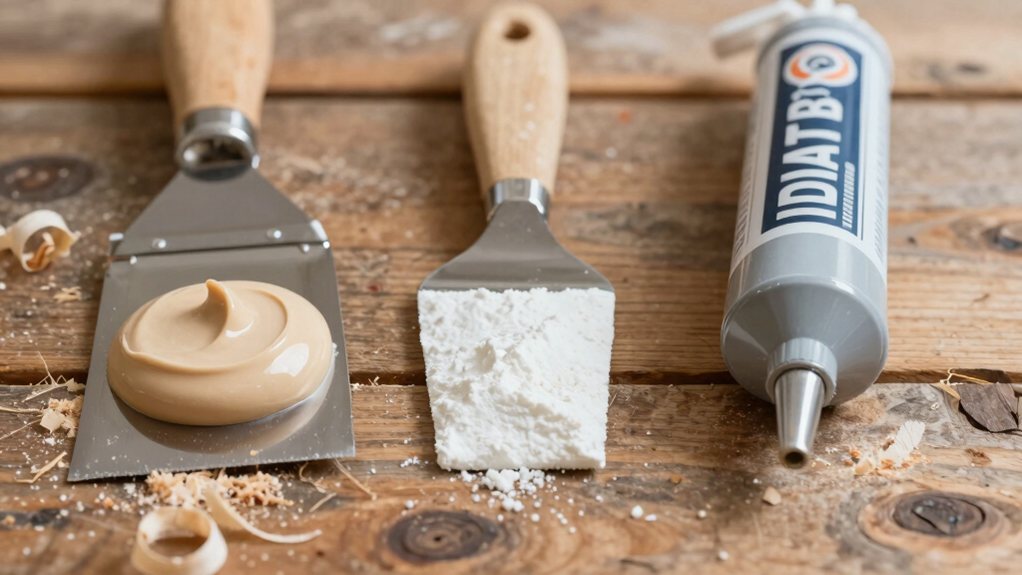
Ever find yourself staring at a hole in your wall, a gap in your trim, or a wobbly shelf and wondering which goop from your toolbox is the right one for the job? Let’s clear that up fast.
Wood filler is your buddy for solid, sandable repairs in wood.
Spackle is the lightweight champion for patching small holes in drywall—it dries fast and sands flat.
Construction adhesive is your heavy-duty glue; it bonds materials permanently but doesn’t fill gaps prettily.
For a quick cost comparison, spackle is usually cheapest, with wood filler and adhesive costing a bit more.
Considering environmental impact, look for low-VOC or water-based options, especially for indoor projects.
You can also consider a professional wood refinishing kit to get all the essential supplies in one purchase.
Here’s your simple 3-step process:
1. Prep the spot: Clean out any loose bits and sand the area lightly so the filler has a good surface to grip.
2. Apply and shape: Press the filler firmly into the hole, overfilling slightly.
Use a putty knife to feather it level with the surrounding wood before it dries.
3. Sand and finish: Once fully hard, sand it flush.
Then, paint or stain to blend your repair invisibly into the piece.
For larger projects, consider using a professional furniture refinishing kit to get all necessary supplies in one set.
Now let’s look at spackle, your go-to paste for patching small holes and cracks in drywall and plaster.
You’ll want to pick a lightweight formula for quick jobs, or a heavier-duty one for bigger repairs.
Applying it’s easy, but remember to press it firmly into the hole and level it out for a perfect, ready-to-paint surface.
Consider using a professional drywall repair kit for larger or multiple repairs to ensure you have the right tools and materials.
Spackle is your go-to, fast-drying friend for tackling those little blemishes on your walls, like nail holes, small cracks, or dings in drywall and plaster.
You’ll find it indispensable for quick touch-ups before painting, making walls look perfectly level again.
It’s not only for walls, though! Its primary uses are wonderfully versatile.
For best results, keep a basic drywall finishing tools kit on hand to make repairs faster and more professional.
How do you choose the right spackle when the hardware store aisle offers a dizzying array of tubs and tubes?
First, match the product to your wall’s finish compatibility. A lightweight spackle is perfect for small nail holes in drywall, while a vinyl paste handles deeper plaster cracks better.
Consider the environmental impact, too; look for low-VOC formulas for indoor projects to keep your air cleaner.
Don’t be intimidated by the choices—think of it like picking a bandage for your wall. You just need the right size and strength for the job. Grab a small tub for quick repairs; it dries fast, sands easily, and gets you back to painting with minimal fuss.
For kitchen projects, choosing low-VOC formulas is especially recommended because they help maintain better indoor air quality during and after painting.
Once you’ve picked the right spackle from that crowded shelf, it’s time to put it to work.
Good results start with proper prep and technique. In high-moisture zones it’s important to apply a waterproofing membrane before finishing to prevent future moisture issues.
Remember, spackle isn’t toothpaste, so use it sparingly to avoid a huge sanding job later.
Always follow smart ventilation practices and wear basic protective equipment, like a dust mask, because nobody enjoys a face full of drywall powder.
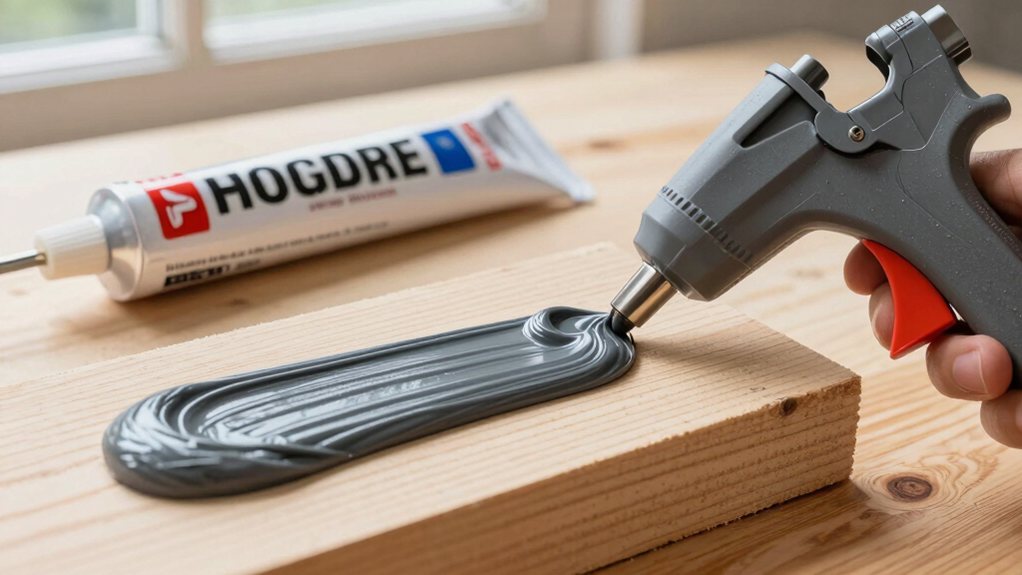
When you need a bond that can handle serious weight and last for years, choosing the right construction adhesive is your most important step.
First, consider thermal compatibility, as materials expand and contract; you need an adhesive that stays flexible.
Also, check for regulatory compliance, verifying it’s safe for indoor use if needed.
For heavy-duty jobs, like securing a subfloor or attaching deck boards, grab a high-strength polyurethane or solvent-based formula.
These create incredibly durable, waterproof bonds.
Always read the label to match the adhesive to your specific materials—wood, concrete, or metal.
It’s like picking a superhero for your project; you want the one with the right powers for a permanent, unshakable hold.
Also, for heavy-duty applications, look for adhesives rated at 400 psi or higher to ensure adequate shear strength.
After making sure those heavy-duty bonds are set, you’ll often find yourself facing smaller gaps and holes that need a seamless finish.
Applying wood filler or spackle is your next step, and doing it like a pro is easier than you think. Just remember your safety gear, like a simple dust mask, before sanding. Good tool maintenance, like cleaning your putty knife right away, makes the job easier. Here’s your simple three-step plan:
Consider keeping a professional caulking tool kit on hand for tasks like these to ensure you have the right tools.
Even though you’ve followed the steps carefully, you might still run into a few common snags with your filler or spackle, but don’t worry—they’re almost always easy to fix.
Even if you’ve been meticulous, common filler or spackle snags can still pop up—fortunately, they’re usually simple to resolve.
If you face drying issues, like the product staying tacky for hours, the air might be too humid. Just give it more time, or use a fan to circulate air gently.
A classic headache is shrinkage repair; if your filler sinks as it cures, leaving a dent, simply apply a second, thin coat over the fully dried first layer.
Sand it level once it’s hard.
Also be aware that humidity above 70% can inhibit bonding and extend drying times.
So you’ve got the basics down, and you’re ready to tackle those household fixes! Remember, picking the right product—wood filler, spackle, or adhesive—is half the battle. Don’t stress over small mistakes; they’re often an easy sand or scrape away. With a little patience and these tips, you’ll handle repairs with confidence and maybe even have some fun. Now go fill, patch, and bond your way to a better-looking home!