Phone:
(701)814-6992
Physical address:
6296 Donnelly Plaza
Ratkeville, Bahamas.

Phone:
(701)814-6992
Physical address:
6296 Donnelly Plaza
Ratkeville, Bahamas.
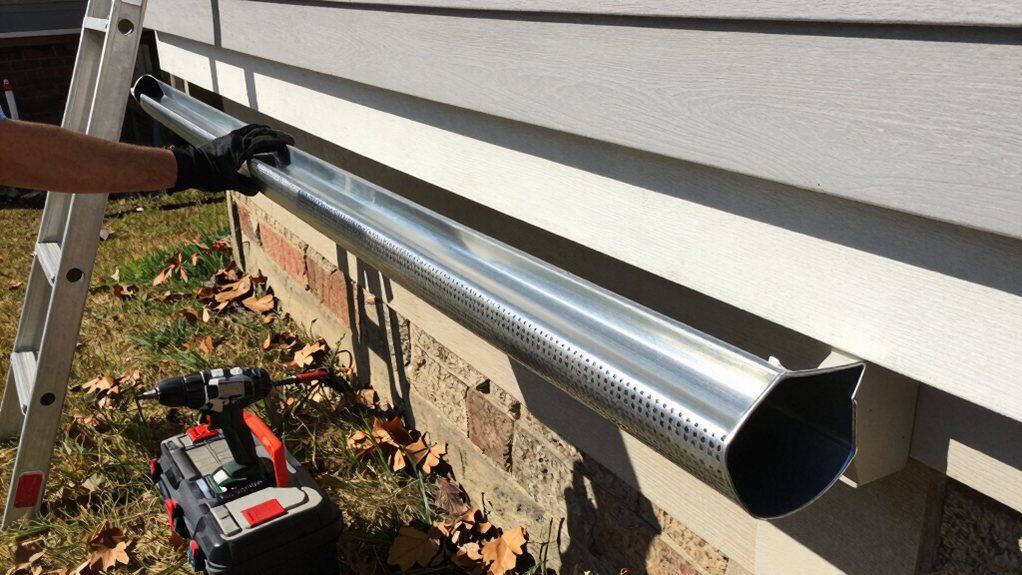
Want to learn how to install gutter guards yourself? Discover the types, cost, and DIY steps to save money.
You can install gutter guards yourself in a weekend to protect your gutters. First, clean and inspect your gutters, then measure each run. Cut your chosen guard—like mesh for fine debris or screens for leaves—and secure it with screws. It’ll cost you just $6–$8 per foot DIY, a big saving over professional installs. After fitting, test with a hose to verify water flows freely; your future self will thank you when cleaning day rolls around.
Table of Contents
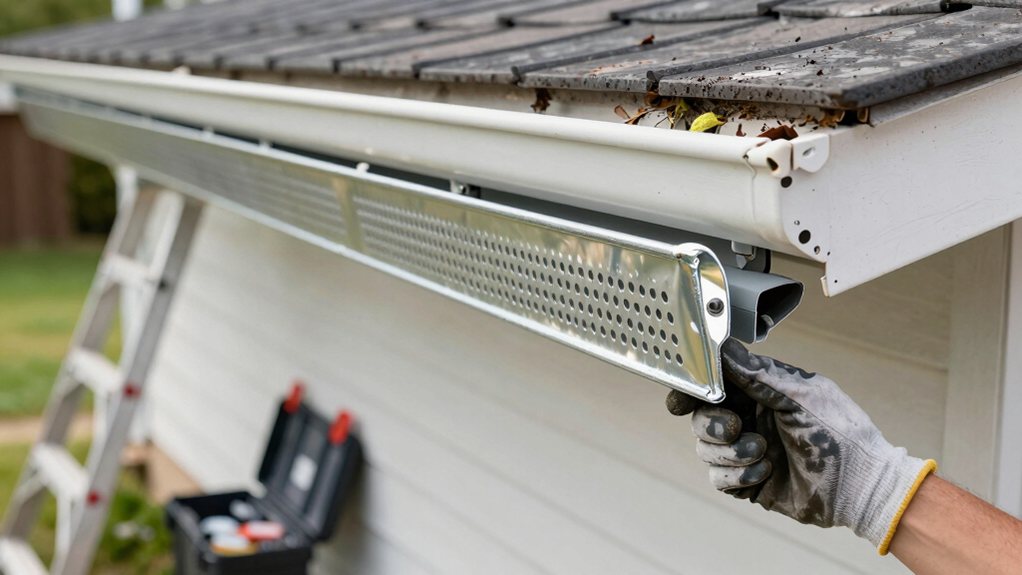
You might think cleaning your gutters is just a tedious chore, but those clogs of leaves and twigs can actually cause some serious—and expensive—problems for your home.
What seems like a simple chore can lead to serious, costly damage for your home.
When debris blocks the flow, water can overflow, pool around your foundation, or damage your siding.
Installing gutter guards is a smart fix. They keep leaves and pine needles out, so water flows freely. This prevents clogs that lead to rust, sagging gutters, and costly repairs.
A recent survey found most homeowners rarely need to clean them after installation—some never do! It’s a protective upgrade that saves you time, money, and the hassle of risky ladder climbs.
Think of guards as an insurance policy for your gutters.
So, how do you actually pick the right gutter guard? Start by looking up at your trees.
For big leaves, simple screen gutter guards work well, while fine pine needles demand micro‑mesh. If you have general leaf buildup, foam gutter guards or brush types are easy choices. Next, check your budget per linear foot.
Foam is cheapest but lasts just a few years, while screens and micro‑mesh cost a bit more upfront but save you money long‑term. Honestly, if your roof is high or you have heavy tree coverage, investing in a tougher material—or even a pro install—can prevent future headaches. It’s all about matching the guard to your specific debris and wallet. For heavy buildup, consider hiring or renting a gutter cleaning pressure washer to clear stubborn debris safely.
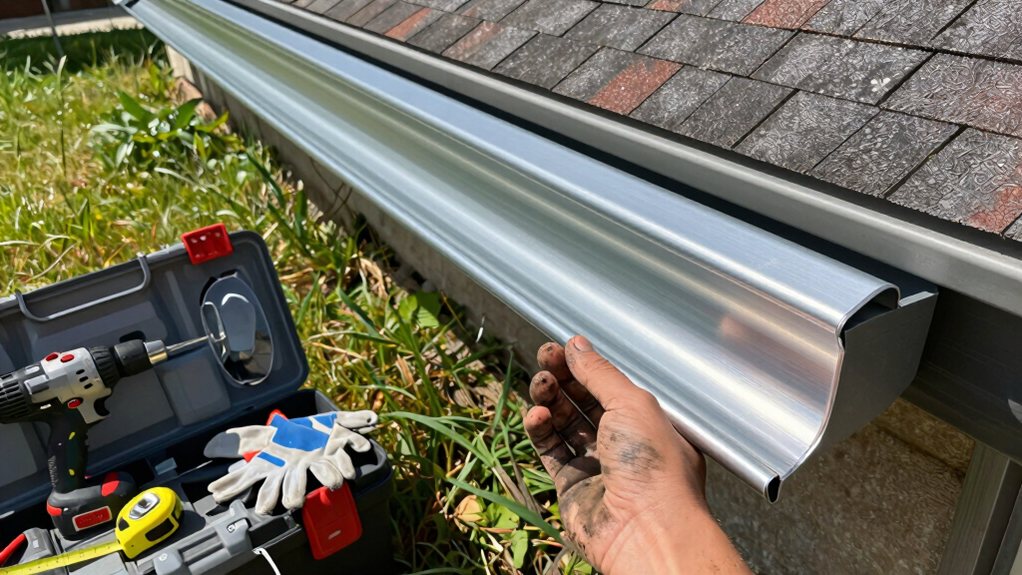
Before you start, you’ll need a few necessary tools and some important safety gear.
A sturdy ladder, work gloves, and safety goggles are your must-haves for staying safe while you’re up there.
You’ll also need the gutter guards themselves, a way to cut them to fit, and a hose to test your work.
Consider purchasing a professional safety equipment kit to get a complete set of protective items.
Since you’re tackling this project yourself, getting your hands on the right tools first will make the whole process easier and safer. A successful DIY gutter guard installation hinges on having the correct gear for safety, measuring, and fastening.
A professional drill driver set can make fastening faster and more reliable.
Even though you might be keen to get started, gearing up with the right safety equipment is the smartest first move you can make.
First, secure a sturdy, extendable ladder on stable ground, and consider a stabilizer to prevent rocking.
You’ll want thick work gloves and long sleeves to guard against sharp edges, and safety goggles are non-negotiable for eye protection from debris.
Trusty, non-slip boots will keep you steady on wet rungs.
When installing gutter guards on a high roof, or if heights make you uneasy, using a proper fall-arrest harness is wise—or simply hire a professional.
Keep a sharp utility knife handy for trimming materials, but always cut away from yourself.
A little prep keeps the project fun and safe.
Also consider storage and access needs for nearby equipment and supplies, including items like a garage door opener kit, when planning your work area.
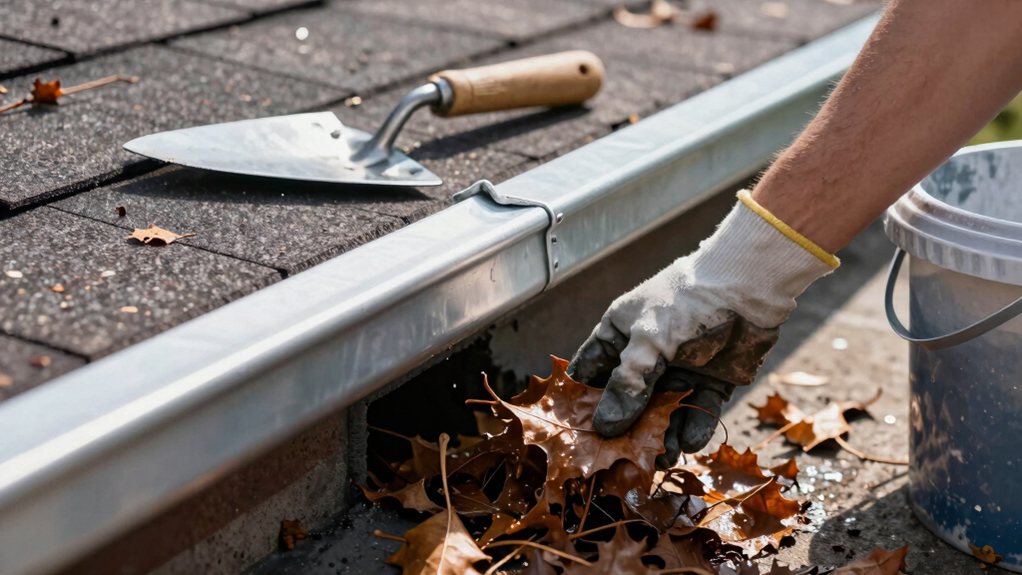
* First, clear out all the old leaves and grit by hand, getting into those corners.
Once the big stuff is gone, give them a good hose flush to reveal any sneaky hidden clogs.
Now that your gutters are clean and in good shape, you can get down to the measuring and cutting. Grab your tape measure and measure each gutter run individually from end to end; don’t just guess the total length.
Add about 10% to your final number for mistakes—trust me, you’ll need it.
When you get your guards, you’ll cut them to fit. For rigid types, mark your line and use tin snips. If you have foam guards, you’ll use a utility knife to cut the foam cleanly. Brush styles often just pop in, needing trimming only for tricky spots.
Getting your measurements right makes sure everything fits snugly, saving you from future headaches. For even greater accuracy, consider using laser measuring tools to quickly and precisely measure gutter runs.
With your guards cut to fit, it’s time to lock them in place so they’ll stay put through wind and rain. For caulking seal points, consider using a professional caulk gun kit for precise application.
Your secure fit depends on the guard type and proper fasteners, making this the most critical part of the installation process.
Follow these tips to get it right:
Once everything’s fastened, give your work a shower!
Run a hose over the roof to check for leaks or movement, then tighten or add screws where needed.
Now it’s time to test your handiwork to make sure everything’s working as it should.
Start with a thorough visual inspection, checking all fastenings and end caps for a snug fit, then simulate a good rainstorm by running water from a hose over your guards.
Watch closely as the water flows, making sure it enters the gutters cleanly and that any debris you toss on top gets properly diverted instead of sneaking through.
For heavy-duty cleaning, consider using an electric pressure washer like a pressure washer electric to help flush out stubborn debris.
After you’ve installed your gutter guards, you’ll want to regularly give them a quick check-up to make sure they’re doing their job.
A simple visual inspection from the ground or a safe ladder position is your best first step.
Here’s what to look for:
You’ve given your gutter guards a good once-over, and everything looks right. Now, it’s time for the real test—making it rain! Grab your garden hose and spray steadily from your roof’s peak for several minutes.
You’re checking the water flow to confirm it travels into your gutters and through the gutter guards properly. Watch closely for any overflow, leaks, or splashing within a minute, which can signal a poor fit or clog.
Also, look for water sneaking behind the guards or ponding in low spots. Toss a few dry leaves up there while spraying to see if your new system sheds debris. If water runs freely to the ground, you’ve done a great job learning how to install gutter guards!
For long-term protection, consider inspecting and replacing door weatherstripping on exterior doors to maintain seals and prevent drafts.
While you’re making it rain with your hose, it’s also the perfect time to see how your gutter guards actually handle the stuff they’re meant to stop.
Your main goal is confirming they’re catching debris on top where you can easily clean it off, not letting it sneak underneath.
Making sure your gutter guards stand the test of time really comes down to some simple, regular love and attention.
Keep your gutter guards effective for years with simple, regular maintenance and a little care.
You’ll need to clean** them at least twice a year, just giving screens or a mesh guard** a gentle sweep to clear leaves.
For brush guards or foam inserts, pull them out and give them a good shake.
Afterward, run a hose along your roofline; this quick test confirms water is flowing right and spots any leaks before they cause trouble.
Don’t forget to tighten any loose screws, especially after a storm—it’s a tiny task that prevents big headaches.
You can also shop for outdoor string light poles if you need lighting posts for patios.
So, you’ve tackled your gutter guards, and that’s a big win for your home. Remember, you’ve just given your gutters a long-term shield against clogs, saving you future hassle. Give them a quick check after the next big storm, just to be sure everything’s flowing seamlessly. Now, kick back and enjoy the peace of mind, knowing your gutters are protected. Great job taking care of your home!