Phone:
(701)814-6992
Physical address:
6296 Donnelly Plaza
Ratkeville, Bahamas.

Phone:
(701)814-6992
Physical address:
6296 Donnelly Plaza
Ratkeville, Bahamas.
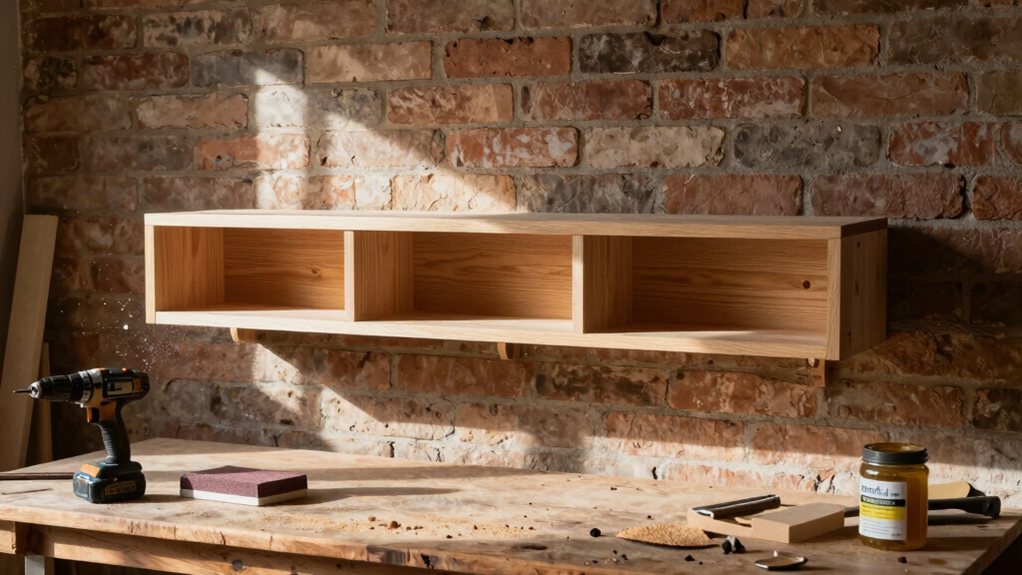
A simple wooden floating TV stand you can build yourself, with clever tips for a
You’ll start by measuring your TV and space, then cut lumber for a simple box frame. Assemble it with screws and glue, reinforcing the corners. Next, find your wall’s studs and securely bolt the frame directly into them—safety is essential! Give the wood a stain or paint finish you love. Finally, neatly bundle and hide the cables. Stick with me to discover all the tricks for a beautiful, sturdy stand that looks professionally built.
Table of Contents
Ever wondered where to begin on a project like this?
It all starts with a good, organized workspace and the right gear.
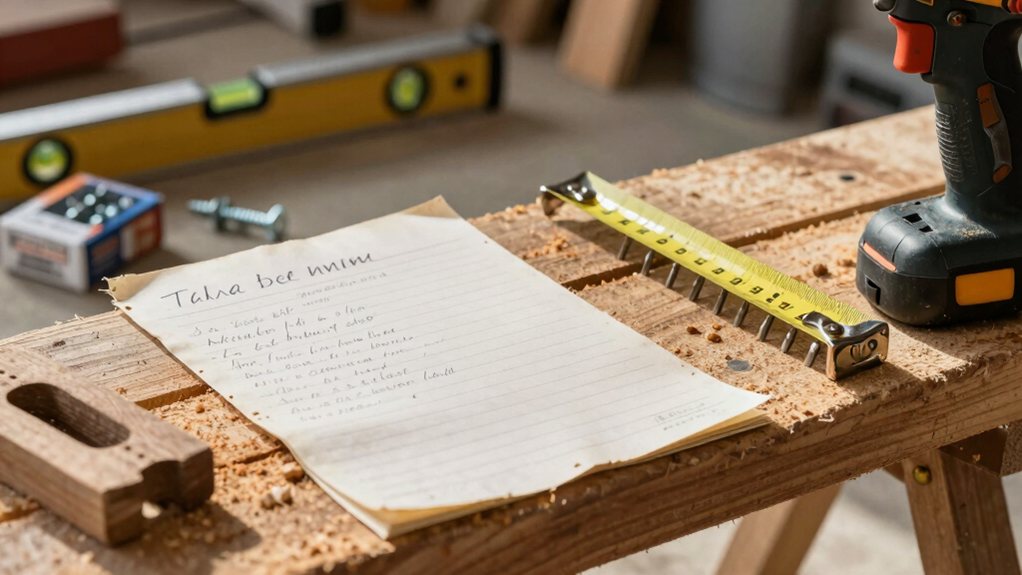
You’ll need basic woodworking tools: a saw, drill, level, stud finder, and sander.
For materials, grab some sturdy lumber, wood screws, mounting brackets, and your choice of stain or paint.
Now, let’s talk about workshop organization.
Clear a space, lay out your tools, and you’ll save so much time and frustration.
Most importantly, don’t skimp on safety equipment—goggles and a dust mask are your best friends here.
Trust me, looking a bit silly is far better than a trip to the clinic.
Getting this prep done right makes the actual building a total breeze.
Consider investing in a professional safety equipment kit that includes goggles, gloves, and a dust mask.
First, grab your tape measure and check your TV’s exact dimensions so you know what size stand you’re building.
Next, take a good look at your room’s layout to pick the perfect spot, making sure you’ve got space for cords and a clear view from your favorite chair.
Finally, use those numbers to plan your cut list, which is just a fancy way of figuring out how much wood you’ll need so you don’t end up with a surprise trip back to the hardware store.
Also, consider checking product options for a floating TV stand mount floating TV stand mount to compare styles and weight capacities.
How are you supposed to know what size TV stand to build if you don’t first grab a tape measure? Start by measuring your TV’s screen diagonally, corner to corner. That’s the advertised size.
Next, you need its actual physical dimensions. Measure the full height and width, including the frame, or bezel width. This guarantees your floating shelf will fully support it, with no overhang.
Also, check your TV’s aspect ratio, which is almost certainly a modern 16:9 widescreen format. Jot these numbers down clearly. Trust me, you’ll curse past-you if the measurements are scribbled on a napkin later. Getting this right now saves a huge headache during the build, making everything fit perfectly.
If you want a secure mount, consider using professional floating shelf hardware designed for heavy loads.
Now, where exactly is this beautiful floating stand going to live? Evaluating your room’s layout is an essential step before you even pick up a saw.
You need to think about how people will move through the space and where everyone will sit to watch. Grab your tape measure and a notepad to get planning.
This planning prevents headaches later and makes the build more seamless. Also consider doing a dry lay of the components to catch fit issues before you cut or secure anything.
With your room’s layout mapped out and the perfect spot for your new TV stand chosen, it’s time to figure out exactly what you’ll need to build it.
First, grab your tape measure and finalize the stand’s exact width, height, and depth. Write these down!
Now, translate those dimensions into a cut list for your plywood or boards, listing every piece you’ll need to cut.
Be sure to add a generous waste allowance of about 10-15% for mistakes or wood imperfections; it saves a frantic hardware store trip later.
With your list complete, you can do a cost estimation. Price out your lumber, screws, brackets, and finish at your local store or online. Seeing the total helps you budget and makes the project feel real. For larger or complex layouts, consider a higher waste allowance such as 15–20% waste to account for diagonal cuts and additional mistakes.
Before you can enjoy that sleek, floating look on your wall, you’ve got to build the foundation—the box frame is your project’s backbone.
Start by laying out your pre-cut panels on a flat surface. Dry-fit them first to confirm everything aligns perfectly, because a wobbly box now means a wobbly TV later.
Then, grab your wood glue and screws to lock it all together.
Double-check all joints are tight, and wipe away any squeezed-out glue with a damp cloth.
Your solid box is ready for the next phase!
Consider adding a storage cabinet system nearby to keep tools and hardware organized while you work.
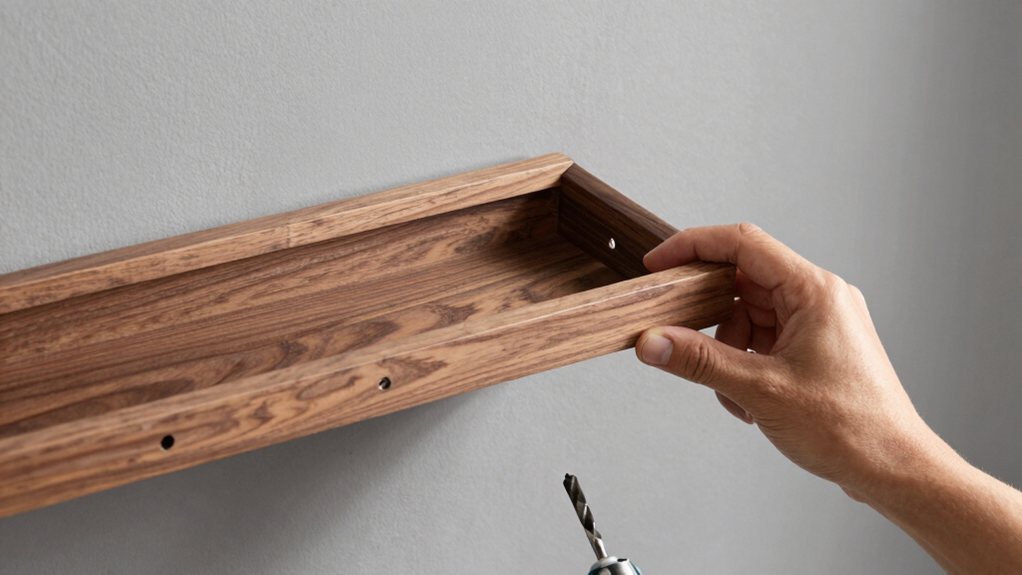
First, you’ll want to locate the wall studs, as they’re the only thing strong enough to hold your new stand and your precious TV.
Next, choose the right mounting hardware, like heavy-duty lag screws, because you definitely don’t want your hard work coming down unexpectedly.
Finally, carefully attach the frame securely to those studs, and then you can step back and admire your sturdy handiwork, knowing everything is safely in place. Consider using a professional stud finder to quickly and accurately locate studs before drilling.
Since a floating TV stand depends entirely on the wall for support, you’ll want to anchor it directly into the wooden studs behind your drywall—it’s a bit like finding the skeleton of your house so you can hang something heavy.
You can’t just trust drywall anchors to hold all that weight. Here’s how to find those studs like a pro:
Once you’ve marked two studs, you’re ready to mount your frame securely. If in doubt, consult a professional door frame installation service to ensure safe mounting.
Now that you’ve got your studs marked, it’s time to pick the right hardware to hold everything up. You’ll need heavy-duty lag bolts, also called lag screws, to anchor the frame directly into the wall studs. Pay close attention to bolt grades; look for markings like Grade 5 or 8, which indicate strength.
Since this hardware will be hidden, corrosion resistance is smart for long-term peace of mind. Choose bolts that are long enough to sink deep into the stud—about 2.5 to 3 inches is a good target.
Don’t skimp here; your TV’s safety depends on these few bolts. Grab your drill, line up your frame, and get ready to secure your handiwork to the wall for good. If you’re also fitting cabinetry, consider components from a professional cabinet hardware kit for matching durability and finish.
For best results, consider using the same heavy-duty components specified in wall mounted desk hardware to ensure your frame is properly supported.
Applying a finish to your wooden TV stand is where your project really starts to look polished and gets its long-term protection.
First, explore different stain techniques to achieve your perfect color, testing on scrap wood first—trust me, it saves heartache.
Once you love the shade, let it dry completely.
Next, apply a protective clearcoat; this is the hero that guards against spills, scratches, and dust.
Whether you choose polyurethane or lacquer, use steady, even strokes with a brush or rag.
You’ll want two or three thin coats, lightly sanding between each for a silky feel.
This final step marries style with serious durability, guaranteeing your stand looks fantastic for years.
Ever wonder how that sleek floating TV stand can look so clean without a single cable in sight?
The secret is managing the mess behind the scenes.
First, gather your power strip and some zip ties.
Here’s your three-step plan to a polished look:
And that’s it! You’ve built a floating TV stand that not just looks custom, but also clears up your floor space. It’s a project you can honestly brag about next time friends come over. Just remember to double-check those wall anchors, because nobody wants a surprise TV meet-and-greet with the floor. Now, kick back, admire your handiwork, and enjoy the cleaner, more modern look of your room.