Phone:
(701)814-6992
Physical address:
6296 Donnelly Plaza
Ratkeville, Bahamas.

Phone:
(701)814-6992
Physical address:
6296 Donnelly Plaza
Ratkeville, Bahamas.
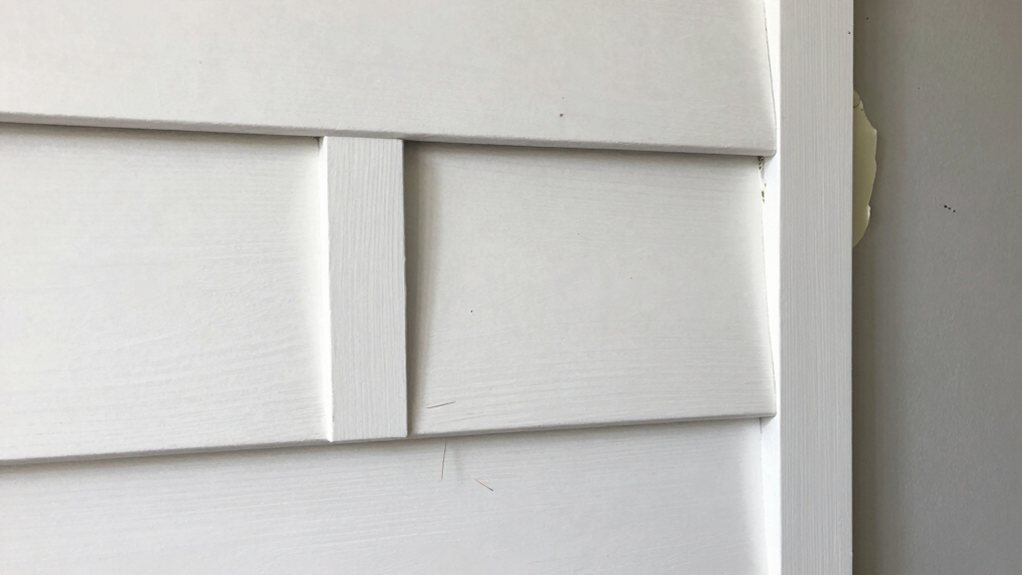
Start your DIY board and batten wall to transform any room, but first learn the secrets for a flawless, professional finish.
You can transform a room with a classic DIY board and batten wall, which adds texture and timeless character without needing pro skills. Start with primed MDF, a level, and a saw. Plan your layout carefully, avoiding outlets and checking for studs. Secure boards with adhesive and nails, then caulk and paint for seamless, polished lines. It’s a satisfying project that makes your space feel custom and complete—ready to learn the secrets to a flawless finish?
Table of Contents
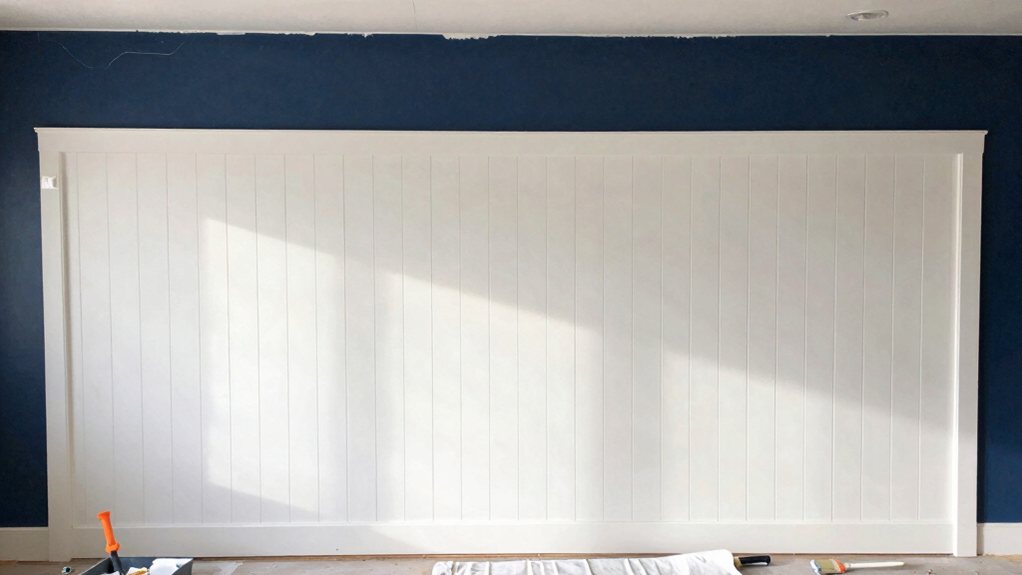
Have you ever walked into a room and felt like it was just missing that final, polished touch?
A board and batten wall could be your perfect solution.
This classic look features wide “boards” with narrow “battens” over the seams, and its Historical Origins are wonderfully practical, coming from old wood siding techniques.
This classic design, born from practical wood siding techniques, proves that enduring style often has wonderfully humble beginnings.
Now, it’s a gorgeous interior style that adds texture and character.
The DIY Benefits are huge, too.
You’re not only saving money; you’re creating a custom feature with your own hands.
It’s a surprisingly manageable project that delivers a massive visual payoff, making your space feel intentionally designed and uniquely yours.
Honestly, the hardest part might just be choosing the paint color!
Professionals say that thorough prep work makes the difference between a flawless finish and a disaster.
Now that you’re excited to create that custom board and batten look yourself, let’s talk about what you’ll need to gather before you start. You’ll require basic tools like a level, a saw, a nail gun or hammer, and a caulk gun.
For materials, you typically need primed MDF or pine boards for the battens and your base board. If you’re looking for eco friendly materials, consider sourcing reclaimed wood or FSC-certified lumber.
For budget alternatives, sanded plywood ripped into strips can work wonderfully instead of pricey primed boards. Don’t forget paint, caulk, and wood filler to finish your masterpiece.
Gathering everything upfront makes the project more seamless, and remember, measuring twice truly does save you from a funny, one-board-short crisis later. Consider investing in a professional caulk gun kit for smoother application and better control.
So, where do you begin with your board and batten layout? First, grab your tape measure and pencil.
You’ll need to decide on your batten spacing; a common, pleasing look is to space them 12 to 20 inches apart. Measure your wall’s total width and do the math, marking your studs as you go.
Seriously, find those studs—it saves future headaches!
Now, think about your furniture placement. If a tall bookcase will sit against the wall, you might adjust the pattern so it doesn’t look awkwardly cut off.
Also, consider lighting considerations; a sconce might look best centered on a panel, not a batten. A little planning now makes the install so much easier, trust me!
Also, do a quick dry lay to preview the overall look before you commit to nailing anything.
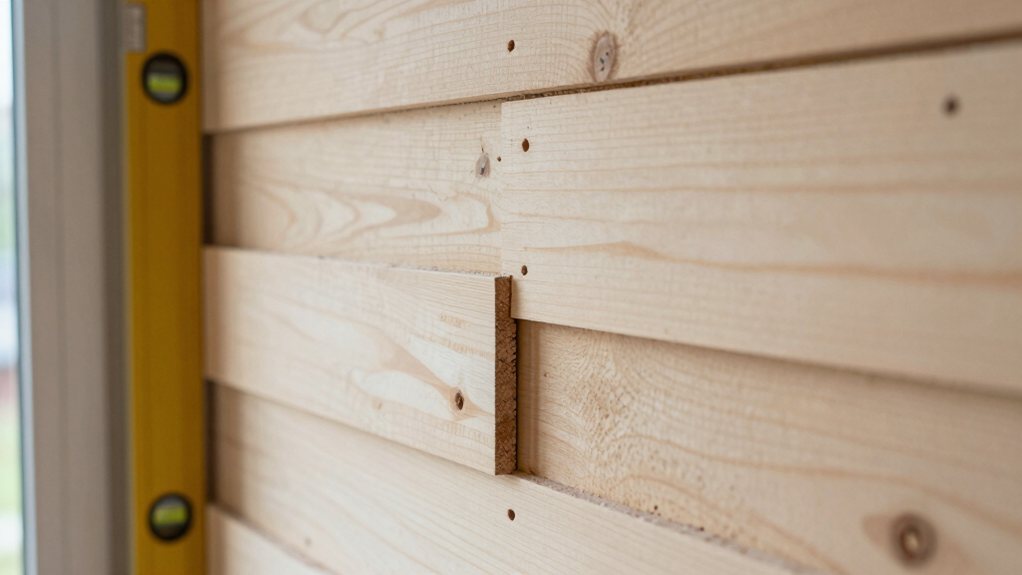
Measure twice, cut once, and breathe. Also, be sure to measure space accurately and account for extra material to avoid mid-project shortages.
Now it’s time to get your boards and battens up on the wall, which is where the real fun begins.
You’ll start by carefully measuring and marking your layout, then move on to cutting and attaching your horizontal boards securely.
Finally, you’ll focus on spacing and leveling your vertical battens, a step that makes all the difference for that crisp, professional finish. If you plan to add shelves, consider professional-grade floating shelf hardware for secure, reliable support.
If you need precision cuts, consider a professional miter saw designed for accuracy and durability.
After you’ve got your wall mapped out with all those confident pencil lines, it’s time to bring your plan to life by cutting and attaching the boards. Grab your miter saw and carefully cut your vertical battens and horizontal rails to length, double-checking your measurements.
If you’re using something special like reclaimed lumber, inspect each piece for nails first—trust me, your saw blade will thank you. Next, apply a strong construction adhesive to the back of each board before pressing it firmly onto your marked lines.
Immediately follow up by nailing it in place with your finish nailer. This two-part grip is what makes it rock solid.
Remember to plan for waste disposal as you go; keeping your workspace clear makes the whole process safer and much more enjoyable.
Before you begin, perform a dry layout to prevent surprises and ensure battens don’t create awkward slivers at the edges.
Once you’ve got your boards perfectly installed and nailed in place, the real magic happens when you grab your caulk gun and paintbrush—because this is the step that transforms your project from “handmade” to “professionally finished.”
Think of caulk as your secret weapon for hiding those tiny gaps and seams; it’s like spackle for your trim work, creating sleek, seamless lines that fool the eye.
Next, your primer selection matters—use a high-quality bonding primer to seal the wood and guarantee your top coat sticks beautifully.
When painting, your brush technique is key: use a quality angled brush, load it lightly, and apply with even, long strokes to avoid drips and streaks.
Finally, step back and admire your flawless, pro-level walls! Also, don’t skip proper degreasing before priming to ensure long-lasting adhesion.
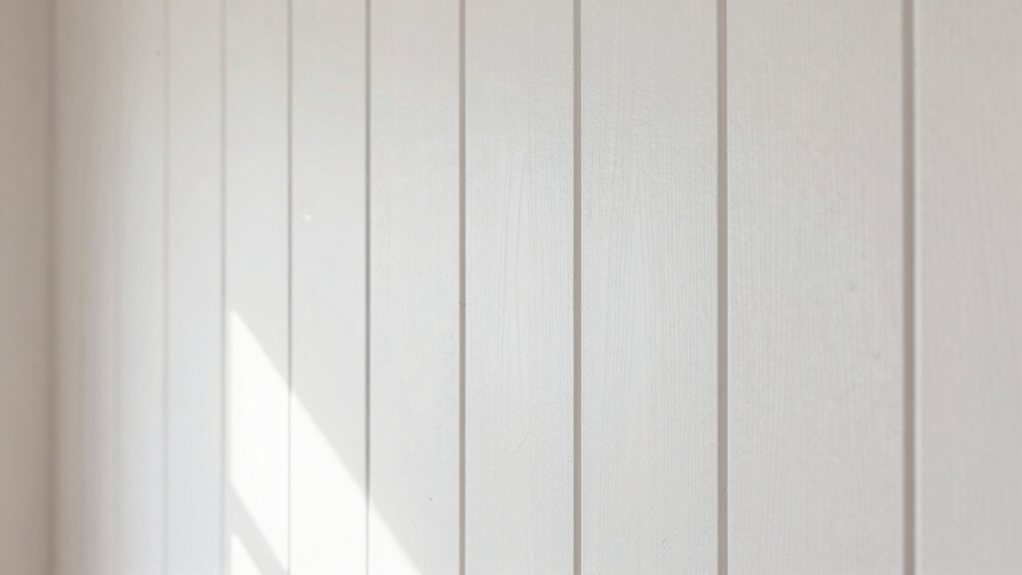
Now that you’ve got a sleek, painted surface, you can explore the fun part: picking your style.
You might love the cozy, classic look of traditional designs, with their closely spaced battens, or perhaps you prefer a clean, modern approach that uses fewer boards for a minimalist feel.
Your choice really sets the whole mood of the room, so think about what makes you smile when you walk in. If your project connects to flooring or outdoor areas, consider how large-format tiles with fewer grout lines can create a seamless flow.
To bring these designs to life, remember:
While the classic style is timeless, you can also give board and batten a fresh, modern twist. Contemporary minimalist approaches focus on clean lines and simplicity. Think about using monochrome palettes, painting everything—wall and battens—the same crisp white or soft gray. This creates a seamless, expansive look.
The real secret weapon is negative space; use wider spacing between your vertical battens for a less-busy, more open feel. It’s like giving your wall room to breathe, which feels calm and uncluttered.
This style is surprisingly forgiving for beginners, as perfect symmetry isn’t the goal. You’re crafting a subtle, architectural accent that feels sleek and quietly confident, not fussy.
And there you have it—your own board and batten wall! You should feel seriously proud of yourself for tackling this project. It’s a fantastic upgrade that adds so much character to any room. Now, just stand back and admire your handiwork. Remember, a little caulk and paint truly make all the difference, so don’t skip those final steps. Enjoy your beautiful new feature wall!