Phone:
(701)814-6992
Physical address:
6296 Donnelly Plaza
Ratkeville, Bahamas.

Phone:
(701)814-6992
Physical address:
6296 Donnelly Plaza
Ratkeville, Bahamas.
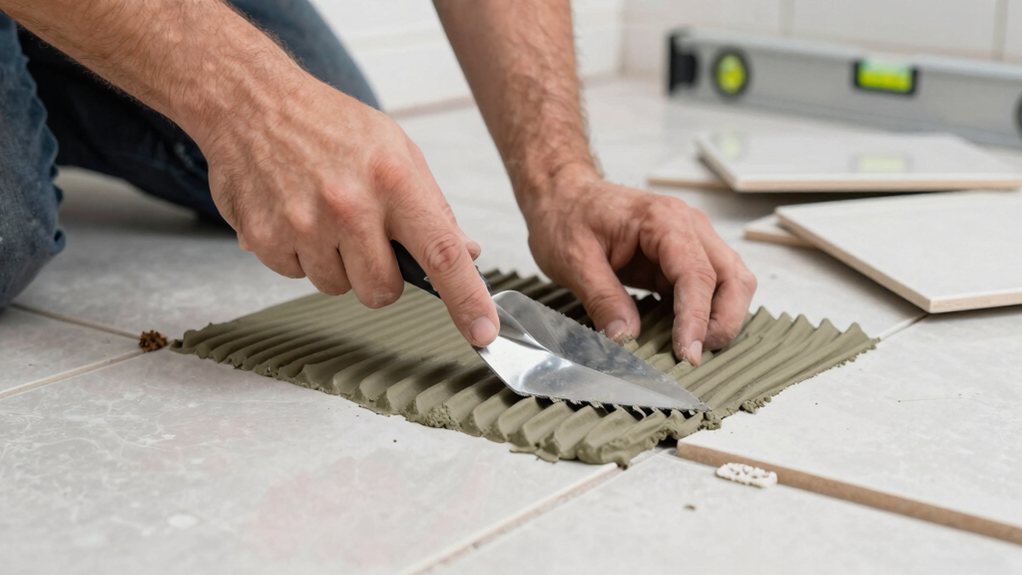
Learn why most first-time tilers fail at the planning stage and discover the costly errors that could ruin your project before it starts.
Beginners often skip essential prep work—like measuring twice, ordering 15% extra tile for cuts and breakage, and testing your layout dry before using adhesive. Don’t match glossy tiles to wet floors (slip hazard!), forget waterproof membranes in bathrooms, or seal grout too early and trap moisture inside. Always pair your tile type with the right adhesive—porcelain and natural stone need different bonding agents—and leave those quarter-inch expansion gaps at edges. The steps below’ll walk you through each decision so your first project actually lasts.
Table of Contents
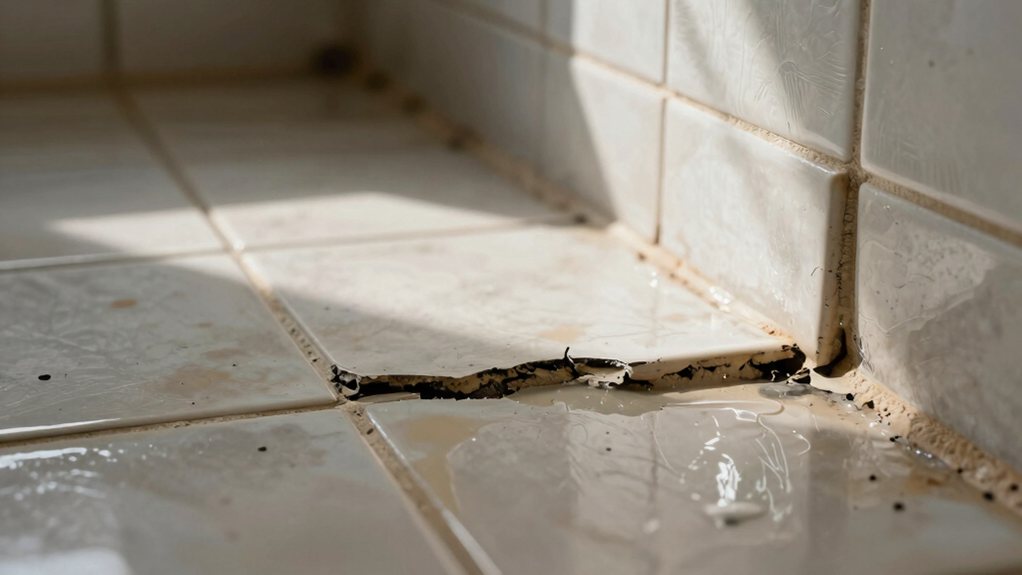
Why do so many homeowners end up regretting their tile choices within just a few years? It’s usually because they didn’t match the tile to their room’s specific needs.
You’ve got to take into account moisture levels and foot traffic before making your selection. Bathrooms and kitchens need tiles that can handle water exposure, and that’s where porcelain benefits really shine—it’s practically waterproof and incredibly durable.
For high-traffic areas like entryways, you’ll want something tough that won’t crack under pressure. Don’t forget about slip resistance, especially in wet zones.
Glossy tiles might look stunning in the showroom, but they can turn your bathroom floor into an ice rink. Choose textured or matte finishes for safety, and you’ll thank yourself later.
Consider purchasing a bathroom renovation tile kit to get all the necessary materials and simplify planning.
Nothing kills a tile project faster than running short halfway through—or ending up with boxes of extras gathering dust in your garage.
You’ll need to measure your space carefully, then add about 15% extra to cover cutting mistakes, broken tiles, and those inevitable oops moments during installation.
Plus, ordering a few extra tiles now means you’ll actually have matching replacements years later when that one tile cracks, since manufacturers often discontinue styles faster than you’d expect.
Consider also whether you might prefer luxury vinyl plank flooring as an alternative for easier installation and long-term durability.
Calculating your tile needs might seem straightforward, but buying the wrong amount ranks among the most common—and most frustrating—mistakes in any tile project.
Before you even think about shopping, you’ll need accurate measurements of your space. Grab your measurement tools—a tape measure and notepad—and get to work.
Measure each wall or floor section separately, multiplying length times width for square footage.
Here’s what you need to remember:
Don’t eyeball it or rely on old floor plans. Those shortcuts will cost you time and money later.
Consider choosing premium peel stick tile backsplash for an easier installation and wide design selection.
You’ve got your measurements down pat, but here’s where things get real: raw square footage won’t cut it.
You’ll need extra tiles to cover inevitable mishaps.
The industry standard? Add 15% to your total.
This cushion accounts for manufacturing variance—tiles aren’t always perfectly uniform—and shipping damage that’ll have you discovering cracked pieces mid-project.
Plus, you’ll make cuts that don’t go as planned (we all do).
If you’re tackling diagonal patterns or herringbone layouts, bump that percentage to 20%.
Here’s the kicker: buy everything from the same batch.
Dye lots vary between production runs, and mismatched tiles will haunt you forever.
Order generously now, because hunting down matching replacements later? That’s a special kind of DIY nightmare you don’t want.
Also, make sure you have the appropriate power tools available to speed up cutting and installation.
Most homeowners rush through their tile order, grab exactly what they need for the job, and call it done—only to kick themselves six months later when a tile cracks and they’ve got no replacement.
Here’s the thing: you’ll want extras on hand for future repairs. Tiles get discontinued, and even if they’re still available, batch consistency varies between production runs. That means your “perfect match” might look noticeably different from what you originally installed.
Smart strategies for ordering extra tile:
Think of those extra tiles as insurance—you’re protecting your investment and saving yourself from a mismatched repair nightmare down the road. Consider storing your labeled boxes near a garage storage cabinet system to keep them organized and protected.
Before you even think about mixing mortar or laying that first tile, you need to make sure your surface is properly prepped and waterproofed—otherwise, you’re basically building a beautiful disaster.
Start with thorough substrate inspection to check for cracks, moisture issues, or uneven spots that’ll haunt you later. Your surface needs to be clean, level, and structurally sound before anything else happens.
In wet areas like bathrooms and kitchens, membrane installation isn’t optional—it’s vital. This waterproof barrier protects against moisture damage that can lead to mold, rot, and costly repairs down the road. Skip this step, and you’ll watch your gorgeous tile job literally fall apart. Trust us, spending extra time on prep now beats dealing with a renovation nightmare later. Having a caulking tool kit on hand can make sealing joints and finishing edges much easier during prep and waterproofing.
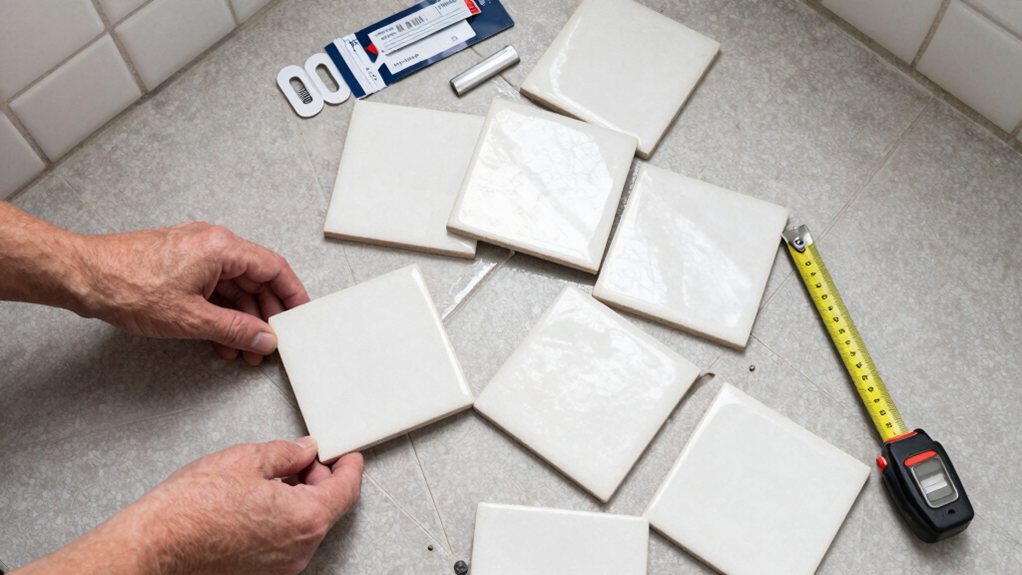
You don’t want to reach the end of a row only to discover you’ll need a sliver of tile that’s nearly impossible to cut and looks awkward. A dry run lets you spot these cutting nightmares before any mortar touches your floor, so you can adjust your starting point to create more balanced cuts at the edges.
Plus, laying out your tiles beforehand reveals how your pattern will actually flow across the space—you might catch that your gorgeous diagonal design creates weird triangles in the corners or that your centerpiece medallion ends up hidden under the fridge.
Jumping straight into cutting tiles without mapping out your layout is like assembling furniture without checking the instructions first—you’ll likely end up with pieces that don’t fit where you need them.
Measuring twice and cutting once isn’t just a cliché—it’s your wallet’s best friend. Before making any cuts, double-check your measurements and mark your tiles clearly with a pencil.
Here’s what’ll save you from turning expensive tiles into expensive mistakes:
If you need a portable cutting option for on-site work, consider a cordless circular saw kit for added convenience and mobility.
Even perfect cuts won’t save you from a pattern disaster if your tiles don’t flow together the way you imagined. That’s why you need to lay everything out before committing to adhesive.
A dry run reveals whether your pattern rhythm actually works in your space, or if it creates awkward interruptions at doorways and corners. You’ll also discover if your scale proportion looks right—those large format tiles might’ve seemed perfect in the store but feel overwhelming in your small bathroom.
Arrange tiles loosely on the floor, step back, and assess the overall look. Take photos from different angles.
This simple preview saves you from permanently installing a layout that just feels off. Trust me, repositioning loose tiles beats chipping away mortared mistakes. Also consider how the pattern will interact with your bathroom vanity cabinet to ensure transitions around fixtures look intentional.
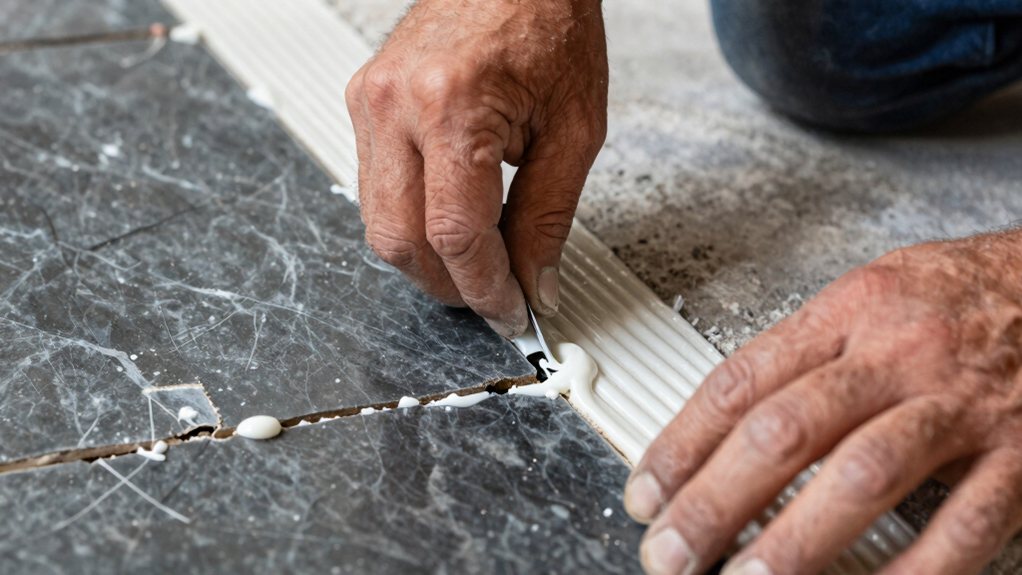
When it comes to tile installation, picking the wrong adhesive or grout is like wearing flip-flops to a snowstorm—technically possible, but you’re gonna have a bad time.
Understanding adhesive chemistry matters because porcelain needs different bonding than natural stone, and using the wrong one leads to cracked tiles or complete failures.
Grout compatibility is equally essential since glass tiles require non-sanded grout while larger floor tiles need sanded versions.
Here’s what you need to match correctly:
Your tile supplier can recommend the right products for your specific project.
Although rushing through tile cuts might seem like a time-saver, it’s actually a recipe for chipped edges, cracked tiles, and a whole lot of buyer’s remorse.
Rushing tile cuts leads to chipped edges, cracked tiles, and expensive mistakes you’ll regret later.
Take your time with each cut, letting your saw do the work rather than forcing it.
You’ll also need to leave expansion gaps around the room’s perimeter—typically about a quarter-inch—because tiles expand and contract with thermal movement.
Skip these gaps, and you’re setting yourself up for cracked tiles when temperatures shift. Don’t worry about those edges looking unfinished, though. That’s where trim profiles come in handy, covering those necessary gaps while giving your project a polished, professional appearance. Remember, patience during cutting and planning for expansion will save you from costly repairs down the road. Also consider proper weatherstripping to prevent drafts and moisture where tiles meet exterior doors.
You’ve probably heard that grout needs to be sealed right away—maybe even within 72 hours of installation—but here’s the thing: that’s actually a myth that could ruin your entire tile project.
Rushing to seal your grout before it’s properly cured can trap moisture inside, leading to discoloration, mold growth, and weakened grout lines.
Different sealer types require specific curing times, and most grouts need anywhere from 48 hours to several weeks to fully cure before sealing.
Here’s what you should do instead:
Patience here saves you from costly repairs later. Consider investing in a professional caulk gun kit to ensure proper application and longevity.
Starting with a practice corner before moving to the main event sounds like solid advice—the kind of wisdom that gets passed around DIY forums and home improvement shows like gospel truth.
Here’s the thing, though: it’s not actually necessary. You don’t need a trial run in some hidden spot before tackling your shower wall or kitchen backsplash.
Tool familiarization happens pretty quickly once you start working, and those aesthetic decisions you’re worried about? They’re consistent throughout your space anyway. The grout lines, tile spacing, and pattern all need to match, so practicing in one area doesn’t give you a magical advantage. Jump in where it matters most. You’ll figure things out fast enough, and you won’t waste time repeating work unnecessarily.
You’ve got this! Your first tile project might feel overwhelming, but you’re now armed with the fundamentals to avoid costly rookie mistakes. Remember, even pros started somewhere, and they definitely cracked a few tiles along the way. Take your time with prep work, don’t skip the dry run, and trust the process. Before you know it, you’ll be admiring your handiwork and planning your next tiling adventure.