Phone:
(701)814-6992
Physical address:
6296 Donnelly Plaza
Ratkeville, Bahamas.

Phone:
(701)814-6992
Physical address:
6296 Donnelly Plaza
Ratkeville, Bahamas.
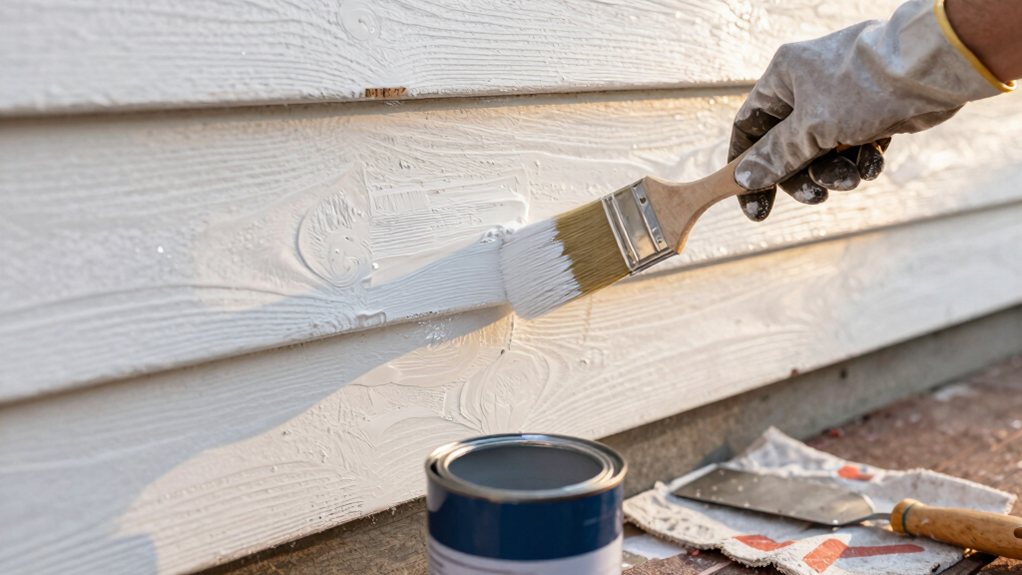
Boost your home's curb appeal with expert techniques for prepping, priming, and painting exterior siding that professionals use daily.
Start by checking for lead paint in pre-1978 homes and inspecting for rot, then power wash your siding at 1500–2500 PSI and let it dry 24–48 hours. Fill cracks with exterior-grade filler, sand evenly, and prime bare wood with quality primer like Sherwin-Williams ProBlock. Paint between 50–90°F using the wet edge method, working top to bottom with a roller for large areas and brush for edges. Apply two coats, allowing 4–6 hours between them—and there’s plenty more to master for that professional-looking finish.
Table of Contents
Before you even think about cracking open that first paint can, you’ll need to play detective and give your home’s exterior a thorough inspection.
Start by checking for lead paint if your house was built before 1978—this stuff’s no joke and requires special handling to keep everyone safe.
Houses built before 1978 likely contain lead paint—get it tested and handled by professionals to avoid serious health risks.
Next, hunt for rot and structural damage like soft, spongy wood or loose boards that’ll sabotage your paint job.
Grab a moisture meter to check wood siding; you’ll want readings below 15% to prevent paint failure and mold.
Found some problem areas? Document your repairs before moving forward.
Think of this inspection as your foundation—skip it, and you’re basically painting over trouble waiting to happen.
Grab your pressure washer and get ready to blast away years of grime, chalky residue, and peeling paint that’s been clinging to your siding like a stubborn houseguest who won’t take the hint.
This vital step creates the clean canvas you’ll need for a professional-looking finish.
Here’s how to power wash like a pro:
Watch that loose paint surrender to the spray—it’s oddly satisfying and absolutely essential for proper adhesion. For larger projects, consider renting or buying a commercial electric pressure washer to ensure consistent, reliable power throughout the job.
Once your siding’s squeaky clean and bone dry, it’s time to pick the paint and primer that’ll actually survive your local weather’s mood swings.
If you’re dealing with humidity, grab moisture-resistant options. Living where the sun never quits? UV-resistant exterior paint is your best friend.
For places with wild temperature swings, choose formulas that handle expansion and contraction without cracking like an eggshell. A high-quality acrylic latex primer, like Sherwin-Williams ProBlock, gives you solid adhesion regardless of what Mother Nature throws at you.
Consider satin or semi-gloss finishes for better moisture protection and easier cleaning.
And here’s the kicker: always check the manufacturer’s sweet spot for application temperature—usually between 50°F and 90°F—to maximize your paint’s lifespan.
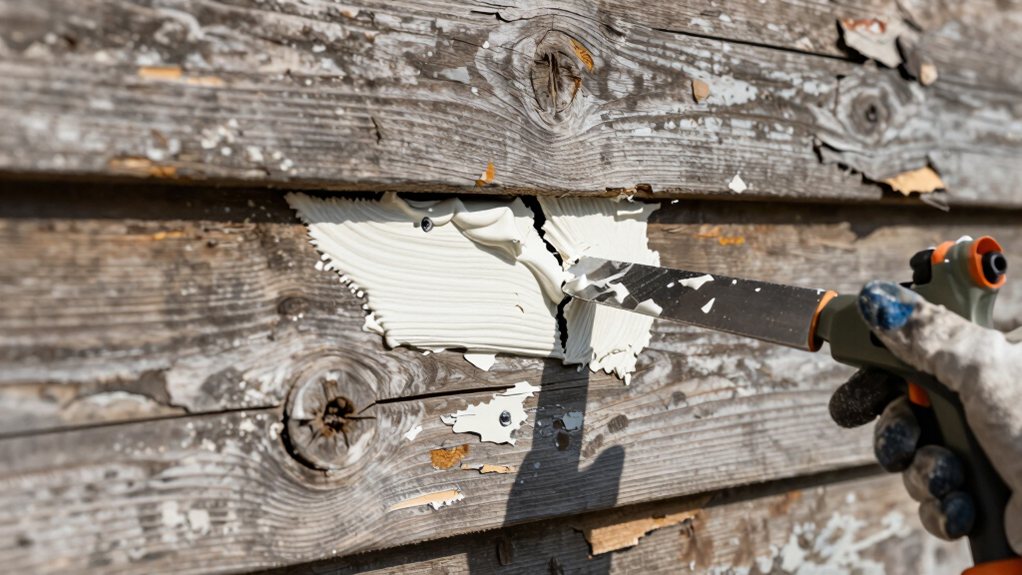
Your siding’s clean, your paint’s picked out, but hold up—those tiny imperfections scattered across your exterior aren’t going to fix themselves.
Before you crack open that paint can, you’ll need to fill all cracks, gaps between the siding, and nail holes. Otherwise, moisture’ll sneak in and ruin your hard work.
Here’s what you’ll need to tackle:
Take your time with this step.
Those filled spots should blend seamlessly with the surrounding surface, creating a flawless canvas for your fresh paint.
Once you’ve filled those cracks and gaps, it’s time to grab your sandpaper and get that siding baby-sleek for painting.
You’ll want to choose the right grit for the job, work on a clean surface after power washing, and focus on creating an even texture that’ll make your new paint look professional.
Think of sanding as the difference between spreading peanut butter on rough toast versus silky bread—one’s going to look way better than the other.
Before you grab just any sandpaper from your toolbox, you’ll want to understand that choosing the right grit makes all the difference between a paint job that lasts and one that starts peeling within a year.
The key to excellent paint adhesion starts with proper surface preparation.
Here’s your sandpaper game plan:
Once you’ve finished sanding, wipe down the entire surface to remove debris before applying primer.
After power washing your siding, you’ll need to let everything dry completely—and we’re talking bone-dry, rather than surface-dry.
Once it’s ready, grab your 80 grit sandpaper and start removing any stubborn paint spots and rough patches. This coarser grit does the heavy lifting, creating a clean canvas for your paint job.
Next, switch to 120 grit sandpaper for a finer finish that’ll help your primer stick like it should. Don’t skimp on the sanding—work methodically across the entire surface to keep everything uniform.
Safety first, though: throw on a mask and goggles to protect yourself from all that dust flying around.
When you’re done, wipe down the siding to remove debris before priming.
Getting that siding surface truly even isn’t just about making it look pretty—it’s about giving your paint job the foundation it needs to last for years.
When you create an even surface, you’re setting yourself up for success before you apply two coats of paint.
Here’s your game plan for refining things out:
This preparation guarantees better paint adhesion and prevents peeling down the road.
Your primer and paint will thank you.
Once you’ve cleaned and prepped your siding, it’s time to tackle one of the most crucial steps in the entire painting process: priming bare wood and exposed areas. This step isn’t optional if you want your exterior painting to last.
Start by filling any gaps or holes with exterior-grade filler, then let it dry completely. Next, apply a high-quality primer like Sherwin-Williams ProBlock or Dunn-Edwards EZ-PRIME to all bare wood surfaces. A paint sprayer works best for even coverage on larger areas.
After the prime coat dries for 24 hours, lightly sand with 120-grit sandpaper. This creates the perfect foundation for your topcoat, guaranteeing your paint adheres properly and stands up to the elements.
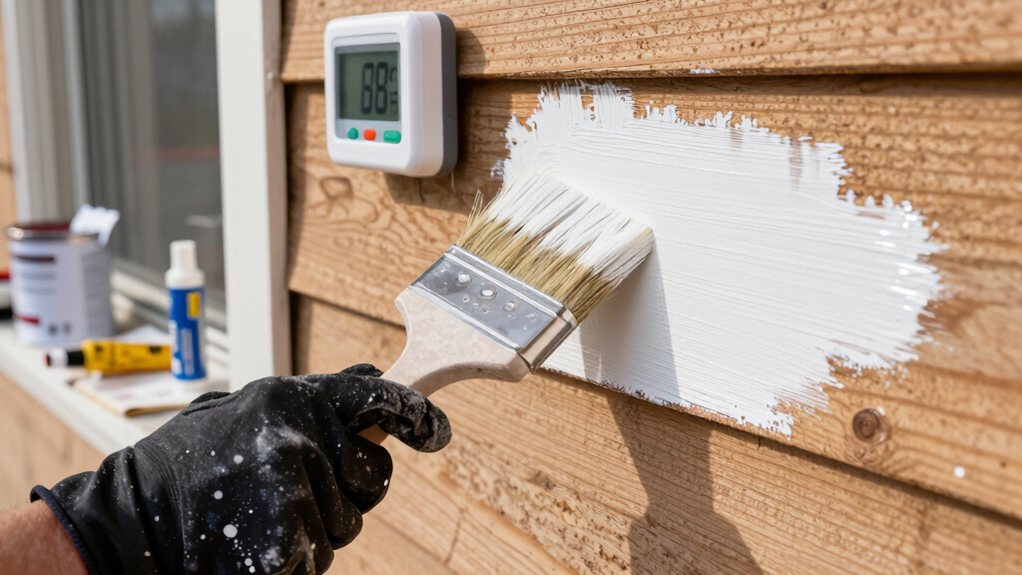
With your primer perfectly set and ready for the next step, you’ll need to pay close attention to something that might seem simple but can make or break your entire project: the weather.
When you paint your house, temperature matters more than you’d think. Here’s what you need to know for best results:
Plan your painting schedule around moderate weather conditions, and you’ll thank yourself later when your siding looks professionally done.
Two coats of paint stand between you and a beautifully transformed exterior, but the technique you use matters just as much as the paint itself.
Start at the top of your siding and work downward, catching drips before they ruin your hard work. Apply two coats using a roller for large sections and a brush for edges, working in three to four-foot areas to maintain a wet edge—this prevents those telltale lap marks.
Quality matters here, so reach for Sherwin-Williams Duration or Emerald for superior weather resistance. Allow 4–6 hours between coats for proper drying, and dodge direct sunlight during exterior painting to avoid quick-drying disasters.
Your patience pays off with a professional-looking finish.
You’ve got this! With your siding prepped, primed, and painted using the right techniques, your home’s exterior will look fantastic for years to come. Sure, it’s a bit of work, but there’s something satisfying about stepping back and admiring those crisp, clean lines. Remember to keep an eye on the weather, work at a steady pace, and don’t rush those coats. Your patience will definitely pay off!