Phone:
(701)814-6992
Physical address:
6296 Donnelly Plaza
Ratkeville, Bahamas.

Phone:
(701)814-6992
Physical address:
6296 Donnelly Plaza
Ratkeville, Bahamas.
Our step-by-step guide reveals how to stain and seal your concrete patio for a durable, professional finish that you can...
You can definitely stain and seal your concrete patio yourself for about $500 in materials. First, make sure your concrete is clean, dry, and fully cured, then choose between the mottled look of acid stains or the safer, consistent colors of water-based options. Apply the stain evenly with a sprayer and back-roll it, then protect your work with a durable outdoor sealer. There are just a few key tricks to learn for a pro-level finish that lasts.
Table of Contents
So, you’re eyeing your old concrete patio and wondering if you can give it a fresh, colorful makeover?
Good news—you absolutely can stain an existing concrete patio!
Your old concrete patio is a perfect candidate for a vibrant, colorful transformation.
The key is making sure your slab is ready.
It should be fully cured, sound, and free of old paint or sealers.
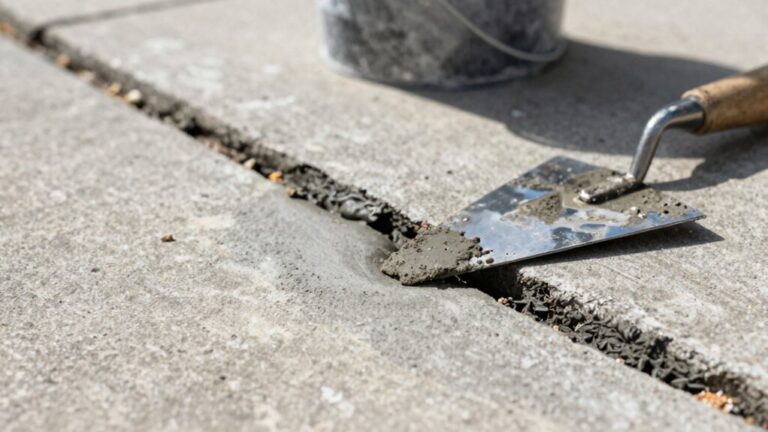
You’ll need to patch any cracks first.
For color, you have choices.
Acid stains create a unique, mottled look through a chemical reaction, but they can be unpredictable.
Water-based options are more user-friendly.
Whichever you pick, always test it in a hidden corner first.
Once stained and dry, you must apply a concrete sealer.
This topcoat locks in your new color and protects your hard work from sun and weather for years to come.
Before staining, check substrate flatness against ASTM F710 tolerances to ensure longevity.
Many homeowners are pleasantly surprised to find that staining a concrete patio can be a reasonably affordable upgrade, especially if you’re willing to roll up your sleeves. A typical DIY project might run you about $500 for stain, sealer, and prep materials, not including any equipment rentals like a pressure washer or paint sprayer.
The cost of staining depends heavily on your product choice. You’ll pay more for an acid-based stain, which creates rich, variegated color at about $2–$6 per square foot, while water-based stains are a simpler, budget-friendly option around $2 per square foot. Consider renting professional deck staining equipment such as sprayers and pressure washers to speed the job and improve results.
Now you’ve got to pick your stain, and your two main choices are acid-based or water-based.
Acid stains create a natural, marbled look that’s famously durable, but working with them requires serious safety gear and they can be a bit unpredictable.
On the other hand, water-based stains are much easier and safer to use, they offer a huge range of colors, and they give you a more consistent, paint-like finish.
Also consider surface prep and moisture testing before staining to ensure proper adhesion and long-term durability.
Choosing between acid stain and water-based stain is a bit like deciding between a wild art project and a controlled paint job—both can be stunning, but they give you very different results.
Acid stains create a unique, permanent color by reacting chemically with minerals in your concrete.
This means your final patio tone is a beautiful surprise, with a natural, mottled look you should always test first.
Remember, these Concrete Stains are serious stuff.
You’ll need strong Protective Equipment, an acid-resistant airless sprayer, and excellent ventilation—so throw open those windows and doors!
It’s a more involved process, but you’re rewarded with deeply bonded, durable color that ages gracefully.
For best safety and efficiency, consider equipping yourself with a professional safety equipment kit that contains the right protective gear and tools.
If acid stains are the unpredictable artists, water-based stains are the reliable craftsmen you can count on for a gorgeous, controlled finish. They offer a huge range of colors, so achieving your desired color for concrete patios is much simpler.
This concrete stain is also a DIY dream—it dries fast, uses safer chemicals, and skips the messy acid-neutralizing step. It penetrates like a wood stain, giving you super consistent results, even on patched areas.
While you’ll need to keep up with Sealing Stained concrete over the years, the initial cost is friendlier and cleanup is a breeze. You can even add a second coat to deepen the color if you want a richer look later on. Some sealers are water-based and low-VOC, which makes them safer and easier to apply.
Getting your concrete patio ready for staining is a bit like prepping a canvas for a painting—the results you’ll love depend on the foundation you create.
Think of staining your patio like preparing a canvas—the beauty of the final result relies entirely on a solid foundation.
First, if your slab is new, give it a full month to cure.
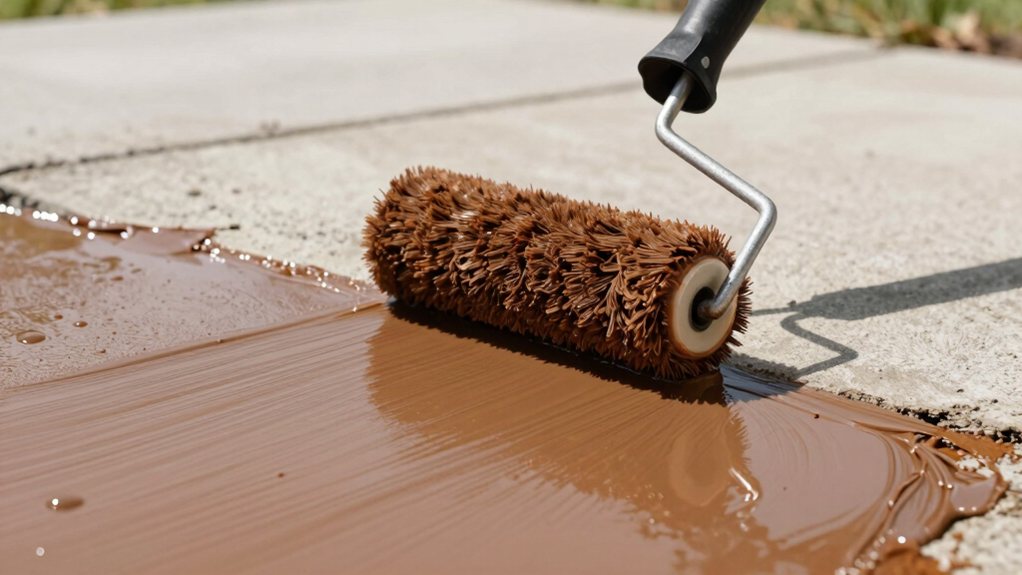
Next, tackle any surface preparation by fixing cracks with a crack sealant and stripping off any old paint or sealer.
Sweep thoroughly, then attack dirt and oil spots.
Your pressure washer will become your best friend here; use it to rinse the slab until a wipe test leaves no residue.
If water beads on the surface, you’ll need an etching solution to open the pores.
Finally, do a small test patch—it’s your sneak peek at the gorgeous color to come!
For heavy-duty cleaning, consider a commercial-grade pressure washer for reliable performance.
Now that you’ve prepped your concrete canvas, it’s time for the exciting part: applying the stain.
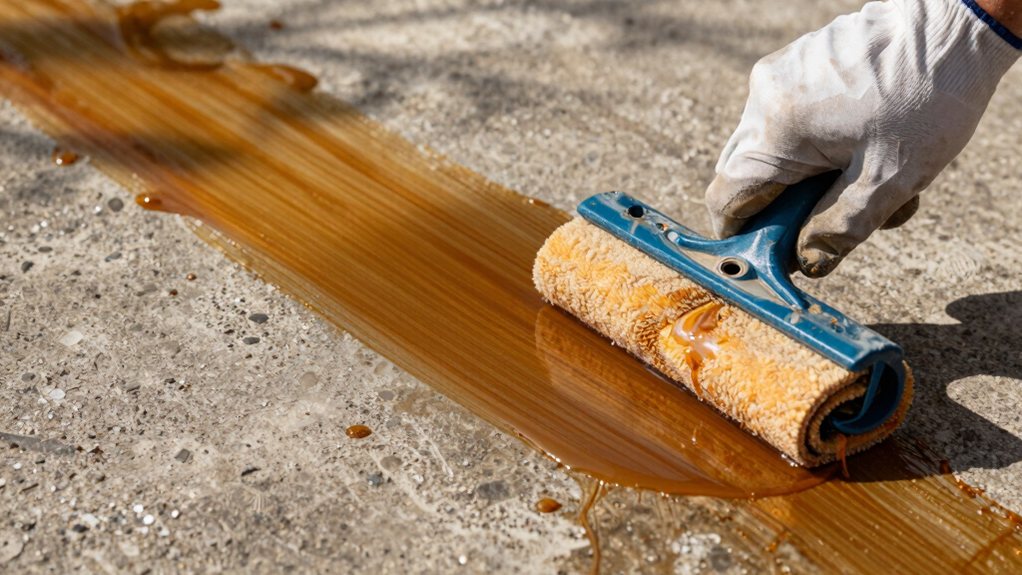
For your Concrete Patio, use a sprayer to apply the stain in broad, even passes. The golden rule is to maintain a wet edge, overlapping each stroke to prevent ugly lap marks.
Immediately after spraying a section, back-roll it with a paint roller. This evens out the finish and stops puddles in joints.
Work when the surface is between 40°F and 95°F, avoiding direct sun or wind that can cause blotchy color. For best results on large areas consider an airless sprayer that can handle unthinned paint for faster coverage.
Now that your stain’s looking great and is fully dry, you’re ready to seal it and lock in all that hard work.
You’ll need to pick the right sealer for outdoors and follow a careful application process to get a durable, beautiful finish.
Let’s look at your options and then walk through the simple steps to seal your patio like a pro.
Proper surface preparation — ensuring the concrete is flat, clean, dry, and grease-free — helps sealers bond effectively.
Choosing the right sealant for your stained patio is like picking the perfect jacket—it needs to protect from the elements while complementing the style underneath.
The right seal locks in your color and shields your concrete surface from rain, sun, and stains.
For your outdoor space, you’ll mainly choose between two types: film-forming and penetrating sealers.
This choice defines your patio’s final look and durability.
Your project’s success hinges on this final, protective step. For ongoing maintenance, use pH-neutral cleaners to avoid stripping the sealant and prolong the finish.
Once your stain is thoroughly dry and you’ve chosen the right protective sealant, it’s time to roll up your sleeves for the final, satisfying step—applying the sealer itself.
First, you must wait at least 24 hours for drying, checking with a clean wipe.
Grab your tools and lay down drop cloths to protect nearby areas.
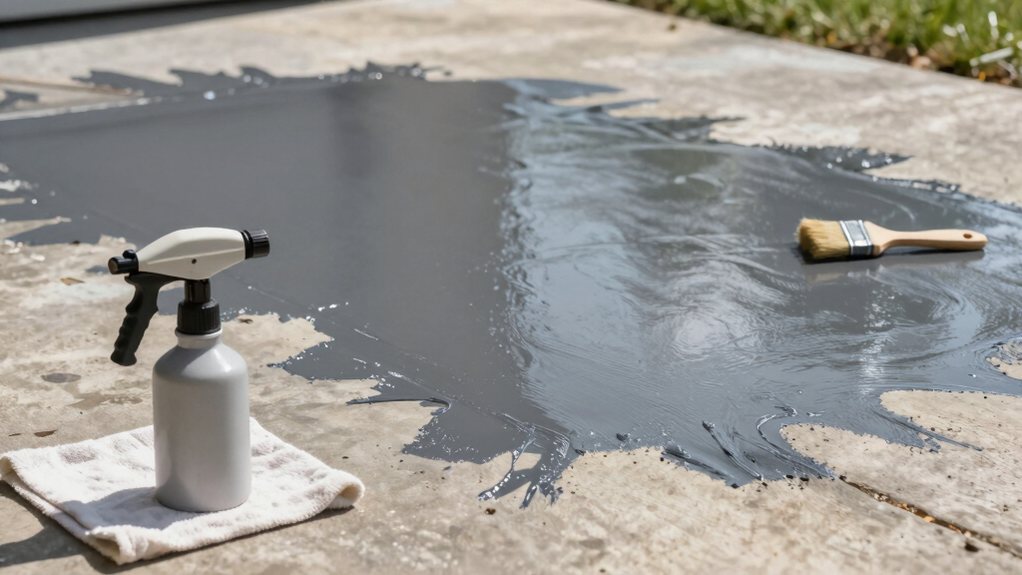
For the best finish, use an acid-resistant airless sprayer or a roller.
Apply your first coat in thin, even layers, starting from the far corner and working backward to avoid getting trapped.
Keep your space well-ventilated!
Let this coat dry completely—usually about eight hours—before adding a second.
This double coat builds a durable shield, locking in that beautiful color for years of backyard enjoyment.
Consider using a high-quality exterior paint sprayer system to ensure consistent coverage and efficiency.
Because your sealed patio works hard in the sun and rain, keeping it looking great involves a little regular care and knowing when it’s time for a fresh coat of sealer.
Your patio endures the elements, so consistent care and timely resealing keep it looking its best.
Routine cleaning prevents grit from grinding down the finish, so just sweep or hose it off regularly.
To test if it’s time to reseal, sprinkle some water on the surface; if it stops beading, plan your resealing project.
Ever wonder why some stained concrete patios end up looking splotchy or dull instead of beautifully even?
Several common mistakes can trip you up.
First, staining too early on new poured concrete prevents proper absorption; wait at least 30 days.
Second, if your surface has old concrete paint or sealers, the stain can’t penetrate. You must strip it completely.
Also, overapplying stain or letting it puddle creates dark blotches—always use thin, even coats.
Skipping a test patch is a gamble with your final color, so don’t!
Finally, sealing too soon traps moisture and ruins the effect. Wait the full cure time, then protect your hard work with a quality sealer for lasting beauty.
Now that you know how to avoid those blotchy results, you’re probably thinking about tackling the job yourself.
A DIY stain project can be a rewarding home improvement if your patio is under 800 sq ft and in good shape.
You can follow a step-by-step guide, treating it like decorating concrete pavers.
But calling a pro is smarter in a few key situations.
So, you’ve got a gorgeous new patio finish, and now it’s all about keeping it that way. Don’t worry, maintaining it is pretty simple. Just give it a gentle clean now and then, and plan to reseal it every few years to fight off wear and weather. That little bit of upkeep means you can just relax and enjoy your handiwork for many sunny days and cozy nights to come.