Phone:
(701)814-6992
Physical address:
6296 Donnelly Plaza
Ratkeville, Bahamas.

Phone:
(701)814-6992
Physical address:
6296 Donnelly Plaza
Ratkeville, Bahamas.
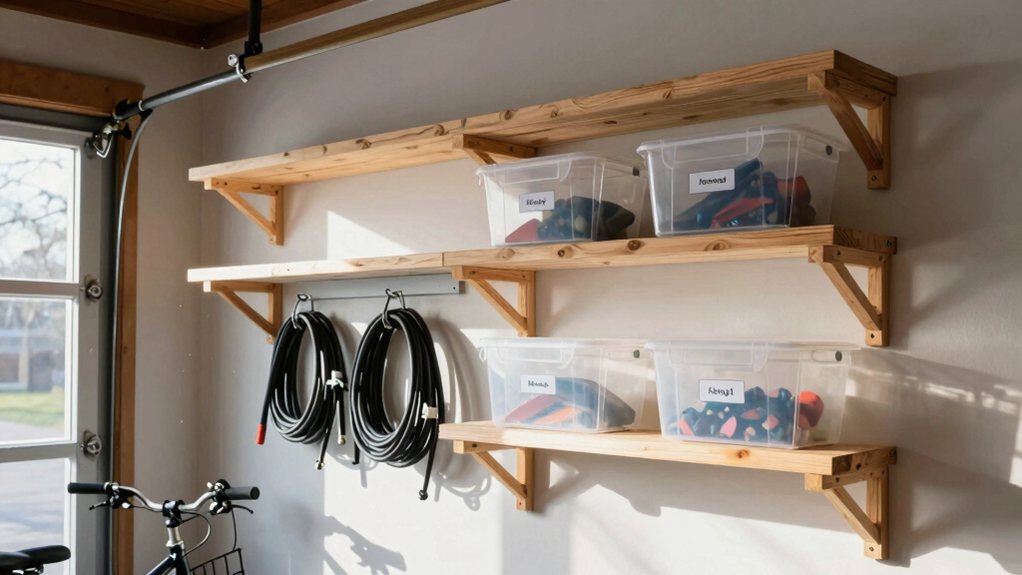
Plan your overhead garage storage to free up floor space, but ensure you know these crucial safety steps first.
You can easily build a simple overhead storage rack yourself, freeing up floor space. First, plan your layout using ceiling joists as anchors, guaranteeing plenty of clearance above your garage door. Assemble a sturdy wooden frame from 2×4 lumber and securely mount it with lag bolts. Add a plywood deck, and you’re ready to store those bulky seasonal items safely. There’s more helpful detail waiting for you just below.
Table of Contents
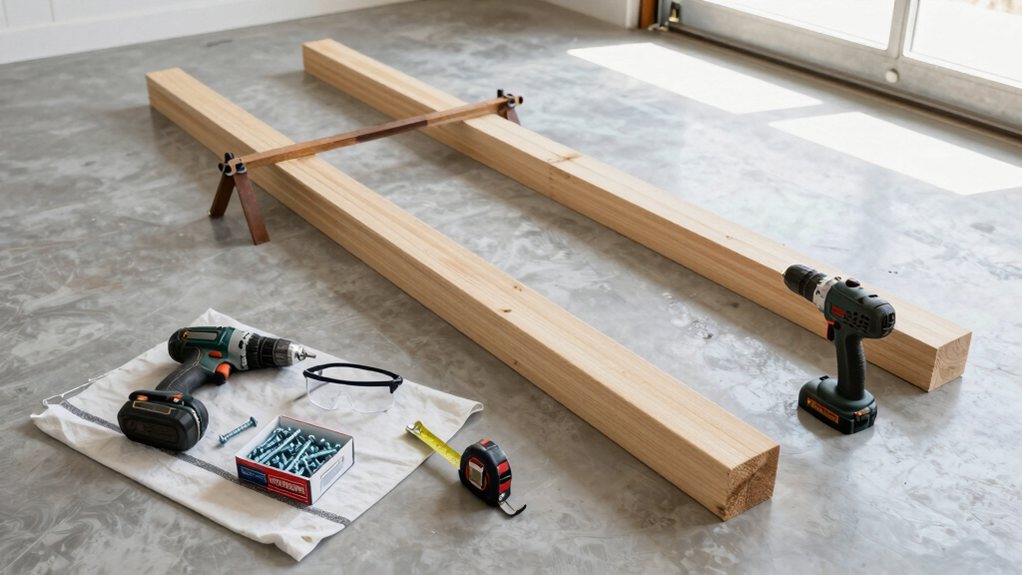
Alright, let’s get your garage organized!
Before you start, you’ll need a few basic tools and materials. For tools, grab a drill, a level, a stud finder, and a saw. Good tool organization now saves you a headache later.
For materials, you’ll want 2×4 lumber for your frame and sturdy plywood for the shelf deck. Don’t stress if you don’t have everything; consider material alternatives like using heavy-duty shelf brackets instead of a full wood frame.
You might already have some items, so check your stash first. This project is more about smart planning than fancy supplies. Let’s gather what you have and make a simple list for what you need to buy. If you prefer ready-made options, consider researching garage ceiling storage systems that are rated for heavy loads and easy installation.
Ever wonder why some storage projects feel rock-solid while others seem a bit wobbly? It almost always starts with a solid plan. Before you grab a single board, you need to map it out.
Grab your tape measure and start by checking the clearance considerations. How high is your garage door when it’s open? You’ll need at least a foot of space above that track. Also, measure around your car’s roof and any open doors.
Think about future expansion too—maybe you’ll want to add another bay later, so don’t box yourself into a corner. Sketching a quick layout now saves a ton of frustration later. Trust me, a little planning upfront means your storage won’t just look good, it’ll work perfectly for years. Also factor in the weight capacity of your garage ceiling storage system when designing the layout.
Now it’s time to roll up your sleeves and bring that plan to life by building your storage rack’s frame.
Begin by cutting your lumber to the exact lengths you mapped out, double-checking those measurements to avoid wobbly results.
Assemble the rectangular frame on a flat surface, securing each corner with wood screws and a sturdy corner bracket. This solid base is what everything else will rely on, so take your time here.
Once built, consider giving the frame a quick paint finish; it’s not only for looks, as it protects the wood from garage dust and humidity. While this frame won’t have hidden compartments, its simple, open design is perfect for those bulky bins you’ve been tripping over for months.
For longer-lasting support consider integrating heavy duty garage shelving components into the design to increase load capacity.
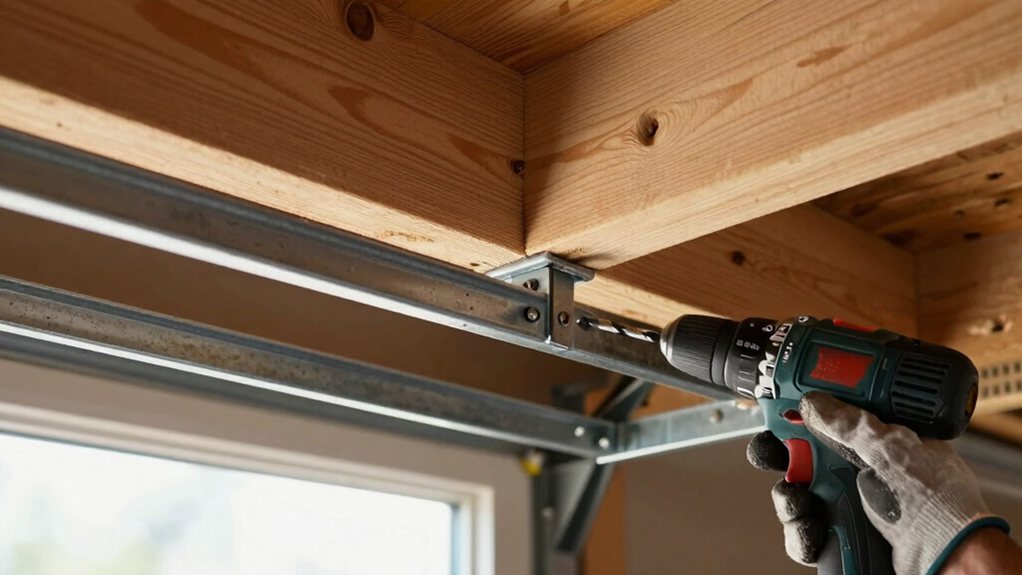
Now it’s time to get those racks up for good, so you’ll want to find the ceiling joists using a stud finder and mark them clearly.
Grab some heavy-duty lag bolts or other proper fasteners designed for this job, because we want your storage to be safe and not take a surprise trip down.
Give the racks a firm but careful shake after mounting to verify their stability, and you’ll have peace of mind knowing your stuff is secure.
Consider investing in a premium garage organization system to maximize storage efficiency and long-term durability.
Here’s a quick guide to get you on track:
Once you’ve marked a few, double-check your measurements.
Getting this right means your storage will hold up for years, keeping your garage tidy and your mind at ease. For best results, consider investing in a professional stud finder tool designed for accuracy and depth detection.
After you’ve confidently marked those ceiling joists, you’ve got to grab the right fasteners—because even the strongest storage rack is only as good as the screws or bolts holding it up. Don’t just use any old screw from your junk drawer.
For wood joists, you’ll want long, hefty lag bolts or structural screws that can bite deep into the wood. If you’re hitting a metal I-beam, specific toggle bolts or concrete anchors are your friends.
This is where thread locking comes in handy; a little drop of thread locker on the bolt keeps vibrations from slowly backing things out over time. Also, consider fastener corrosion if your garage is damp—stainless steel or coated hardware will save you a headache later.
Getting this right means your stuff stays up there, safely tucked away. Also, consider consulting professional tool storage listings to choose compatible racks and accessories.
Before you breathe a sigh of relief and start loading up your new storage racks, there’s a crucial final step: giving everything a good, solid wiggle test. Think of it as a final handshake with your project to confirm it’s ready for duty.
Don’t just look; get your hands on it and apply some pressure.
This proactive check prevents surprises later. A stable rack means peace of mind, knowing your belongings are secure overhead. Consider pairing your overhead racks with a garage storage cabinet system for organized, accessible storage.
Once your sturdy overhead storage rack is securely in place, adding the plywood deck is like putting the final piece of the puzzle into position, transforming that bare metal frame into a useful storage surface. First, consider laying down a plastic moisture barrier before the plywood if you’re storing fabric items; it’s a cheap insurance policy against dampness.
Secure your plywood sheet directly to the frame with screws.
Then, install a plastic edge trim around the plywood’s perimeter—it prevents snags and gives a finished look.
Now for the fun part: loading it up! Place heavier, bulky boxes toward the back and center, directly over the supports. Keep lighter items toward the front for easier access. Don’t just chuck stuff up there; take a moment to organize. A little planning now saves a lot of frustration later, and you’ll be amazed at how much clutter you can finally clear from your garage floor. Also confirm the rack’s load capacity and distribute weight accordingly to stay within safe limits.
This routine is quick and makes sure your garage upgrade stays secure for years.
For larger collections, consider investing in a professional tool storage to keep heavy items secure and organized.
So there you have it—you’ve just cleared a ton of clutter from your floor and given your garage a real upgrade. Remember, the real trick is to check those racks now and then, because nobody wants a surprise from above. Now go enjoy your new, organized space. You’ve earned it, and your car will definitely thank you for the extra breathing room.