Phone:
(701)814-6992
Physical address:
6296 Donnelly Plaza
Ratkeville, Bahamas.

Phone:
(701)814-6992
Physical address:
6296 Donnelly Plaza
Ratkeville, Bahamas.
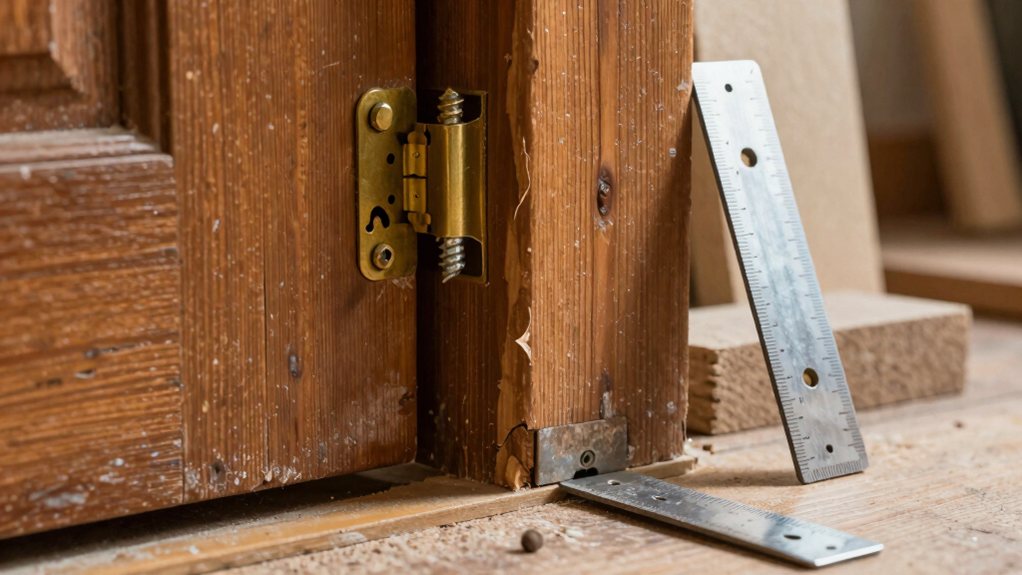
I gently coax misaligned doors straight with precise hinge adjustments, revealing the secrets to a perfectly hung door.
To fix a door that isn’t hanging straight, you’ll diagnose the gap pattern, then choose to either spread or squeeze the hinge. Grab a crescent wrench, some wood blocks to protect the finish, and get ready for small, patient adjustments. You’ll coordinate tweaks between the top and bottom hinges, making tiny moves and testing often, which gently coaxes the door into perfect alignment. We’ll cover all the steps and helpful tips to get it just right.
Table of Contents
Ever wonder why your door just won’t close right, rubbing in one spot and swinging free in another? The secret’s in the gap.
Before you touch a screw, just close the door and look at the space between it and the frame. Scan all around, like you’re checking two rectangles stacked together.
First, close the door. Then, scan the space between it and the frame, inspecting the gap like two rectangles stacked together.
Notice where the gap is wide versus tight. A super-wide gap at the top of the door near the hinge side, paired with a paper-thin gap down low, means your door is tipping.
You’re looking for uneven clearances—maybe it’s rubbing at the head or has a huge gap at the bottom latch corner. This pattern tells you exactly how the hinges need to move to get things straight again. For difficult adjustments, consider hiring professional door frame installation to ensure precise alignment.
Now that you’ve identified your door’s gap pattern, you can pick the right method: you’ll either spread or squeeze a hinge to nudge the door into place. Think of spreading as gently opening the hinge to push the door away from its hinge side, while squeezing is like giving it a careful hug to pull it closer.
Your choice here is key, as it determines whether the door swings toward or away from the strike plate, so take it slow and make small adjustments. Using high-quality premium door hardware set can improve alignment and longevity of your adjustments.
How exactly do you figure out which hinge to adjust? Start with the door closed and visually map the gap all the way around.
You’re looking for where it’s tight—about paper-thin—and where it opens wide. This pattern tells you which hinge needs correction.
For instance, if the gap is larger near the top hinge and nearly closed at the bottom, your bottom hinge is likely pulling the door inward. You’d spread that hinge to move the door toward the strike side.
Make sure you check the hinge leaves themselves, too, because uneven gaps can cause localized misalignment. Remember, adjusting one hinge shifts the whole door, so plan your tweaks to avoid creating a new rub somewhere else. Also consider adding exterior door replacement weatherstripping to reduce drafts where gaps persist.
So you’ve mapped out the gaps and know which hinge is the troublemaker—what’s the next move?
You must select your adjustment method based on the gap issue. Your choices are to squeeze the hinge leaves together or spread them apart. Consider these four factors:
Always start with gentle, incremental tweaks.
It’s smarter to make two small adjustments than one big, regrettable one that strips screws or warps your hardware. Consider also using a professional cabinet hardware kit to ensure you have the right screws and shims for the job.
Before you start tweaking those hinges, you’ll want to make sure you’ve got the right gear on hand—it’ll save you a lot of fuss and keep your doors looking sharp.
Get the right gear before tweaking hinges—it saves fuss and keeps doors looking sharp.
Your main tool for bending the hinge knuckle is a crescent wrench or a small pipe wrench; it gives you the controlled torque you need.
Always use your safety gear, like glasses, because a slip can happen. Protect the finish by placing thin cardboard shims or a wood block against the soft brass before prying.
For tool maintenance, keep your punch and hammer clean. If you need budget alternatives, a sturdy flat-head screwdriver can sometimes work for prying, but a wrench is best for the careful bending this job requires.
Consider selecting items from a professional tool set to ensure you have quality, purpose-specific tools for hinge adjustments.
Now that you’ve got your tools prepped, you’re ready to tackle the actual hinge adjustment.
Spreading a hinge gently increases the leaf gap, moving the door slightly away from the hinge jamb to improve alignment.
This is great for fixing a door that’s rubbing due to seasonal movement or your initial clearance planning being a bit off.
Also consider load and anchor requirements of wall mounted desk hardware when selecting fasteners.
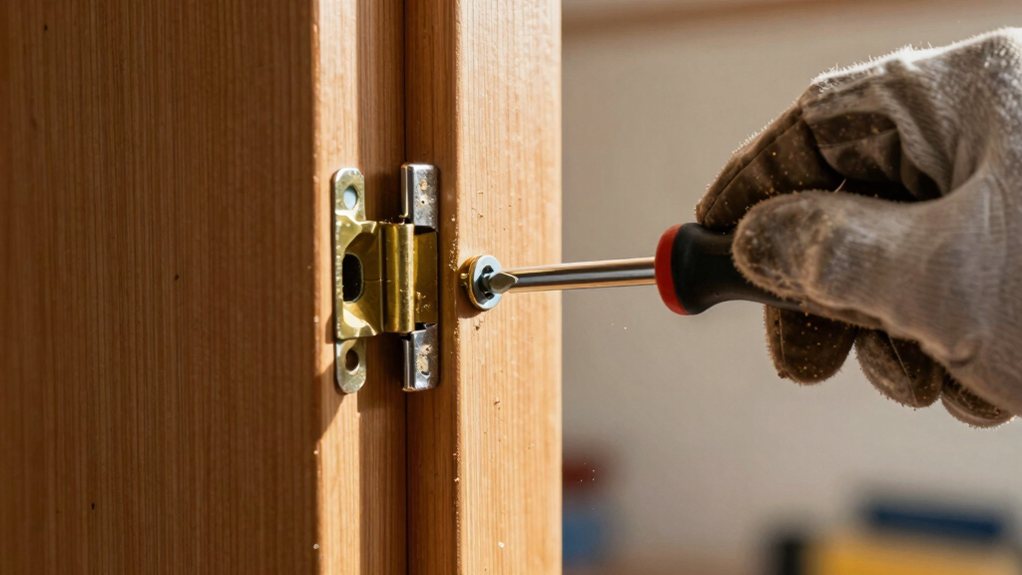
If your door’s got a little too much wiggle room on the hinge side, you can pull it snug again by squeezing the hinge.
First, drive the hinge pin up so only two knuckles are engaged, leaving the middle one free. Grab a crescent wrench on that exposed knuckle and gently bend it toward the strike side in tiny increments. You’re basically doing a bit of hinge metallurgy here, so go slow to avoid a permanent warp.
Test the fit after each tweak. This is great for antique restoration, but be extra careful with old metal. Just remember, you might scuff the finish, so have some touch-up paint ready for finish matching later. A little patience now saves a lot of headache. Consider also coordinating the hinges with custom cabinet hardware pulls to maintain a cohesive look.
Before you touch any hinge, study the whole-door gap pattern, as adjusting one hinge affects the entire door.
You’ll need to coordinate small tweaks at the top and bottom together, so you don’t just fix one spot and create a new bind somewhere else.
Think of it like steering a bike—small, balanced movements keep everything rolling seamlessly.
Also consider the substrate and use a self-adhesive strip only on clean, dry, flat surfaces to ensure reliable adhesion.
Use a spirit level to verify your measurements and detect any sash or frame bowing.
Since a door moves as a single unit, you’ll want to think of your top and bottom hinges as a team that needs to work together. Before you touch a screw, do some movement mapping: picture how tweaking one hinge will push or pull the other.
This visualization technique helps you budget your tolerance, planning small paired adjustments instead of one big, messy correction. Remember, if you spread the bottom hinge to fix a tight edge, the top will swing the opposite way. For heavy loads, select appropriately rated floating shelf hardware to ensure secure support.
When you’re adjusting door hinges, it’s easy to get a bit too enthusiastic and accidentally rip screws out or dent the hardware, but you can avoid these headaches with a patient, gentle approach.
Instead of one big shove, make many small tweaks to spread or squeeze hinges gradually; this prevents ripping screws from a hollow door.
Always use protective buffers like a wood block when prying, since metal-on-metal dents soft brass.
If screws feel loose in old holes, don’t just tighten them—drive in longer screws or add wood anchors for a solid grip.
Remember, work with the hinge pins removed and support the door’s weight, so you’re bending metal, not wrestling the whole slab.
A little finesse saves a lot of repair work later.
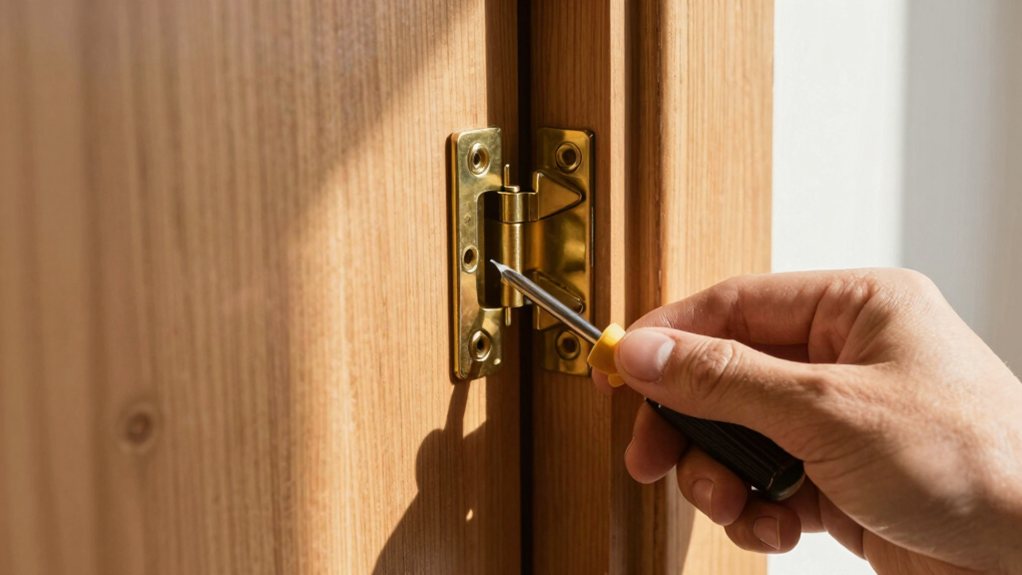
After you’ve taken care not to damage the hinges, you can really focus on the finishing touch—getting that satisfyingly even gap all around your door.
Remember, wood naturally swells and shrinks with seasonal movement, so a perfect gap today might need a tiny tweak next winter.
Here’s how to nail it:
So, there you have it! By simply spreading or squeezing your hinges, you can get your door hanging perfectly straight. It’s a satisfying fix that doesn’t require fancy tools, just a little patience. Remember to work slowly and check your progress as you go. Soon enough, you’ll have a door that closes seamlessly, with an even gap all around. Nice work—you’ve just mastered a handy household skill!