Phone:
(701)814-6992
Physical address:
6296 Donnelly Plaza
Ratkeville, Bahamas.

Phone:
(701)814-6992
Physical address:
6296 Donnelly Plaza
Ratkeville, Bahamas.
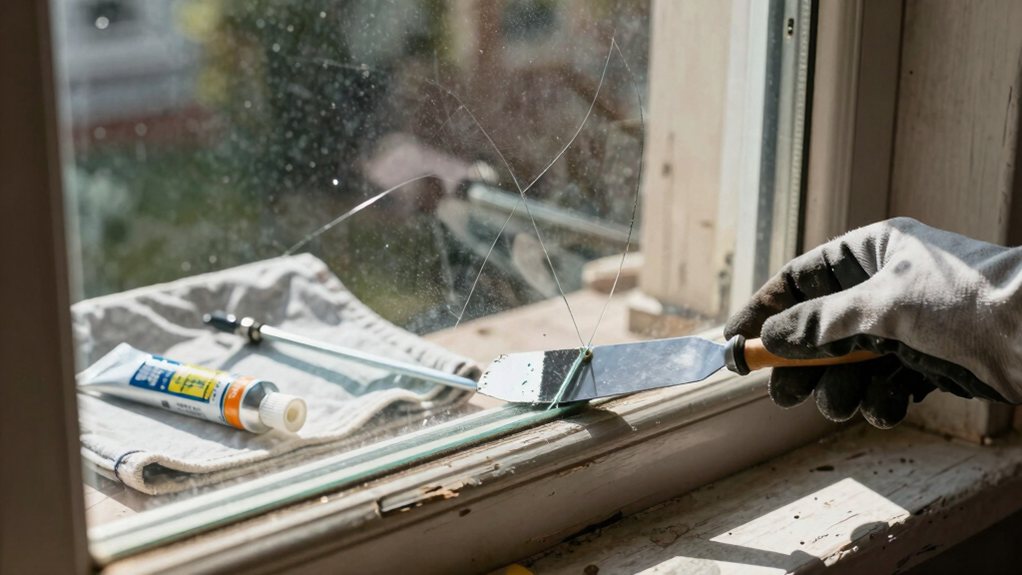
Get step-by-step guidance on how to replace a broken window pane yourself for a perfect, lasting seal.
Start by taping over those cracks and grabbing heavy gloves—you’ve got this! Carefully measure the clean opening in three spots, subtract ⅛” for wiggle room, and have your new glass cut to match. Scrape out the old gunk, press in fresh glazing points, and seat the new pane. Seal it with a uniform bead of compound and let it cure before painting. Stick with us to master each step seamlessly.
Table of Contents
Before you get started, it’s important to take a good look at that broken pane and gather everything you’ll need for the job, because a little prep work now will save you a lot of frustration later.
First, suit up for safety—don those heavy leather gloves and safety glasses. Then, press strips of painter’s tape over any cracks; this clever trick catches tiny shards and makes the whole process less messy.
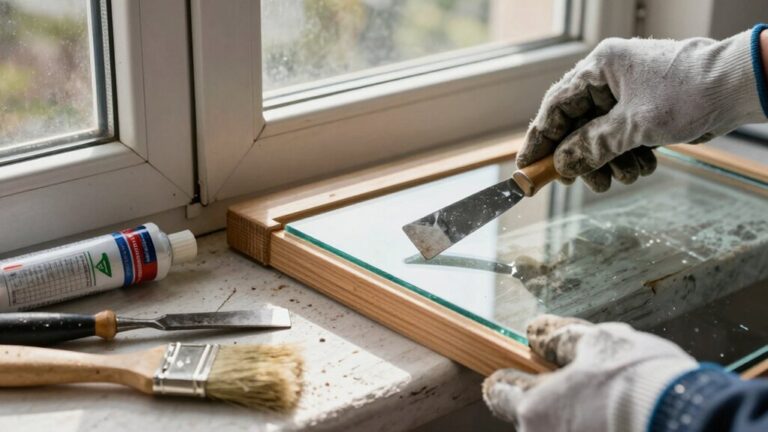
Next, lay out your tools like a pro. You’ll want a putty knife, a razor blade, a small chisel, and a flat screwdriver. Grab a heat gun to soften the old, stubborn putty, and have your new glazing compound and glazing points ready for the final installation step. For best results, consider keeping a professional caulking tool kit on hand for smoothing and finishing the new putty.
Before you grab your tools, take a moment to honestly assess the repair—simple single-pane jobs are often DIY-friendly, but tricky frames or special safety glass usually need a pro.
Think about your own comfort level with careful measuring and handling broken glass, as a small mistake can mean buying a second pane.
If you’re unsure, getting a quote from a glass service can save you time and give you peace of mind with a guaranteed installation. You can also find professional help listed on webpages offering professional door frame installation.
Consider purchasing a professional safety equipment kit to ensure you have proper personal protective equipment when working with glass.
Now that you’ve considered the repair’s complexity, it’s time for a quick, honest self-check about your skills and comfort level.
Ask yourself: do you have prior glass or carpentry experience, like applying putty? Do you own basic tools—a putty knife, glazing points, gloves, and eye protection? This kind of window repair is often doable if you’re handy and patient.
However, if handling broken glass makes you uneasy, or you lack the proper safety gear, it’s a clear sign to hire a pro. Seriously, flying shards are no joke.
Weigh your confidence against the risks and the pane’s location—codes may require special tempered glass. If you’re unsure, investing in professional help saves time and guarantees a safe, snug fit.
Consider investing in a Professional Tool Kit Set to ensure you have the necessary basic tools and supplies.
While you might feel ready to tackle this project, deciding whether to DIY or hire a professional is a key step that can save you time and trouble down the line.
Sometimes, the smartest move is to call in an expert. This is especially true when the pane is broken in a tricky spot or if the job is more complex than you first thought.
Consider hiring a pro when:
A professional provides a safe, code-compliant repair, giving you peace of mind.
If the underlying structure is compromised, consider professional floor joist repair services to ensure structural safety.
How can you make sure your replacement pane fits just right? The secret is in the measurement.
First, you’ll remove all the old glazing and molding, then measure the glass pocket—not the broken pane—in at least three spots for width and height, as sash openings are often out of square. This makes certain you get the right size glass.
Once you have the clear opening, subtract about 1/8″ total from both dimensions for expansion and an easier fit. If there’s a top channel, measure to its bottom so the new pane sits properly.
When ordering, match the original thickness for a correct seat. Taking these careful steps guarantees a perfect, frustration-free replacement. For best results, consider using a Professional screen replacement kit to help ensure flawless repairs.
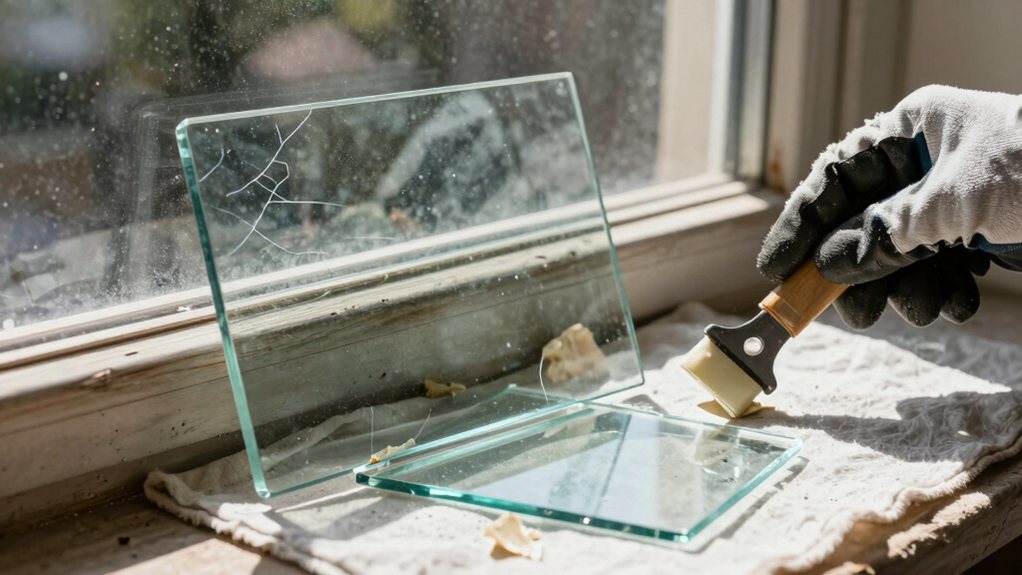
First, you’ll need to determine the thickness of your old glass, as it’s usually either 1/8” or 3/32″ for older windows.
Next, you must select the appropriate type, remembering that safety codes often require tempered glass for doors and nearby windows. When you’re unsure, taking the old pane to the shop is a surefire way to get a perfect match and avoid any fitting headaches. Also consider checking the condition of the surrounding weatherstripping to ensure a proper seal and improved energy efficiency.
Getting the glass thickness right is a bit like Goldilocks finding the perfect bowl of porridge—you don’t want it too thin or too thick, but just right for your window frame.
Your first move is to measure the existing glass pane. If it’s still in one piece, bring it to the shop—that’s your foolproof sample.
If it’s shattered, grab your calipers and measure the depth of the channel in the sash after you clean out the old putty.
Here’s a quick cheat sheet to guide you:
Now that you’ve got the thickness sorted, what type of glass should you choose? This isn’t a one-size-fits-all decision. For most standard sash windows, clear float glass is your go-to. But you must match the glass to its job.
Is the broken pane in a door, shower, or near a walkway? Building codes often require tempered safety glass there—it shatters into harmless pebbles. Need privacy for a bathroom? Opt for obscure or textured window glass.
If you’re replacing a modern insulated window, you’ll order a whole new sealed unit, not merely a single lite. Always confirm your choices with your glass supplier; they’ll help make certain your new pane is both safe and perfect for the spot.
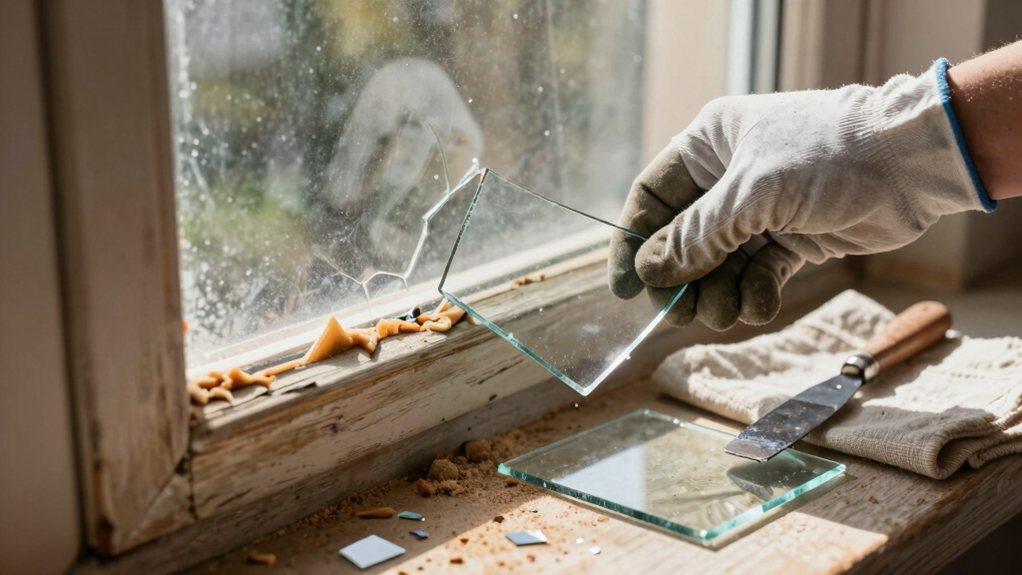
Before you get started and start removing that broken glass, it’s important to gear up and plan your approach so you don’t end up with more drama than you started with.
Cover your floor with a drop cloth, and please—wear those safety gloves and glasses! Old glass is brittle and loves to splinter.
If the pane is cracked, crisscross it with painter’s tape first; it’s like giving the glass a hug to hold all the pieces together.
Next, you’ll tackle the glazing. Warm the old putty around the window sash with a low heat gun to soften it, then gently scrape it away with a putty knife.
Be patient here to avoid nicking the wood. Once the putty is clear, you’ll find little metal glazing points holding everything in.
Consider using a professional furniture refinishing kit for any wooden sash touch-ups after replacement.
You’ve done the messy part—nice work!
Since you’ve already cleared away the old glass and glazing, your next mission is to transform that empty sash into a perfectly prepped home for its new pane.
With all the old glass gone, you’ll likely find some rough spots. Give the whole channel a good sanding, starting with a coarser grit to level out the surface and finishing with a finer one. This isn’t just about looks; it helps the primer stick.
Smooth the channel with coarse then fine sandpaper—this preps the surface for primer, not just for looks.
After sanding, wipe everything down with mineral spirits to remove dust and oils—think of it as giving the wood a fresh start.
Finally, brush on a coat of exterior-grade primer. Let it dry completely; this vital step seals the wood and protects your hard work for years to come. If the sash shows signs of old paint or slick surfaces, treat it with a bonding primer to improve adhesion.
Let the sealant cure fully before any painting.
You’ve just locked in your hard work!
Consider using a penetrating sealer penetrating sealer on surrounding grout to help repel water and stains.
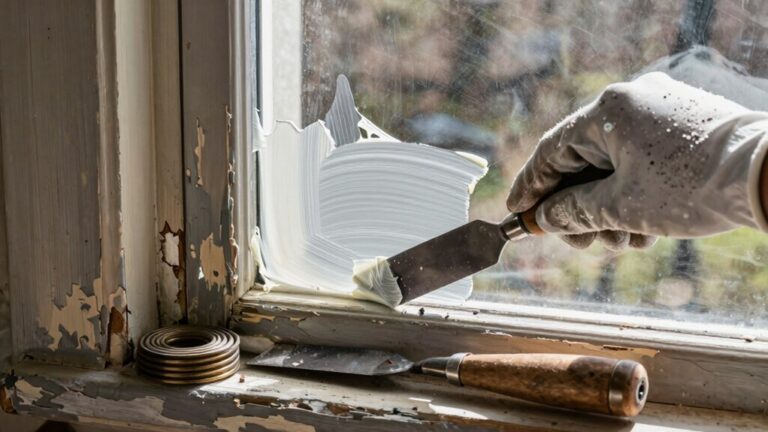
Applying the glazing compound is where your window repair starts looking sharp and locks out the weather for good. Now, pack your compound firmly into the joint all around the edges of the pane using a putty knife.
Pack your glazing compound firmly into the joint around the pane for a sharp, weather-tight seal that starts the repair right.
You’re aiming for a neat 45-degree fillet on the exterior, with no sneaky air pockets left behind. This bead needs to be tight!
Next, finish it with a wet finger or a special glazing tool for that pro, weather-tight finish. Be sure to clean up any excess before it skins over.
Then, patience is key—let the compound firm up for several days. Finally, remember to paint it within a week or two; this protective coat is what guarantees your hard work lasts for years.
After you’ve spread on that glazing compound like a pro, it’s tempting to grab the paintbrush right away, but hold on—your window needs a little nap first. Rushing this step is the main reason paint jobs fail on a new window pane.
That glazing must cure completely, forming a solid, tack-free surface. If you paint too soon, you’ll trap oils, leading to ugly sinking, peeling, or cracks later. Your patience here makes all the difference for a lasting repair.
You’ve done it! With your new pane snugly secure and that fresh glazing applied, you’ve just saved yourself a bundle. It’s a solid, long-lasting repair you can be proud of. Give the compound a full week to cure before you even think about painting it. Then, step back and admire your handiwork—you’ve earned that feeling of accomplishment. Enjoy the clear view and a well-sealed, draft-free window.