Phone:
(701)814-6992
Physical address:
6296 Donnelly Plaza
Ratkeville, Bahamas.

Phone:
(701)814-6992
Physical address:
6296 Donnelly Plaza
Ratkeville, Bahamas.
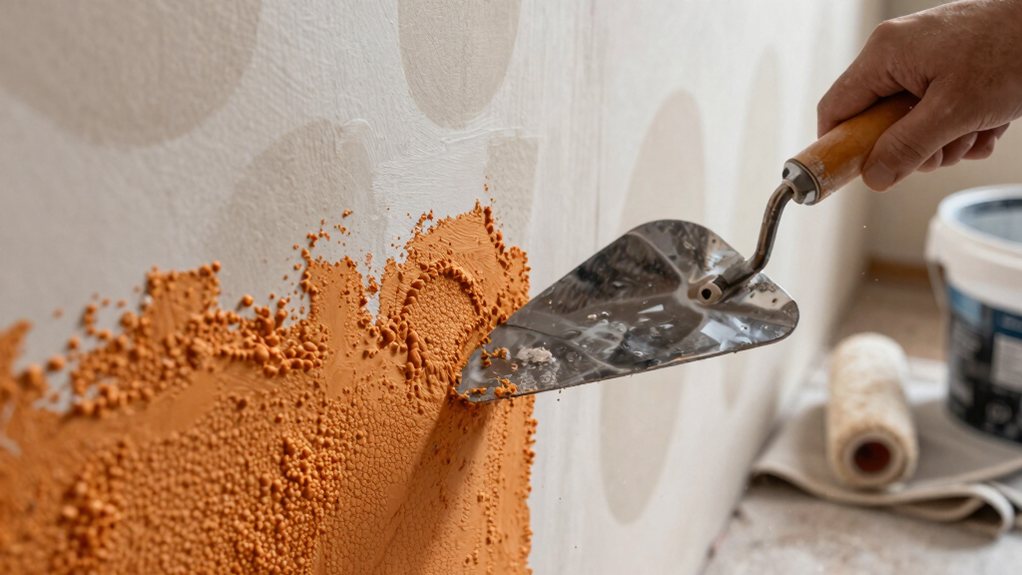
Here's how to add orange peel texture or knockdown for flawless walls, revealing all the pro tips for your next DIY project.
You can upgrade your walls by adding drywall texture like orange peel or knockdown, which also hides minor flaws. First, you’ll need to prep your room with a skim coat and thorough cleaning. Then, mix joint compound to a yogurt-like consistency and spray it using a hopper gun, adjusting your technique for your chosen style. It’s a satisfying DIY project, and we’ve got all the pro tips to guide you through the fun details ahead.
Table of Contents
Ever wonder why some walls look sleek while others have a more rustic, dimensional feel? That’s drywall texture at work.
Two popular styles are orange peel and knockdown. Orange peel uses a fine spray, a small nozzle, and a yogurt-thick joint compound to create a subtle, uniform surface perfect for hiding small imperfections. It’s great for modern spaces.
For a modern look, the orange peel texture uses a fine spray and joint compound to subtly hide wall imperfections.
Knockdown sprays larger droplets that are then flattened with a knife, creating lovely shadows and depth ideal for cozy, low-light rooms. Your choice really depends on the room’s function and your style.
Think of texture like wall makeup—it elevates the base and sets the mood, so pick the one that makes your space feel just right. A professional approach starts with a professional drywall repair kit to ensure consistent results.
Start by applying a skim coat to any uneven spots and sand everything level, because your texture needs a clean, flat surface to stick properly.
Next, grab a damp cloth and wipe down all the walls and ceiling to banish dust, since even tiny particles can mess up your perfect finish.
Don’t forget to cover the floor and remove small fixtures like outlet covers, as this prep work saves you from a huge cleanup headache later.
For best results, consider using a drywall finishing tools kit to ensure you have the right tools for applying and smoothing textures.
Leveling out your walls with a skim coat is an essential first step, and while it might feel like a tedious extra chore, it’s actually your secret weapon for a flawless texture job later on.
You’ll use a premixed joint compound that you thin slightly with water to a creamy consistency. Apply it over your taped joints and any patched spots using a large drywall knife, holding it at a shallow angle to spread it super thin and seamless.
This step is all about creating a perfectly even canvas, so don’t rush it! Once it’s completely dry, give it a light sand to knock down any ridges. Trust us, this bit of extra effort now means your texture will look professional and stick beautifully later. Also, check for substrate flatness—a quick straightedge inspection helps prevent underlying bumps from telegraphing through your texture.
Sanding and cleaning might sound like the boring part of the project, but it’s actually your best friend for a professional-looking finish.
Once your skim coat is bone-dry, you’ll want to sand everything even.
Start with a coarser grit like 120, then move to a finer 180 or 220 for a buttery surface.
This step is essential to make sure your new texture adheres evenly without weird bumps.
After sanding, wipe every surface down with a damp cloth.
You’ve got to make sure you remove all that dust, or it’ll mix with your texture spray and create a gritty mess.
Think of it as giving your walls a clean slate—a little effort now prevents a lot of frustration later.
Also, when protecting floors and surfaces during prep and cleanup, consider using pH-neutral formulas and follow dilution directions to avoid damaging finishes.
Now that your walls are even and dust-free, you’re almost ready to texture—but first, let’s keep everything else clean. In a small bathroom, this step is extra important to avoid a big cleanup later.
Start by covering the floor and any fixtures with drop cloths or plastic sheeting. You’ll also want to remove small items like the toilet paper dispenser and all your switch and outlet covers. Trust me, you don’t want texture spray on those!
Also, remember to turn off the bathroom vent fan while you’re spraying to prevent air bubbles from ruining your pattern. Taking these few minutes to protect your space means you can focus on creating a great texture without any worry. For floors and fixtures, consider using canvas drop cloths or plastic sheeting depending on absorbency and reusability needs.
You’ll need an air texture spray gun with a hopper, like a Hiltex metal gun, and a pancake compressor to power it.
Grab a few extra nozzles—4 mm for a fine orange-peel texture, or 6 mm and 8 mm for heavier patterns—so you can experiment as you go.
Finally, mix your joint compound in a bucket to a yogurt-like consistency, because getting that right makes all the difference between a uniform spray and a clogged mess.
Many sprayers use brass nozzles and adjustable flow control to handle different viscosities and fine-tune spray width.
Before you can transform those blank walls into something with character, you’ll need to gather the right gear, and the heart of your texturing setup is the sprayer system.
Start with an air-fed hopper spray gun; its built-in container holds your compound neatly, unlike wrestling with a separate gallon bucket. You’ll connect it to an air compressor using a 1/4-inch hose, securing fittings with plumber’s tape and a wrench to prevent messy leaks.
The magic happens at the nozzle—swap between a 4mm for fine orange-peel and a 6-8mm for knockdown. Finally, use the gun’s trigger and adjustment knobs to dial in your perfect texture, turning a plain ceiling into your personal masterpiece with just a little practice and the right parts. Consider investing in a professional paint sprayer system to ensure durability and consistent results.
With your sprayer assembled and ready to go, picking the right nozzle size is where you really get to decide the personality of your texture.
Think of the nozzle as your texture dial—a 4 mm opening creates a fine, orange-peel style, while 6 mm or 8 mm nozzles make bigger splatters for a heavier look.
Always match it to your mud; thicker mixes need a bigger hole to avoid annoying clogs.
This is the perfect time to play around! Test each nozzle on scrap cardboard first, adjusting your air pressure to tighten or widen the spray. Having a few sizes on hand lets you dial in the perfect scale without any ugly surprises on your actual wall. If you’re working outdoors or tackling large surfaces, consider equipment rated for exterior jobs such as an exterior paint sprayer system to improve coverage and efficiency.
Since the nozzle is what shapes your texture, getting your joint compound to just the right consistency is what makes it spray beautifully.
Start with a general-purpose joint compound and mix only a small batch in a 5-gallon bucket to avoid waste. Use your cordless drill with a mixer bit, adding water slowly as you blend.
You’re aiming for a yogurt-like, or even slightly thinner, consistency—it should drip slowly off your mixer. Think of it as making pancake batter; too thick and it clogs, too thin and it runs.
Do a quick test spray on cardboard to verify it flows evenly through your nozzle. Trust me, this little preview saves big headaches later, and cleaning your tools right away is a breeze. Ensure you also consider flow consistency since mix ratio and temperature influence how the compound sprays.
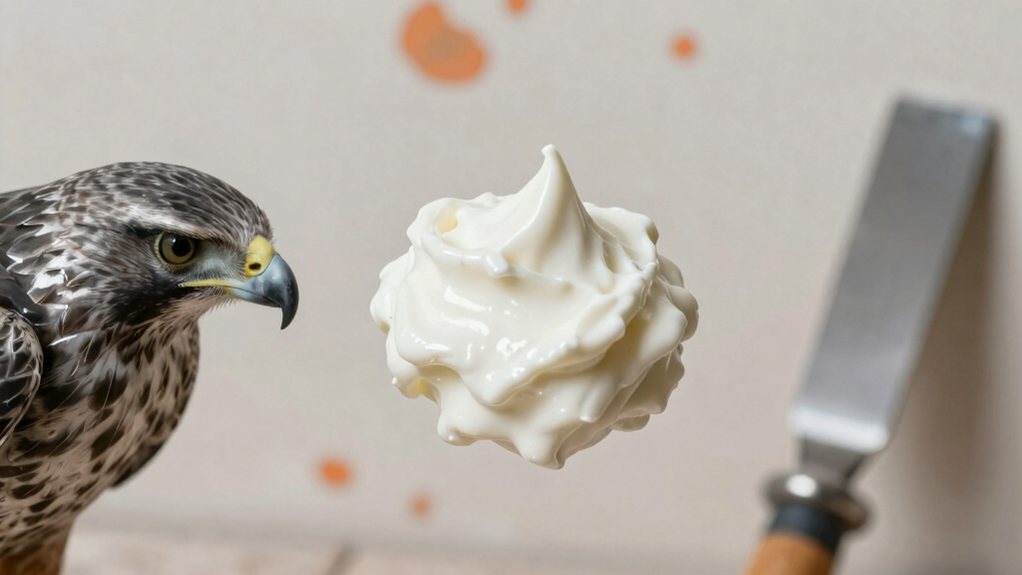
While you’re getting your compound ready, think of it like stirring pancake batter—you’re aiming for a nice, creamy yogurt-like consistency that’ll spray evenly without a fuss. Scoop your all-purpose joint compound into a clean 5‑gallon bucket rather than dumping the whole pail.
Add water gradually while mixing with your cordless drill and mixer bit. You want it silky and lump‑free, similar to yogurt or even a touch thinner. This ideal texture guarantees it atomizes perfectly through your hopper gun. If the gun clogs or spatters, just thin your mix with a little more water. Remember, for a fine orange‑peel texture, keep it on the thinner side.
After mixing, run your drill in plain water for an easier cleanup later.
1. Do a Test Spray: Always practice on cardboard first. Adjust your gun’s pressure knob and trigger lock until the droplets are the size you want.
2. Master Your Motion: Hold the gun about 18 inches from the wall, using even, steady side-to-side or up-and-down strokes.
Overlap each pass by half.
3. Maintain a Wet Edge: Keep moving to avoid blobs or runs.
Think of it like mowing a lawn—steady and even coverage is key.
4. Let it Dry Completely: Walk away and let your masterpiece dry for about 24 hours.
Dark patches mean it’s still wet, so be patient before painting.
For larger jobs, consider using a professional foam applicator gun to speed application and improve consistency.
Ready to try something different? Creating a knockdown texture starts with thinning your joint compound to a yogurt-like consistency so it sprays evenly.
Load it into a hopper gun with a 4 mm nozzle, connect your air compressor, and do a test spray on cardboard.
Hold the gun perpendicular and 12–18 inches from the wall, applying an even coat.
Now, the fun part: wait 8–15 minutes until the peaks start to set but are still damp.
Then, gently drag a wide knockdown knife across the surface at a shallow angle to flatten those peaks into a beautiful, mottled pattern.
Clean your blade often to avoid smears.
Let it dry for about 24 hours before priming and painting your new, professional-looking wall.
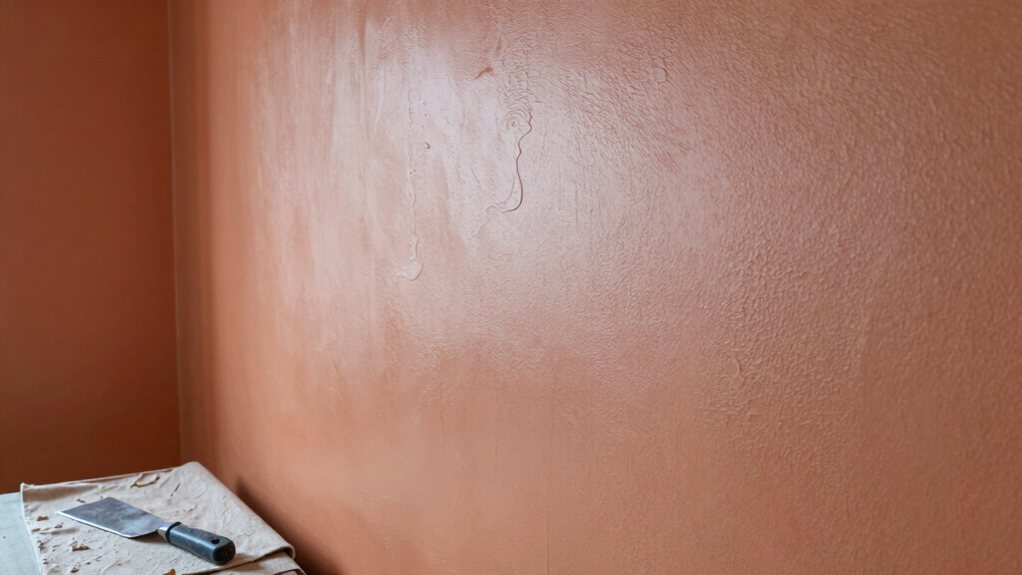
Ever wondered how long you should wait before you can paint over that fresh texture?
Typically, let it dry for about 24 hours indoors.
Dark spots are a giveaway that the joint compound is still wet, so be patient!
For a flawless finish, follow this simple guide:
Getting your sprayer sparkling clean after texturing is a crucial step you won’t want to skip—trust me, dried joint compound is no one’s friend.
Immediately disassemble your Hiltex-style hopper and nozzles, flushing all parts thoroughly with clean water. Run water through the gun until it sprays clear, adding a little water at a time to prevent compound from hardening inside.
Next, use your mixer bit in a bucket of water right after you’re done; this loosens residue and speeds cleanup immensely.
Now, prep your walls by wiping textured surfaces with a damp, lint-free cloth to remove dust so your primer bonds perfectly. Let everything dry for about 24 hours—dark spots mean it’s still wet—before you even think about painting.
And that’s it! You’ve got the skills to add texture like a pro. Remember, your first attempt might look a bit messy, but that’s part of the fun. Just let the compound dry completely, and don’t sweat small mistakes—they often blend right in. Once you’re happy, a fresh coat of primer and paint will make your walls look amazing. Now go show those plain walls who’s boss!