Phone:
(701)814-6992
Physical address:
6296 Donnelly Plaza
Ratkeville, Bahamas.

Phone:
(701)814-6992
Physical address:
6296 Donnelly Plaza
Ratkeville, Bahamas.
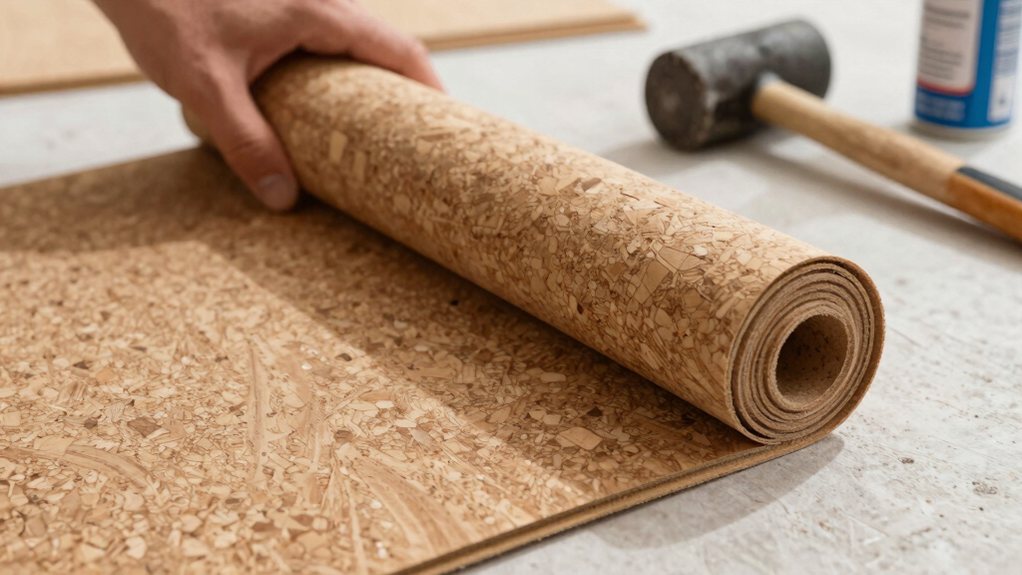
Discover how to install sustainable cork flooring yourself—an easy DIY project for a warm, eco-friendly home update that
You can install cork flooring yourself for a warm, eco-friendly update. First, acclimate the planks in your room for a few days. Make sure your subfloor is clean, dry, and perfectly level. For a DIY-friendly project, click-together floating planks over an underlayment are fantastic. Just remember to stagger the seams and leave a small gap around the edges. It’s a satisfying weekend project that feels good underfoot, and we’ve got the full guide to get you started.
Table of Contents
If you’re looking for a weekend DIY project that’s as good for your home as it’s for the planet, you’ll love cork flooring. It’s a true renewable resource, harvested from tree bark without harming the oak.
You get a warm, quiet floor that’s kind to your feet and your air, since cork flooring is hypoallergenic**** and fights dust mites.
The best part for DIYers? Many options are floating cork planks that click together over a single weekend, no messy glue required.
For DIYers, floating cork planks click together easily over a weekend—no glue, no mess, just a beautiful new floor.
You’ll enjoy solid durability and a cozy feel underfoot, all while knowing your choice is eco-friendly. It’s a satisfying project that pays you back in comfort for decades. For installations over concrete, choose underlayment with an integral vapor barrier to protect against moisture.
Before you start, you’ll need to gather your necessary flooring materials, like the cork tiles themselves and any underlayment.
Next, collect your required installation tools, which range from a simple tape measure to a specialized tapping block for snug fits.
Finally, don’t forget your safety and preparation supplies—trust me, knee pads and a good shop vacuum will become your best friends by the end of the day. Also, check moisture conditions and use a suitable primer with moisture testing before installing cork to ensure a proper bond.
Getting ready for your cork flooring project is a bit like gearing up for a fun, hands-on adventure—you’ll want to gather all your gear first.
Your necessary flooring materials start with the cork planks or tiles themselves. Buy enough to cover your room’s square footage, plus an extra 5–10% for those tricky cuts, because a little spare material is a DIY lifesaver.
If you’re installing over concrete, you’ll need a moisture barrier, like a 6 mil polyethylene sheet, to protect your beautiful floor. Don’t forget the right adhesive for glue-down jobs—opt for a low-VOC option—and the manufacturer-recommended underlayment.
Having these core items ready makes the whole process more seamless and way more enjoyable.
Many DIYers also add an underlayment that provides sound reduction and cushioning for better comfort and quieter rooms.
You’ve got your cork planks and underlayment ready—now let’s gather the tools that’ll turn those boxes into a beautiful floor.
The necessary tools for your project depend on your installation method. For a floating, click-lock floor, you’ll need a rubber mallet and tapping block to snug the planks together, plus spacers to keep an expansion gap. A utility knife and saw handle cuts. If you’re doing a glue-down install, grab a low-VOC adhesive, a notched trowel, and a heavy floor roller.
Before you install cork flooring, preparing the subfloor is key. A moisture meter for concrete, a tape measure, chalk line, and a good straight edge make sure your foundation is perfect for a long-lasting, cozy result. Refer to ASTM F710 for recommended substrate flatness tolerances to avoid telegraphing and premature failures.
With your installation toolkit assembled, it’s smart to also collect the supplies that keep you safe and make your prep work easier. Always wear safety glasses, a dust mask, gloves, and knee pads—your knees will thank you later!
For prep, you’ll need a broom and vacuum to guarantee your subfloor is perfectly clean and dry. This is especially essential for a concrete slab, which requires a moisture test and often a plastic barrier.
Before you lay a single plank, remember to acclimate the cork flooring in the room for 48–72 hours.
You’ll also use spacers along every wall to maintain that critical expansion gap, which lets the cork breathe and move naturally.
On concrete slabs, conduct a moisture test before installing to prevent subfloor damage.
Before you lay down your beautiful cork flooring, you’ll need to get your room and subfloor ready for its new look, which is a critical step for a long-lasting installation. First, you must check that the subfloor is clean, dry, and perfectly flat, fixing any squeaky boards or uneven spots, because cork needs a stable foundation.
Then, take a moment to plan your layout and mark your starting lines, which helps you avoid awkward slivers of cork at the walls and guarantees your planks run straight. For ongoing maintenance, use pH neutral cleaners that are residue-free and always test any product in an inconspicuous area first.
Although it might seem like a boring chore, preparing your subfloor is actually the secret to a successful cork floor that looks great and lasts for years.
First, remove any existing flooring, like carpet, and get the subfloor vacuumed and scraped perfectly clean. If you have wood floors, secure any loose or squeaky boards.
Checking your indoor air is essential, too; let your cork planks acclimate to the room’s temperature and humidity for a few days before you start.
You must also check for levelness and test concrete for moisture, because cork is a natural material that needs a stable, dry base.
Think of this prep as laying a strong, healthy foundation—it’s a bit of work now for a beautiful result later. On concrete subfloors, applying a concrete primer may be recommended to improve adhesion for some flooring products.
After you’ve got your subfloor in tip-top shape, you’re ready for the fun part—figuring out how your beautiful cork planks will actually fit into the room.
Start by sketching a layout on graph paper, marking all doorways and cabinets.
Then, find the room’s center and snap a chalk line as your main reference.
It’s wise to do a dry run by laying out a few rows; this guarantees your seams are staggered and you won’t end up with a tiny, sliver-like plank in a prominent corner of the room.
Remember to always maintain a small gap around the entire perimeter for expansion.
Mixing planks from different boxes as you go blends the natural color variations beautifully, making your cork flooring installation look professionally balanced.
Performing a dry lay can reveal subfloor height differences and alignment problems before adhesive or glue-down installation.
Since you’ve got your cork tiles acclimated and ready to go, the next exciting step is figuring out their perfect arrangement on your floor.
A smart layout makes installing cork flooring a success, preventing awkward cuts and letting the material expand and contract naturally.
You’re not merely dropping tiles randomly; you’re creating a balanced, beautiful foundation. Here’s how to plan like a pro:
Also measure accurately and add about 15% waste to your material estimate to avoid shortages.
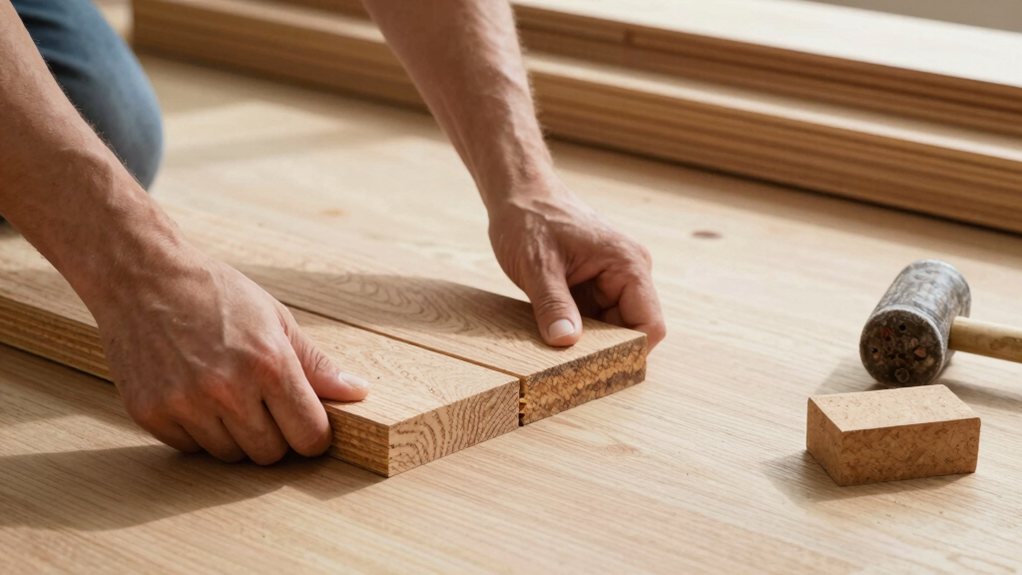
Now that you’ve planned your layout, you’re ready to choose how to get those cork tiles to stay put.
You have two main options: floating or glue-down installation.
The floating method uses planks that click together over a foam underlayment—it’s a fast, DIY-friendly cork flooring project you can do with basic tools.
The glue-down method bonds tiles directly to your subfloor with adhesive for a super-stable, permanent feel.
Your choice depends on your room.
Pick floating for a reversible, forgiving install in a living area.
Opt for glue-down cork installation for kitchens or over radiant heat, where that locked-in stability really counts.
Both methods create a beautiful, warm floor you’ll love for years. Consider also that luxury vinyl plank flooring is a popular alternative offering similar aesthetic and durability benefits.
no peeking or walking on it for at least 24 hours!
Have you ever considered the convenience of a floating cork floor? Start by taking the time to acclimate your planks for a few days.
Then, prepare a clean, flat subfloor and add underlayment for comfort. Installing the cork begins in a corner; click the groove-side planks together row by row, staggering the ends for a strong, beautiful pattern.
Keep in mind that you must maintain a small expansion gap around all walls using spacers—this lets the floor breathe. Use a tapping block and mallet for tight seams, and trim planks as needed.
It’s a satisfying project, and cleaning up as you go keeps everything seamless for your fabulous new floor.
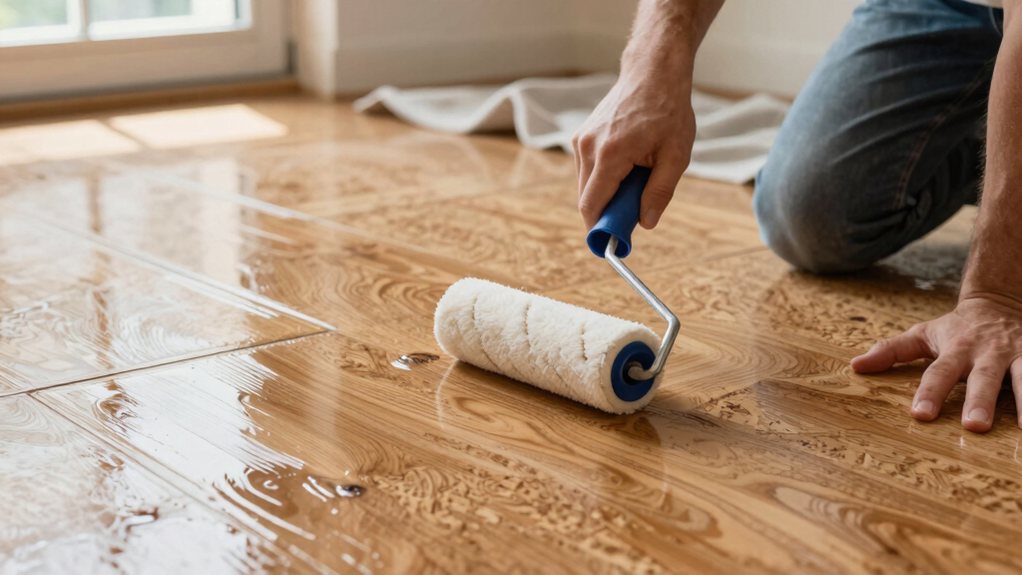
So you’ve got your gorgeous new cork floor installed—what’s next to keep it looking great for years?
Proper finishing and care are key. In North America, sealing your floor right after installation is the vital first step. After that, consistent, gentle maintenance will protect your investment. Here’s your simple guide:
You’ve just installed a beautiful, eco-friendly floor, and that’s something to be proud of. While it takes patience, you’ve added lasting warmth and character to your home. Now, just remember to seal it well and give it simple, regular care. Enjoy your cozy new space and the satisfaction of a job well done—you’ve earned it, and your feet will thank you every day.