Phone:
(701)814-6992
Physical address:
6296 Donnelly Plaza
Ratkeville, Bahamas.

Phone:
(701)814-6992
Physical address:
6296 Donnelly Plaza
Ratkeville, Bahamas.
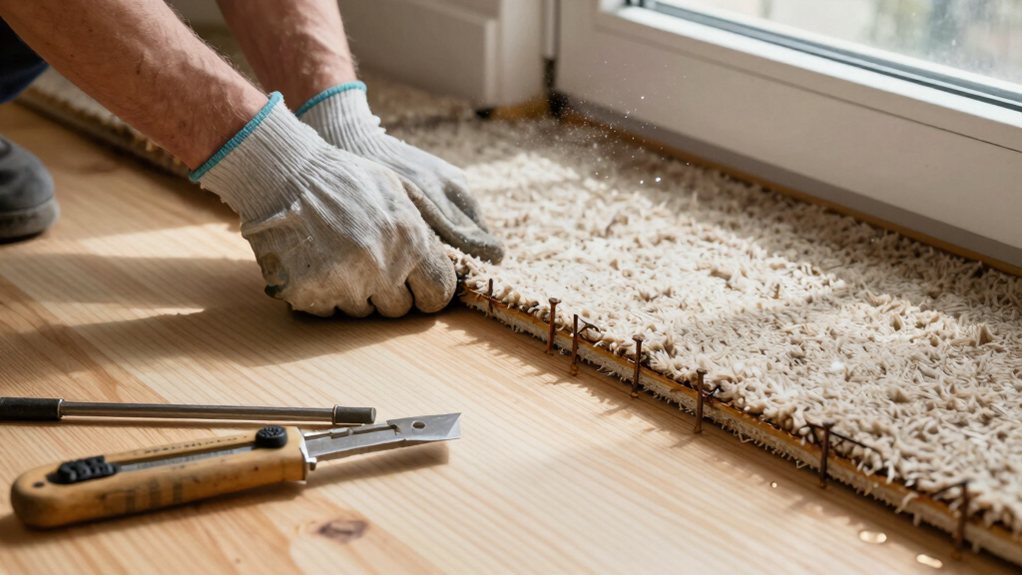
Kickstart your carpet removal by clearing the room and slicing into strips, but the crucial prep step awaits to ensure a flawless floor.
To start, clear your room and slice the carpet into manageable strips from a corner. Roll them up tightly for easy disposal! Be careful when removing the tack strips and padding to avoid gouging your subfloor. Then, give the bare floor a thorough inspection, fixing any squeaks or dips to create a perfectly flat, clean base. It’s a satisfying project, and there are plenty more tips ahead to guide you through the whole process.
Table of Contents
While you might be tempted to tear out that old carpet as fast as you can, rushing through removal is a classic shortcut that ends up costing you more time and money.
When you yank or use dull blades, you can easily gouge the plywood or OSB subfloor. This damage happens in a quarter of all jobs, forcing a pricey panel replacement.
Aggressive prying often means tack strips are damaged, pulling up chunks of your floor’s edge. What seems like saved time quickly vanishes into extra patching work.
Before installing new flooring, check substrate flatness against ASTM F710 standards to avoid long-term failures.
Your garage or toolbox probably holds most of the tools you’ll need for this job, so don’t worry about tracking down anything too exotic. The right tools make your carpet removal safe and seamless.
Your garage likely has the essentials for safe carpet removal, so skip the hunt for exotic tools.
Start with a utility knife to cut the carpet into manageable strips; use a fresh blade for clean cuts. You’ll then need a pry bar and hammer to lift the stubborn tack strips around the room’s edge.
Trust me, good leverage saves your back. Don’t forget safety gear—gloves, knee pads, and a dust mask are non-negotiable.
Finally, grab a staple puller and shop vac for cleanup. With this simple kit, you’re ready to tackle the demo without any unexpected, costly surprises. Consider investing in a premium DIY tool kit to have all essential tools in one place.
Before you start pulling up that old carpet, you’ll want to clear the entire room of furniture and any other obstacles.
Once the space is bare, pick a good starting corner, often near a doorway, to make your first cut.
This little square you’ll cut gives you a solid grip on the carpet backing, making the whole process of peeling it away from the tack strips much easier. Also inspect the subfloor for damage as you pull up the carpet so you can plan repairs before installing new flooring.
Roll up your sleeves and start by giving your room a clean slate, because you’ll need every inch of space to tackle that old carpet. First, you’re carefully removing all carpet**** and pad obstacles.
That means all furniture, rugs, and lamps must go. Enlist a friend for the heavy stuff or use sliders—your back will thank you!
Next, clear a staging area near the door for debris. Remember, a rolled-up carpet into manageable sections is still surprisingly heavy.
Don’t forget the perimeter of the room; disconnect vent covers and remove any threshold strips so you can access the edges easily. With a clear path and empty floor, you’ll be ready to start removing all carpet without any tripping hazards. Consider renting or buying power tools suitable for home improvement jobs to speed up the removal and prep process.
With the room cleared, you’ve got a perfect blank canvas to work on.
Now, pick your starting corner. You’ll want an inside corner, away from doors or vents, where the carpet’s easier to lift from the tack strips around the perimeter. Trust me, this choice saves a lot of fuss later.
Once you’ve spotted your corner, it’s go time. Put on your safety gear—gloves, glasses, the works.
Then, use your utility knife to make a small square cut in the carpet there. Grab the flap with pliers and pull it back from the strip. This initial grip is your golden ticket to start the real work: you’ll soon cut and roll the carpet into manageable strips for removal.
Before you remove the rest of the carpet, inspect the exposed subfloor for water damage and rot, since replacement is recommended if over 30% is decayed.
Now that you’ve cleared the room, you’ll want to cut the carpet into manageable strips, which makes rolling and carrying it out much simpler.
Start by slicing 3–4 foot wide sections with a sharp utility knife, being careful not to score the subfloor underneath. Then, tightly roll each strip from the loose end back toward the wall, securing it with duct tape so it doesn’t spring open on its trip to the dumpster. If the subfloor is concrete, consider an underlayment with an integrated vapor barrier to protect against moisture.
Before you jump into slicing up that old carpet, let’s carve out a safe and spacious cutting zone—you’ll thank yourself later when you’re not tripping over furniture while wrestling with a bulky roll. Proper preparation is key, so clear the room completely.
You’ll want at least 6–8 feet of clearance all around on that existing carpet. This open zone lets you lay out and maneuver those 3–4 foot wide strips you’ll be cutting without any obstacle-course antics.
Trust me, a clear path makes rolling the carpet infinitely easier and safer. Move all furniture and debris out now; it’s a bit of upfront work that pays off massively when you have room to work and won’t take a tumble. Also, be sure to account for Coverage size when planning how much material you’ll need for overlap and rolling.
Having cleared your cutting zone, you’re ready to tackle the carpet itself. Start in a corner, pulling the edge up from the tack strip. Cut your carpet into three- to four-foot-wide strips; this makes it manageable.
Cutting from the backside, where the padding underneath is, helps prevent tears. If your padding is stapled or glued down, just cut right through it—you’ll deal with it separately next.
Roll each strip tightly, backing-side out, and secure it with duct tape. These rolls are still surprisingly heavy, so don’t be a hero—get a friend to help lift! This method keeps everything neat and makes hauling the old carpet out much less of a chore. Also ensure the subfloor meets surface preparation requirements—clean, dry, flat, and grease-free—before installing new flooring.
Tightly rolling and securing your carpet strips is the key to making disposal a breeze, not a backbreaking chore.
Once you’ve cut your strips, roll them tightly with the backing inside and wrap each one every few feet with heavy-duty duct tape.
This keeps them compact, so they’re much easier to handle when you lift them out. Trust me, a secured roll won’t spring open at the worst moment!
After you remove the carpet, don’t forget the carpet padding underneath—roll and tape it separately.
With all that gone, you can finally thoroughly clean the subfloor before your new flooring goes down.
Properly bundled rolls are simpler to carry and will fit neatly into your rental dumpster or truck for pickup.
When you thoroughly clean the subfloor, consider using pH-neutral floor cleaners to avoid damaging finishes.
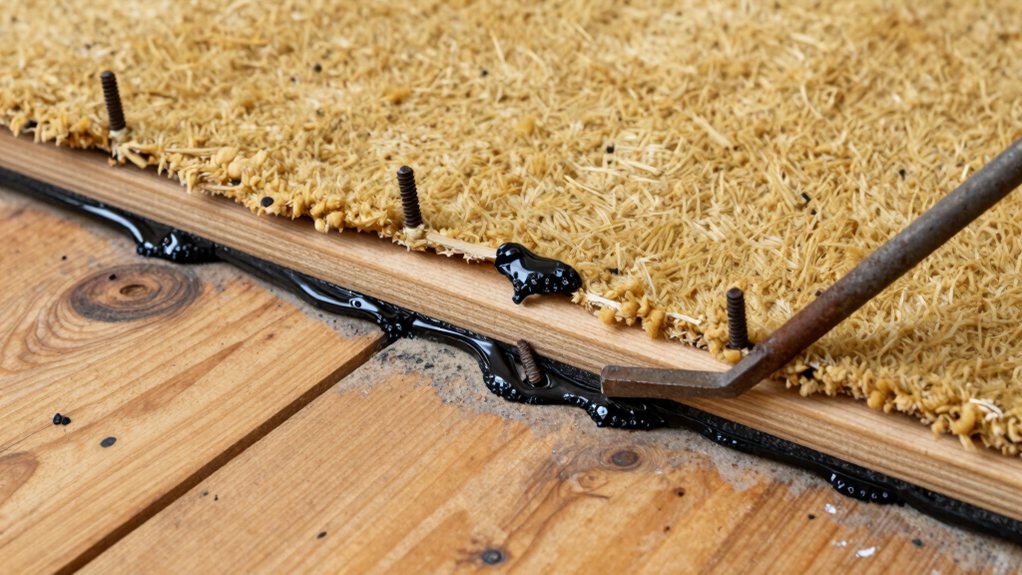
Now that you’ve rolled up and hauled out the old carpet, you’re ready to tackle the padding underneath—and here’s where things can get a little sticky, both literally and figuratively.
For stapled-down padding, work in smaller sections, pulling it up without damaging the subfloor. Use pliers to remove every staple and tack strip, collecting them as you go to avoid a puncture hazard later.
If you find glued-down padding, that’s the stickier job. A floor scraper or putty knife, held at a shallow angle, helps chip it up. For stubborn, tacky glue, apply an adhesive remover to soften it, then scrape again. This vital prep guarantees an even base for your new floor, making replacing carpet a much more rewarding project. For severe cases, consider using a manufacturer-recommended adhesive remover compatible with your subfloor to avoid damaging the surface.
You’ll need heavy-duty gloves and safety glasses for this part, since those tack strips are sneaky with their exposed nails.
Start by gently prying up one end with a pry bar and hammer, using a block of wood under the bar to protect your subfloor from dents.
Work slowly along the strip, pulling it straight up when it’s loose, and you’ll avoid gouging your floor while keeping your fingers safe.
Many of those pesky tack strips can be removed without leaving behind a souvenir collection of dents and splinters in your subfloor, it just takes a little patience and the right approach.
This part of the carpet replacement process is essential, as you’ll want a level surface when you Prepare for your new flooring.
First, suit up with heavy gloves and safety glasses.
Use a pry bar with a wood block as a fulcrum, lifting at a shallow angle in short sections to pop the strips up cleanly. Pull them away from the wall to keep the sharp tacks pointed safely outward.
Any nails left behind? Pull them straight out with pliers. Fixing uneven areas now means your new carpet installation begins on the perfect foundation.
Ever wondered why your new carpet’s success starts from the ground up? Your subfloor type dictates your prep. For concrete, always test for moisture. If it’s present, install a 6‑mil polyethylene vapor barrier first to prevent mildew and adhesive failure—a non‑negotiable step for a clean, even carpet.
Fill any low spots deeper than 1/8 inch with a cement‑based leveler. On wood, walk around to find squeaks and fasten loose boards with screws, not nails. No matter your floor, you must remove all old debris and vacuum thoroughly; even tiny grit will telegraph through.
This essential work guarantees a perfect foundation for starting your carpet project or for carpet installation services you might hire.
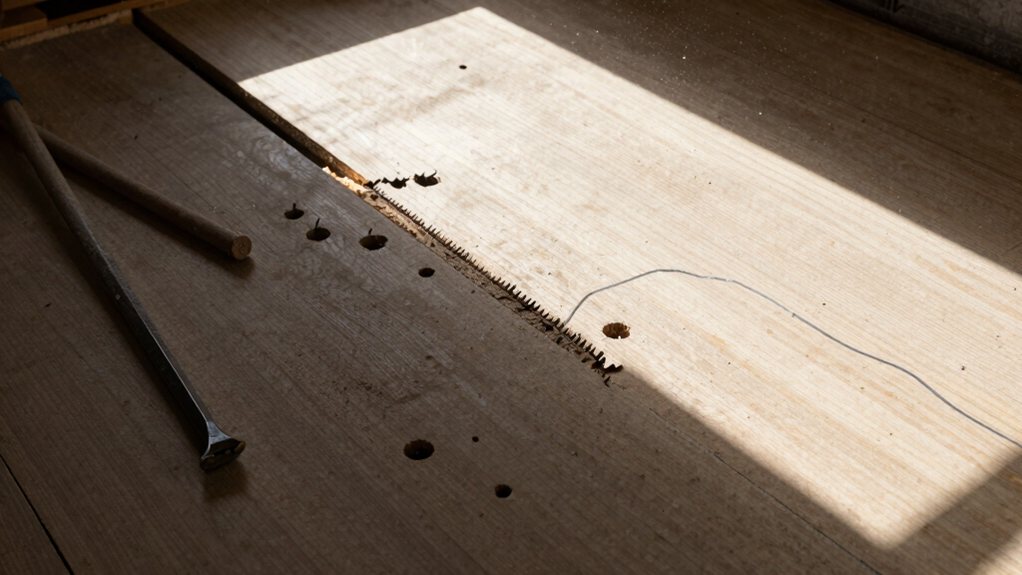
Now that your subfloor is clean and you’ve given it a good once-over, it’s time to tackle those annoying problems that can lurk underneath.
Once your subfloor is clean, it’s time to address the hidden issues lurking beneath.
For squeaks, drive 2‑1/2″ or 3″ wood screws—not nails—into the joists every 6–8 inches, countersinking the heads.
Fill dips deeper than 1/8″ with a floor leveler, feathering it flush.
Sand down any high spots so they won’t show through your new carpet.
On concrete, always check for moisture first; if it’s high, you’ll need a vapor barrier.
And please, replace any rotten or soft wood—it’s a safety must!
If this feels like a lot, let us help. Visit our showroom or ask about our convenient shop-at-home service; just contact us to get started.
How should you decide between tackling carpet removal yourself or calling in the professionals?
It really depends on your budget, time, and confidence with a pry bar.
To help you choose, weigh these key points.
You’ve done the hard work, and now your subfloor is clean and ready for whatever comes next. Give yourself a pat on the back—you just saved serious money and gained a new skill. Remember, taking your time during prep pays off with a beautiful, lasting floor. So grab a well-earned drink, and start dreaming about your amazing new floors. You’ve totally got this!