Phone:
(701)814-6992
Physical address:
6296 Donnelly Plaza
Ratkeville, Bahamas.

Phone:
(701)814-6992
Physical address:
6296 Donnelly Plaza
Ratkeville, Bahamas.
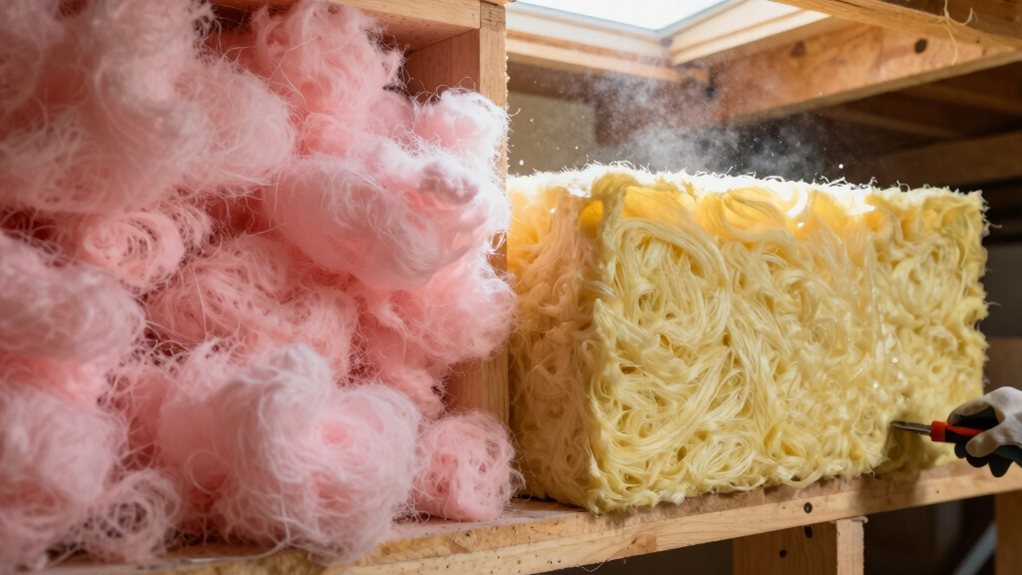
A guide to DIY attic insulation: choose between blown-in or batts for...
You should start by scoping out your attic for obstacles, then decide between blown-in and batt insulation. Blown-in is your best bet for tight spaces with lots of ducts and wires, as it flows neatly around them. If you’ve got long, open joist bays, pre-cut batts are simpler and faster. Proper prep is key—seal air leaks and maintain ventilation—so your hard work pays off for years. Let’s get into those details.
Table of Contents
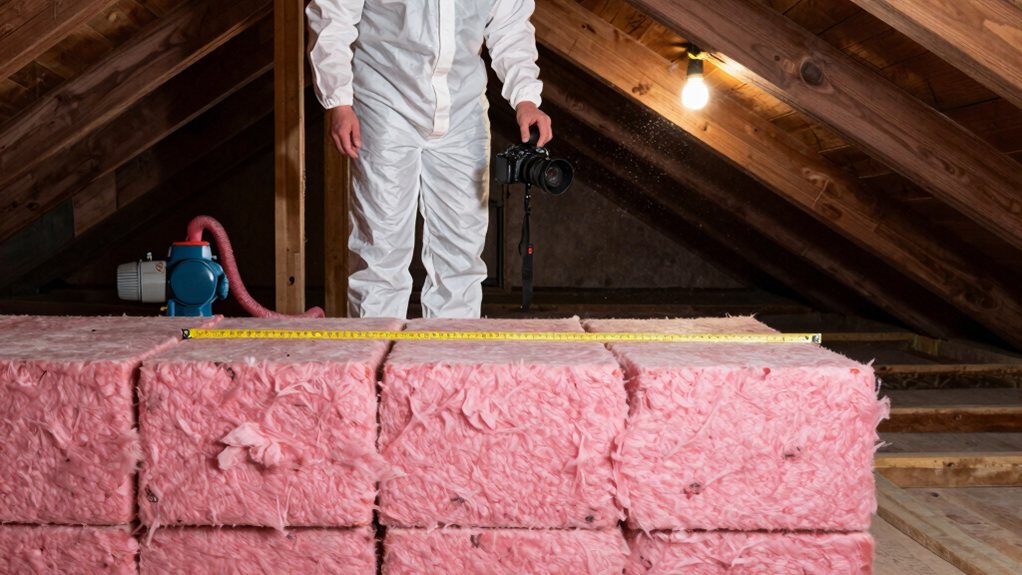
Before you start loading up on insulation, you’ve got to take a good look around your attic—it’s like scouting the territory before a big mission. Walk the space and map every obstruction, from can lights to plumbing and air ducts, because blown-in fills these tight spots beautifully, while batts can be a real puzzle to cut around.
Grab your tape measure next; find your floor area and average existing depth so you can calculate how much material you need to hit your local target R-value****. Seriously, this math saves you money and trips to the store.
Also, note your attic hatch size and joist spacing—those bulky batts are awkward, and a blower hose needs clearance. This upfront scouting makes the whole job easier. Also watch for moisture damage and uneven areas since moisture damage can compromise insulation and lead to rot or pests.
When you’re tackling tight attic spaces or retrofitting an existing home, blown-in insulation is your best friend because it easily molds around obstacles like can lights and ductwork.
Unlike rigid batts, which can be a wrestling match to cut and fit, blown-in material simply fills those odd-shaped cavities without leaving gaps that let heat escape.
You’ll appreciate how it stays put over time, keeping your energy bills low and your comfort high, without the fuss of constant adjustments.
If you’re trying to upgrade your attic insulation, you’ll quickly discover it’s a world of tight corners and tricky obstacles. Low light navigation around ducts and wires is tricky enough without wrestling rigid batts.
You’ll also need ergonomic positioning, as pre-cut panels are tough to trim around can lights and cable runs in cramped quarters. This is where blown-in insulation truly shines.
Its flexible entrypaths are a game-changer; the fluffy material conforms to every nook, easily filling irregular cavities around obstructions. It provides seamless coverage in tight spots that batts simply can’t reach properly. Plus, if you need to step there later, it puffs right back, maintaining its protective thickness where you need it most.
Now imagine trying to shove a square peg into a round hole—that’s what it feels like fitting those stiff batt panels around a tangle of attic pipes and wires. You’ll end up piecing together scraps, leaving gaps that cause thermal bridging and poor moisture control.
Blown-in insulation, however, flows like a gentle snow, perfectly molding around every vent, cable, and light fixture. This guarantees complete coverage without the wrestling match. You simply deposit it, maintaining proper fixture clearance around can lights for safety.
For retrofits, it’s a game-changer; you won’t need to dismantle anything. It fills every hidden void on the first pass, saving you hours of frustration and creating a far more effective thermal barrier for your home. Many underlayments include an integral vapor barrier to protect against moisture and improve long-term performance.
That tricky dance around pipes and wires in your attic shows exactly why blown-in insulation becomes a hero in older homes.
Its moldable nature lets you fill every odd nook behind kneewalls and around old wiring without the wrestling match required by rigid batts.
This superior fit blocks more drafts and improves pest prevention by leaving fewer gaps for critters.
Before you start, check local permit requirements, as some areas mandate them for insulation work.
Also, look into energy-efficiency tax incentives; you might get a nice rebate for upgrading.
You’ll appreciate how the fluffed material bounces back from occasional footsteps, maintaining its R-value for decades so you won’t have to do this job again.
Consider hiring professional door frame installation to ensure correct door alignment and sealing.
Since your attic has long, open joist bays without a lot of obstacles, you’ve hit the sweet spot for using pre-cut fiberglas batts. Think of this as the perfect Weekend Upgrade.
Their standard panels make measuring a cinch, and you can adopt Tool Minimalism—just a utility knife and a straight edge. You’ll appreciate the Rent Free aspect, too, since no blower machine is needed.
Their rigid form slides right in for a fast, predictable install over simple, straight runs. The job stays straightforward, letting you avoid the fuss of trimming around ducts or lights. Be sure to measure joist bays before purchasing to ensure the batts fit the space correctly.
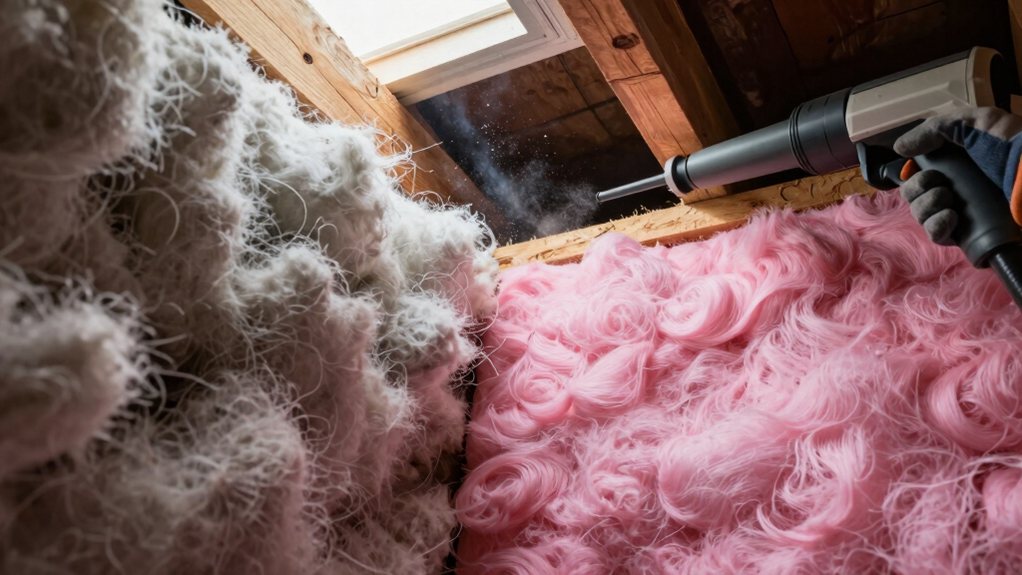
If your attic looks more like an obstacle course with pipes, ducts, and wires running every which way, blown-in insulation might be your new best friend.
First, you’ll rent a blower from a home center. Before you start, seal gaps and wear a respirator and goggles for crucial dust control.
When you’re ready, your hose technique is key. Start in the farthest corner and work back toward the entrance, keeping the hose moving for even coverage. Use a marked stick to check your depth.
Your hose technique is key: start in the farthest corner and work back toward the entrance, keeping it moving for even coverage.
The insulation will mold perfectly around all those obstacles. A little machine maintenance, like checking for clogs, keeps things running efficiently.
You’ll get great, long-lasting coverage that resists settling, making your home cozier for years.
Before you start, know that working with batt insulation can be a bit itchy and fussy, so proper prep is your best friend.
Once you’re suited up, focus on laying the batts in straight runs between the joists, making sure not to squish them down since that steals their insulating power.
You’ll need to carefully cut pieces to fit around wires or lights, but take your time—it’s more like a careful puzzle than a race.
Consider assembling a professional safety equipment kit before you begin to ensure you have all necessary protective gear.
While tackling your attic insulation project yourself, you’ll quickly discover that those pre-cut batt sections—typically 4 feet by 2 feet—can feel a bit like wrestling a friendly, oversized blanket that refuses to cooperate in tight spaces.
Maneuvering them around joists or ducts often requires careful scoring and trimming, which leads to dust generation, so wearing a mask is smart.
If you force a batt into a small space, it compresses, lowering its R-value and creating gaps.
Also, be mindful of moisture susceptibility in some older fiberglass batts, and wear long sleeves to avoid skin irritation from the fibers.
It’s a bit of a puzzle, but with patience, you can get a snug, effective fit.
Now that you’ve wrangled those batts into the tricky spots, you can appreciate the simplicity of a straightforward run.
First, check your joist alignment; you want batts that snugly fit the bay width.
Lay each panel in evenly—don’t compress it—and tightly butt the ends together.
Good installation ergonomics mean kneeling on walk boards, not the joists, to make the job easier on your knees.
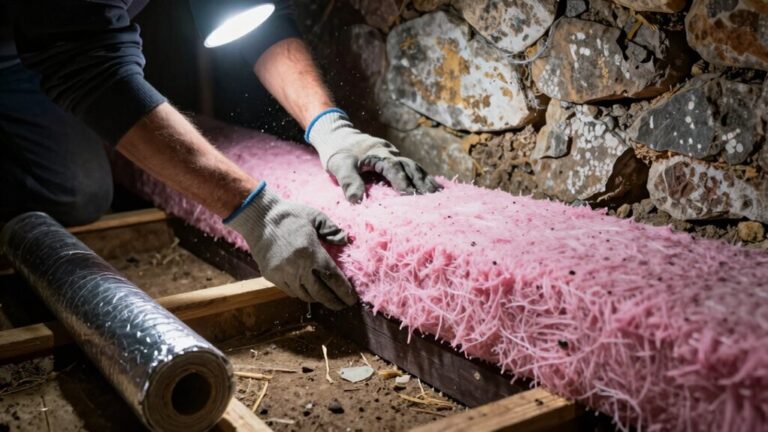
If your batts have a facing, staple it to the joist flange every 8–12 inches. This seals edges and minimizes thermal bridging, where heat sneaks past your insulation.
For straight runs, you’ll do minimal cutting, which is a nice break. Just remember your gloves and mask; itchiness is no joke up there.
Although you might be keen to get that new insulation in, taking time to properly seal leaks and guarantee good ventilation is what makes your project safe and effective for the long haul.
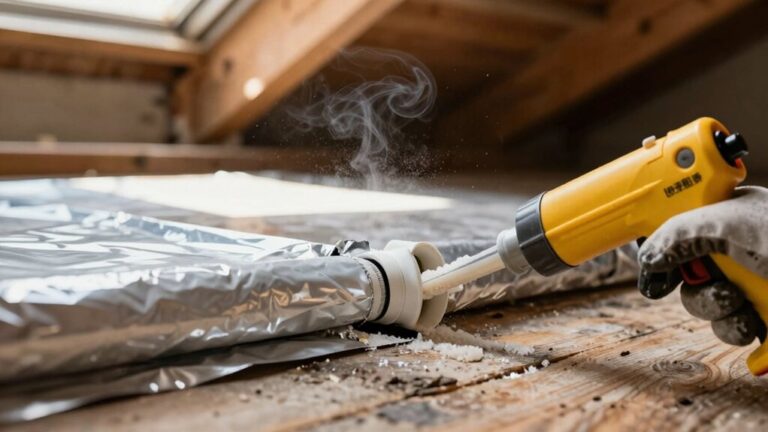
First, seal every gap you can find—around lights, pipes, and ducts—with caulk or spray foam.
This pivotal step is about more than just warmth; it’s critical for moisture monitoring and pest exclusion.
Next, don’t forget your attic access; seal its frame and add a tight cover.
Then, install baffles at the soffits so your new insulation won’t block necessary airflow.
Finally, confirm your vents are clear and all appliance exhausts go outdoors, maintaining proper fire clearance.
This prep protects your home and makes your insulation work its best.
Also consider upgrading exterior door weatherstripping to reduce air leakage around attic access.
Once you’ve got your insulation in place, you’ll want to make sure it stays as effective the day it was installed, and that means keeping its “loft” intact.
With blown-in insulation, you’re in luck—it resists settling and puffs back up if you accidentally step on it. Just install it to the right depth for your climate and use permanent depth markers as a visual check.
For batts, avoid cramming them into tight spaces, as compression kills R-value. Consider annual inspections to spot any low spots or compression from stored boxes.
Also, confirm proper moisture barriers are in place below the insulation, because dampness compacts material and steals your cozy warmth faster than you can say “brrr.”
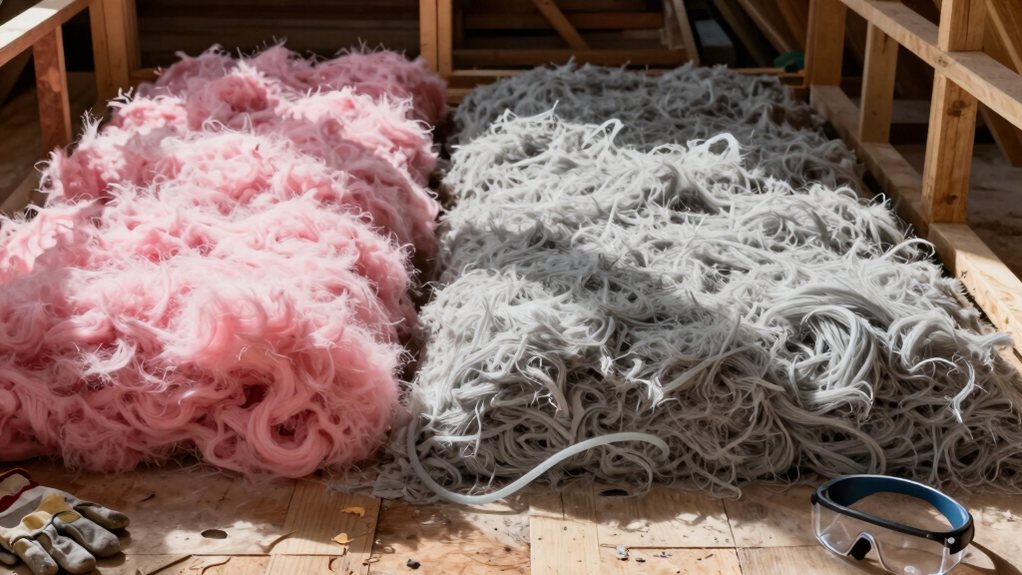
Choosing the right insulation is like picking the perfect tool for a job—it makes everything easier.
For simple, open attic floors, go with pre-cut batts; they’re rigid and install fast.
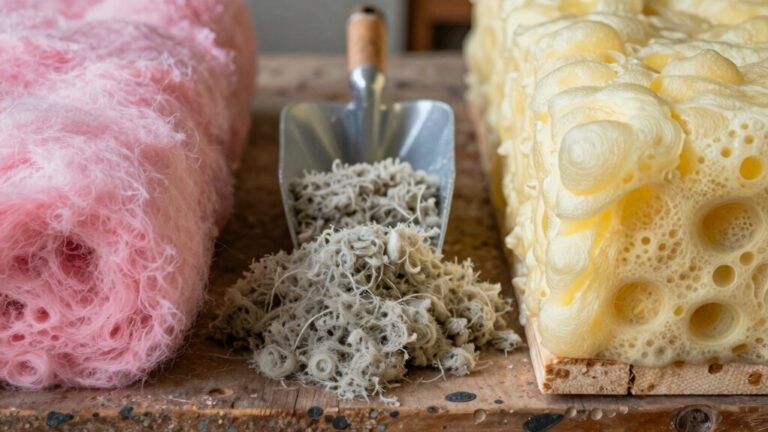
For tricky spots with ducts or wires, blown-in is your friend—it molds perfectly around obstacles.
If you’ll use the attic for storage, blown-in rebounds after compression, keeping your coverage intact.
Before you decide, do a quick cost comparison and check your tool checklist; a blower machine is often free with purchase.
Finally, always review the warranty coverage. A good guarantee makes certain your R-value stays put, saving you from future headaches and keeping your home cozy for years to come.
You’ve now got the know-how to tackle your attic. Remember, blown-in insulation is your friend for those tricky corners, while batts are great for simple, open spaces. Whichever you choose, just take your time with the prep work, because a little effort now means big savings later. Your home will feel cozier, and your energy bills will thank you. So go ahead, you’ve got this!