Phone:
(701)814-6992
Physical address:
6296 Donnelly Plaza
Ratkeville, Bahamas.

Phone:
(701)814-6992
Physical address:
6296 Donnelly Plaza
Ratkeville, Bahamas.
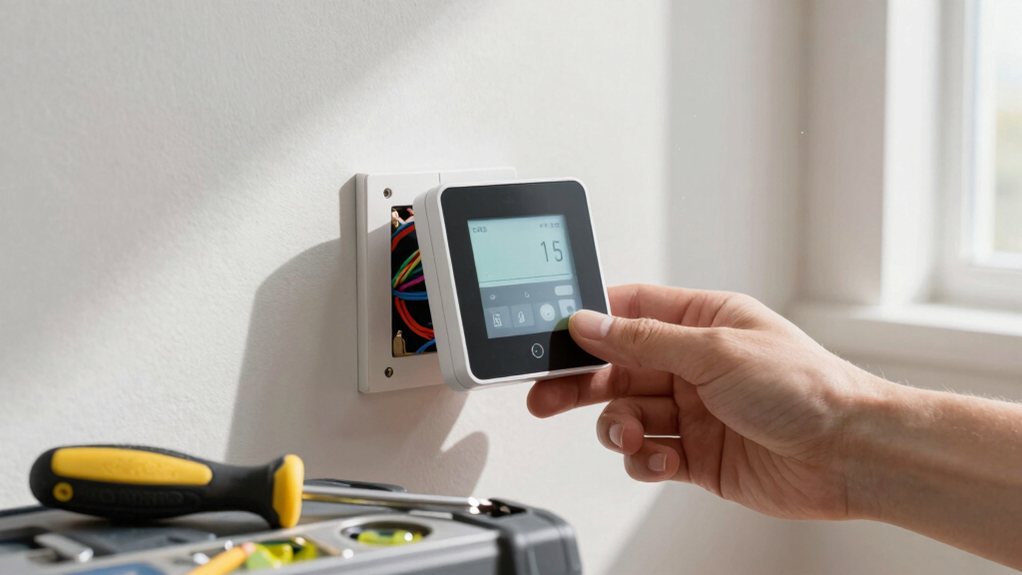
Prepare to install your smart thermostat yourself, discovering the essential steps for a seamless DIY upgrade that will...
Start by turning off your HVAC’s power. Carefully remove your old thermostat, snapping a clear photo and labeling each wire first. You’ll mount the new backplate level on the wall, then match your labels to the terminals. After connecting the wires, restore power and follow the on-screen setup to connect to Wi-Fi. It’s a satisfying DIY upgrade, and we’ve got all the details to make sure it goes seamlessly for you.
Table of Contents
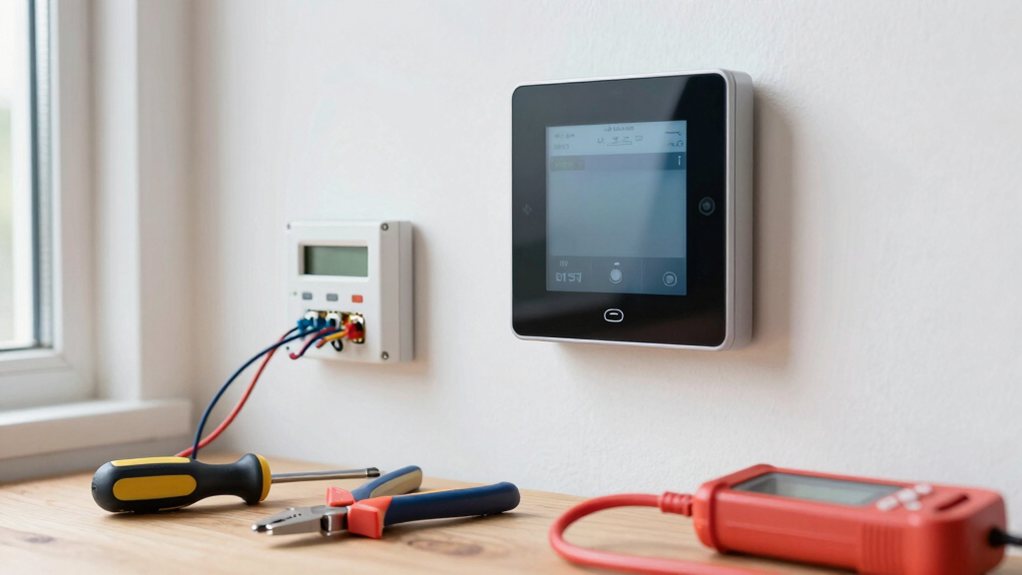
Alright, let’s get you ready for installation! You’ll need some basic tools: a screwdriver and a level.
If you’re mounting into drywall, grab a drill with a 1/4” bit and some wall anchors.
Your most important job is to take a clear photo of your old thermostat’s wiring before you touch a single wire.
Before you disconnect any wires, snap a clear photo of your old thermostat’s wiring for reference.
Label each one by its terminal letter, like R or W, not only by color.
Next, confirm you have a common wire (called a C-wire); most smart thermostats need this for constant power.
If you don’t have one, don’t panic! You can use the manufacturer’s power extender kit as a clever alternative.
With these items, you’re set to start.
Consider integrating a smart home automation system for centralized control of devices.
First, you’ll need to find the correct breaker in your main electrical panel and switch it off to cut power to your heating and cooling equipment.
Always double-check that the power is truly off by trying your old thermostat and using a voltage tester, because safety is serious business, even if you’re just standing there holding a screwdriver.
If you’re ever uncertain about which breaker to flip or you find wires that are unexpectedly live, it’s a perfect time to call a professional, as they’ve got the expertise to handle the tricky electrical bits.
You may also consider upgrading the main panel to a smart home electrical panel to simplify circuit management and future smart device integration.
Before you get your hands on any wiring, you’ll need to make sure the power to your heating and cooling system is completely off—it’s a safety step you just can’t skip.
Head to your breaker panel.
Now, you might find a neatly labeled “HVAC” or “Furnace” switch, but don’t rely on that alone. Your system at the breaker could have separate switches for the indoor and outdoor units.
To be safe, turn off all breakers that look HVAC-related. If the labels are missing or you’re unsure, switching off the main breaker is your smartest, safest move.
This little bit of extra caution guarantees you won’t get any shocking surprises while working. Trust me, it’s better to be in the dark now than to see sparks later!
Also, confirm the neutral requirement for any smart controls on the same circuit before you begin.
Now that you’ve switched off the breakers, you’ll want to double-check that the power is truly off, because a system with multiple circuits might still have a trick up its sleeve. Don’t just trust the breaker labels—test it yourself.
First, try to change the temperature on your old thermostat. If you hear any clicks or the blower kicks on, your HVAC system is still live, and you need to find the other breaker.
Next, use a non-contact voltage tester on the thermostat wires or control board. You’re looking for silence—no beeps or lights. Only when you get a zero reading is it safe to proceed. This step guarantees you won’t get a surprise and keeps your power back from turning your project into a shocking experience. Also, wear items from a professional safety equipment kit to protect yourself while working.
Knowing when to ask for help is the hallmark of a true DIY champion. For specialized home services like professional door frame installation, consult a certified installer to avoid structural issues.
Gently pop off your old thermostat’s faceplate to reveal its inner wiring—this is the moment you get to see how it all connects.
First, verify safety by turning off power at your breaker panel and checking that the system is truly off.
Next, carefully remove the faceplate, checking for hidden screws underneath.
Now, take a clear photo of the wiring and the corresponding terminals—this is your cheat sheet!
Before you loosen a single screw, label each wire with the sticker from your new kit, marking its terminal letter (like R or Y), not only its color.
This simple step prevents a confusing puzzle later.
Once labeled, you can disconnect the wires, keeping them from slipping back into the wall.
Consider integrating your thermostat with a smart home hub to enable centralized control and automation.
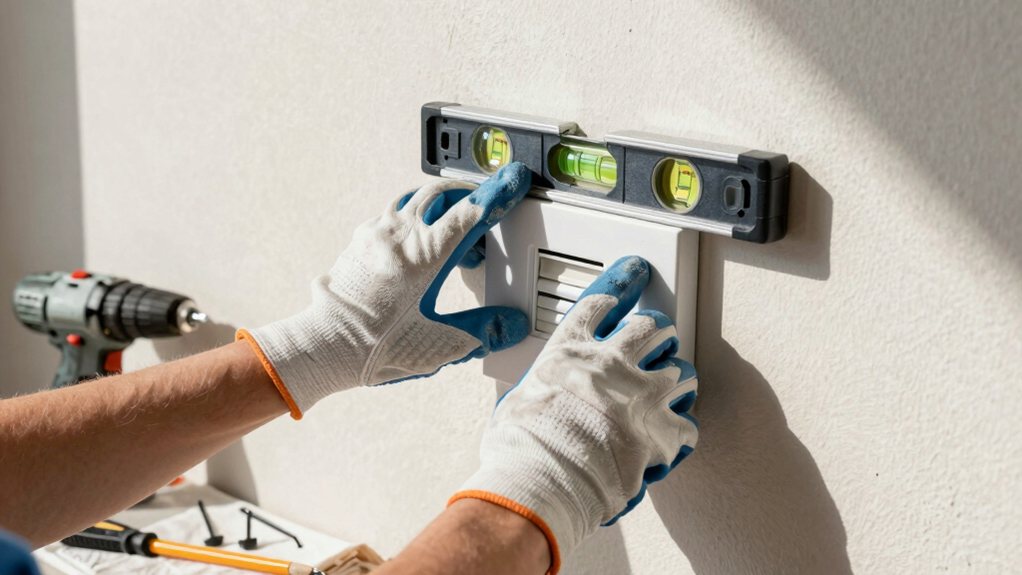
Consider using professional floating shelf hardware for a sturdy, hidden-mount solution.
Start by labeling your wires and snapping a quick photo, which is like a cheat sheet for later when you need to reconnect everything correctly.
Then, match each labeled wire to its corresponding terminal on the new thermostat’s backplate, pressing them in firmly so they’re secure.
Finally, gently tuck any extra wire back into the wall before snapping on the faceplate, keeping your install looking neat and professional.
A smart home central device like a smart home automation hub can integrate your thermostat with other devices.
Before you unscrew a single wire, it’s smart to snap a clear, well-lit photo of your thermostat’s wiring—think of it as a cheat sheet you’ll be glad to have later. This photo is your wiring bible, showing exactly how each wire connects.
Next, label every wire with its terminal letter, like R or Y, using tape or stickers. Trust the terminal, not the wire color, as colors can be misleading.
This careful prep saves you from a real headache later.
Keep your old thermostat and photos until the new one is happily humming. Also consider how a smart home lighting system might interact with your thermostat when planning upgrades.
Now it’s time to connect your labeled wires to their new home—a satisfying step where your careful prep pays off. With the HVAC power still off, pull your labeled wires through the new backplate. Match each label to its identical terminal on the smart thermostat, like R to R.
Insert each conductor firmly, pressing terminal levers or wrapping wires under screws. Tighten screws snugly or confirm the push-in latch clicks, securing the wires in place. This isn’t the time for loose connections!
If you repurposed a wire, like moving G to C, double-check both ends are correctly reassigned. Forget wire nuts; your thermostat’s terminals do the job. Tuck any excess wire into the wall neatly before you restore power for the exciting boot-up.
If you’re comparing options, a page titled smart door lock often lists products for sale so you can review features and compatibility.
Since you’re ready to tackle your smart thermostat installation but find yourself staring at a missing C-wire, don’t worry—you’ve got several clever workarounds and adapters at your disposal.
Most modern smart thermostats need that constant 24 VAC power, but manufacturers have your back. You can use a Power Extender Kit (like for Ecobee) or a Nest Power Connector; these little gadgets mount at your air handler and cleverly reuse existing wires to create a C-wire path.
Modern smart thermostats need constant 24 VAC power. You can use a Power Extender Kit or Nest Power Connector mounted at the air handler to create a C-wire path.
Another DIY fix is repurposing the G-wire for power, but you’ll lose independent fan control unless you rewire at the furnace.
For the most robust solution, consider running a new cable, though that’s a bigger project. Always follow instructions closely, and when in doubt, call a pro.
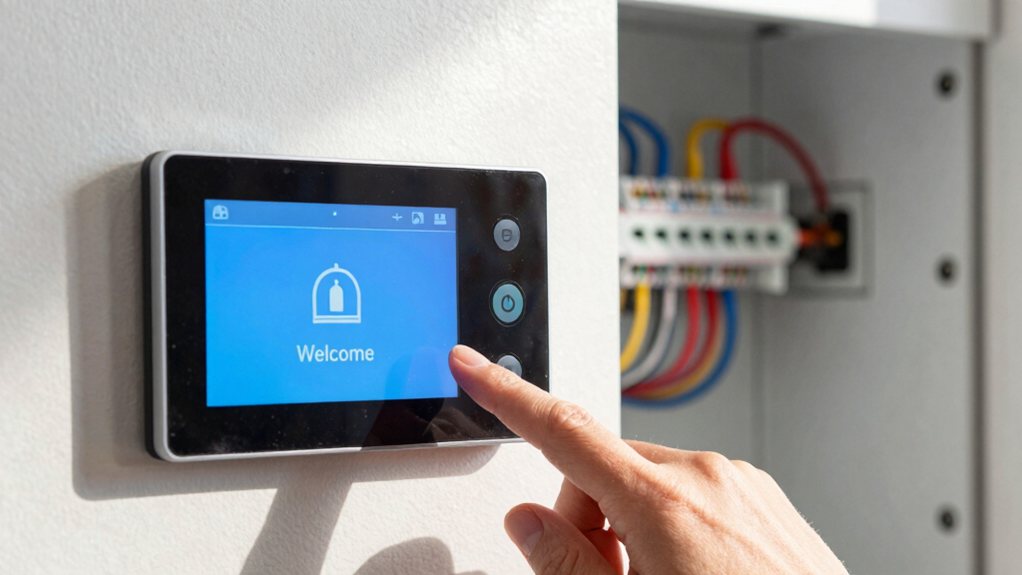
Now, flip that circuit breaker back on and watch your new thermostat light up—it’s showtime! Follow the on-screen prompts to set your preferences and connect to Wi-Fi, which is just like setting up a new phone but for your house.
Once it’s online, you can test the heating and cooling, then let your clever little gadget learn your routine over the next few days.
If the screen lights up, fantastic!
If not, just re-check the C-wire connection and the breaker before considering a pro.
With the faceplate securely in place, you’re ready for the big moment—flipping the breaker back on so your new smart thermostat can wake up and introduce itself. Give it a few minutes to fully boot; you’ll see the screen come to life.
It will then guide you through selecting your system type and confirming your wiring matches your earlier photo. This is when you’ll connect it to WiFi and pair it with the companion app, which enables remote control and handy updates.
Don’t rush the final step! Let the thermostat learn your household’s rhythm over several days. Its smart algorithms will then fine-tune temperatures automatically, helping you start saving on energy bills while keeping everyone perfectly comfortable.
Next, connect it to your Wi-Fi and log into the manufacturer’s app.
This unleashes the real magic, letting you control the temperature from your phone, receive updates, and add accessories like a remote sensor.
Finally, test heating and cooling to verify everything responds, then let it complete any updates.
Now that your thermostat is powered up and glowing with potential, how do you enable its smart capabilities? First, have your Wi‑Fi network name and password handy, because your thermostat will prompt you to join it right away. This is the moment your device truly becomes one of those clever smart thermostats.
Next, grab your phone and open the manufacturer’s companion app—like Nest or Ecobee—and use its “Add Device” wizard. You’ll want to move quickly here, as many models require you to finish this pairing within about 30 minutes. Don’t worry, though; the app will guide you through naming your thermostat, setting its room, and enabling awesome features like geofencing.
Finally, secure your setup with a good password, so your smart comfort stays protected.
sure to pull a smile of relief from you.
Even though you’ve just heard your system click to life, it can be really frustrating when your new smart thermostat seems completely unresponsive—like it’s giving you the silent treatment.
If your screen is blank after you install the new device, first double-check that your HVAC breakers are on. If the new thermostat still has no power, use a multimeter to confirm you’re getting 24 volts between the R and C wires. No power? The culprit is often a missing C-wire; you can repurpose the G wire at your air handler as a workaround.
If the HVAC doesn’t respond, verify every wire is on its correct terminal. For stubborn Wi-Fi issues, make sure your network is on a 2.4 GHz band and try a simple router reboot. A little patience usually gets everything talking.
And that’s it! You’ve just installed your own smart thermostat. Give yourself a pat on the back for saving money and gaining some handy new skills. Your home is now smarter and more comfortable. If you run into any hiccups, just revisit the troubleshooting tips. Enjoy the convenience of controlling your climate from anywhere, and get ready for those energy savings to start rolling in. Great job