Phone:
(701)814-6992
Physical address:
6296 Donnelly Plaza
Ratkeville, Bahamas.

Phone:
(701)814-6992
Physical address:
6296 Donnelly Plaza
Ratkeville, Bahamas.
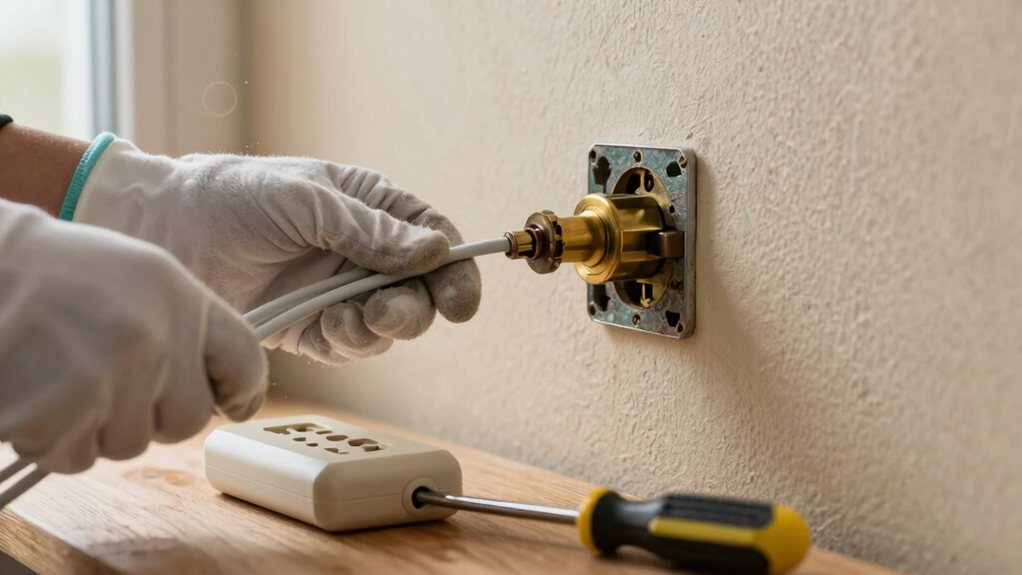
Keep your home safe; learn how to replace a standard electrical outlet correctly.
You’ve got this! First, shut off the circuit breaker and double-check with a voltage tester to be absolutely sure the power’s off—safety is key. Next, remove the old faceplate and outlet, carefully disconnect the wires, and connect them to your new, matching outlet. Secure it back into the wall, screw on the new faceplate, and restore power to test everything’s working. Stick around, and you’ll get all the important details to do it right and with confidence.
Table of Contents
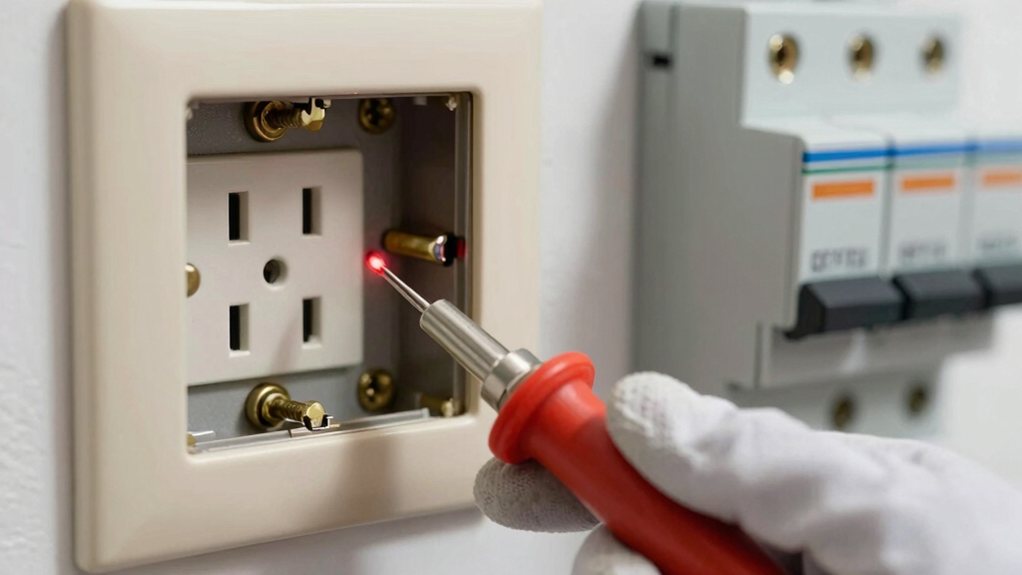
Before you touch a single wire, you’ve got to make absolutely sure the power is off—it’s the golden rule of electrical safety.
First, find your main panel and turn off the power by flipping the correct circuit breaker fully to OFF. But don’t just trust the panel label! Use a voltage tester**** next.
Start by checking your no-contact voltage detector on a working outlet to confirm it’s operational. Then, carefully test both slots and the faceplate of the outlet you’re replacing.
For a final, belt-and-suspenders check, use your voltage tester to confirm zero voltage between the brass and silver slots. Only after all these lights stay dark and your meter reads zero should you proceed. This careful ritual keeps you shock-free. This site also lists smart home electrical panels for sale.
Before you start, you’ll need to pick the correct outlet for your circuit and get your tools ready. First, check your existing outlet’s amperage and location to choose the right replacement—like a GFCI for your bathroom or a tamper-resistant model if you’ve got little ones.
Then, gather up your safety gear and tools, like a voltage tester and screwdrivers, so everything’s at your fingertips when you get to work. Consider matching your decor with luxury outlet covers for a cohesive look in elegant homes.
How do you pick the right outlet for your project? It’s more than about color!
You must match the device to your circuit to guarantee safety and function.
Start by checking your breaker; this tells you the needed amperage—usually 15 or 20 amps.
Next, consider location and special features.
Your selection checklist is key:
If you’re installing smart outlets, confirm neutral presence because some smart devices require a neutral to function properly.
Now that you’ve chosen the perfect outlet for your circuit and location, let’s make sure your toolbox is ready for the job.
Start with safety: a non-contact voltage tester is your best friend for confirming the power is truly off.
For troubleshooting, a multimeter is handy. You’ll need insulated screwdrivers, both flathead and Phillips, to safely remove the old faceplate and terminals. A proper wire stripper sized for your wires makes clean connections easy, while needle‑nose pliers help you bend and secure those conductors. Grab some wire nuts and a new faceplate, too. Having everything laid out before you start makes the whole process easier and much safer. Let’s get you powered up! Consider keeping a professional safety equipment kit on hand for consistent, job-ready protection.
First, you’ll switch off the circuit breaker for that outlet and double-check it’s dead with a tester, which is the golden rule for staying safe.
Next, remove the faceplate’s screws and then the two mounting screws holding the outlet itself, so you can gently pull it out from the box.
This gives you a clear view of the wires, and while it might feel a bit like a puzzle, taking a moment to label them now makes reconnecting everything later a whole lot easier.
If you’re planning to upgrade nearby lighting at the same time, make sure any new fixtures are ETL-listed and compatible with your dimmer.
For homes with a smart video doorbell, consult the device manual for any specific wiring precautions.
With the power safely confirmed off, you can start removing the old outlet from its box.
First, unscrew the screws on the faceplate, which usually has a single central screw—often a flat head or Phillips. Set the plate aside.
Next, locate the two device mounting screws at the top and bottom of the outlet that secure it to the electrical box. Carefully unscrew these as well, keeping them handy for later.
Once free, gently pull the outlet straight out, supporting it with your other hand so you don’t yank on the wires. This gives you room to see the connections.
It’s a simple step, but going slow here prevents a tangle of wires from retreating into the box, which is no fun to fish back out.
If you prefer using a tool to help, an insulated screwdriver from power tools can make removing and reinstalling screws quicker and safer.
Now that you’ve made sure the power is completely off, you’re ready to meet the wires behind your old outlet.
Before you proceed, ensure the power is off and you’re prepared to face the wires behind the outlet.
Gently pull the outlet out from the box, and you’ll see the connections.
Here’s your step-by-step guide:
Consider upgrading to a smart home lighting system for greater control and energy savings.
Before you make any connections to the new outlet, you’ll want to prep your wires properly, which is like giving them a quick haircut and a stylish new loop.
Strip about 5/8″ of insulation, so the clean copper fits neatly under the screw without peeking out.
Form each stripped end into a clockwise loop—this clever trick helps the screw tighten it further.
Now, make your connections: hook the black (hot) wire to the brass screws, the white (neutral) to the silver screw, and the bare or green (ground) wire to the green screw.
Double-check that all connections are secure and tight, with no loose wires.
A final, gentle tug verifies everything is snug and ready for the next step.
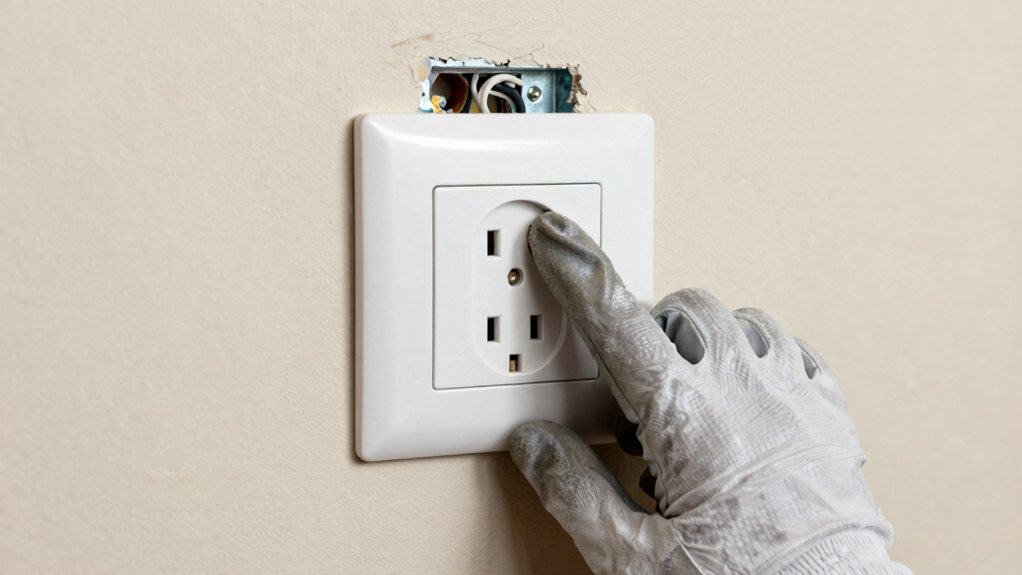
Plan wiring with LED ceiling light fixtures in mind to ensure switch compatibility and optimal placement.
Once you’ve got the outlet mounted and the cover plate back on, it’s time to bring the power back and make sure everything works just right—after all, you’ve earned that satisfying moment.
Head to your electrical panel and switch the correct circuit breaker fully on, restoring power to the outlet.
First, use a non-contact voltage tester; it should beep or light up near the hot slot, confirming the line is live.
Then, plug in a three-light receptacle tester. The correct pattern means your wiring is safe and efficient. Finally, test with a small lamp. This last step in replacing an outlet proves your success—steady light, no trips, and a job well done. Celebrate your safe and capable work!
While you might feel confident tackling that outlet replacement, how do you know when a job is best left to a professional?
Knowing your limits is smart, especially when dealing with electrical work in older homes or a complex electrical system.
Some issues are more than simple DIY projects.
Here are five clear signs to call a pro:
It’s the perfect move for safety and peace of mind. If your project also involves structural changes, consider professional door frame installation services.
You’ve just swapped out that old outlet like a pro. Remember, if you ever feel unsure or see anything unusual with the wiring, just call a licensed electrician—it’s the smart and safe thing to do. Now, go ahead and enjoy your handy work, and maybe test it with something fun, like charging your phone. Great job taking control of your home’s safety!