Phone:
(701)814-6992
Physical address:
6296 Donnelly Plaza
Ratkeville, Bahamas.

Phone:
(701)814-6992
Physical address:
6296 Donnelly Plaza
Ratkeville, Bahamas.
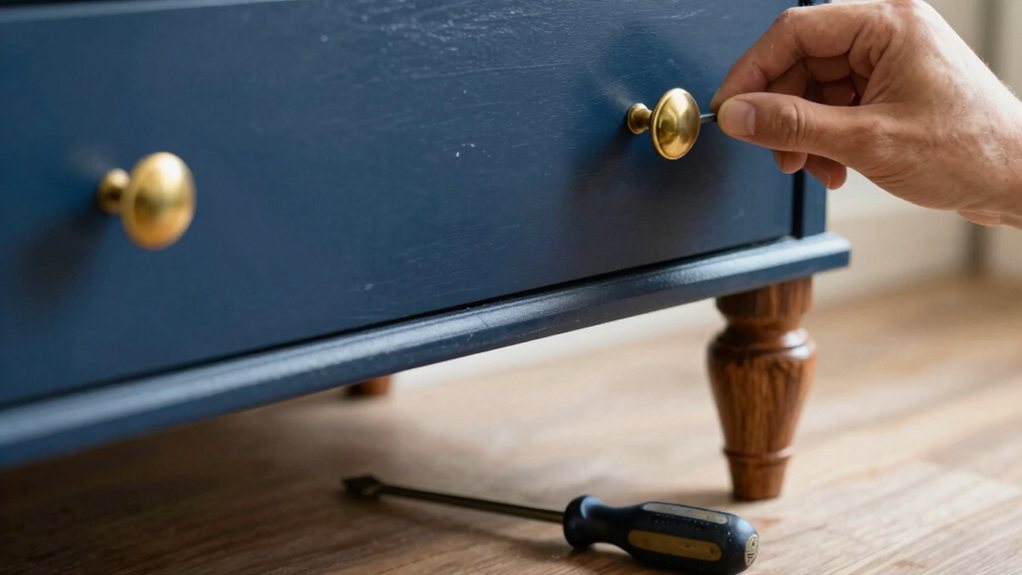
Transform your dated dresser with paint, new hardware, and essential repairs to discover its hidden potential.
You’ll start by giving your dresser a good checkup, tightening loose screws and fixing wobbly legs with glue. Then, after a solid cleaning and sanding, you’ll apply a bonding primer and your favorite paint color in thin, even coats. Swapping out the old hardware for new knobs or pulls makes a huge difference, and a protective topcoat keeps it looking fresh. Your revived dresser is waiting to become the star of your room.
Table of Contents
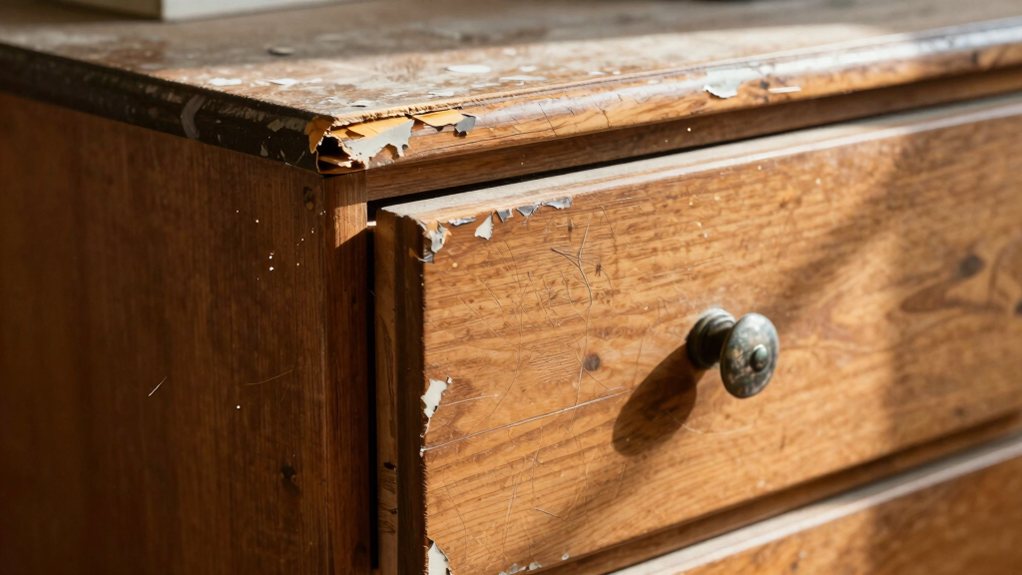
Before you jump in with paintbrushes and sandpaper, you’ve gotta take a good, honest look at your dresser. Give it a thorough inspection, checking for wobbles, loose joints, or major damage. You’ll need to fix structural issues before any cosmetic fun.
Diagnose structural issues first—fix wobbles and loose joints before any cosmetic paintbrush fun begins.
Now, don’t worry about historical value unless you have a signed, antique piece. Most dressers are perfect for upcycling.
Identifying the wood species can be helpful, though. Is it solid oak or a pine veneer? This knowledge guides your sanding approach.
Open all the drawers, check the slides, and see what you’re really working with. A solid assessment saves you from nasty surprises later. Think of it as a doctor’s visit for your furniture—diagnose first, then prescribe the colorful cure.
If you prefer a ready-made solution, consider a professional furniture refinishing kit for all the supplies in one package.
Before you start, you’ll need to gather a few key tools and materials.
You’ll want basic items like sandpaper, paintbrushes, and a screwdriver, plus your chosen paint or stain.
Having everything ready makes the whole project go much easier, and you won’t have to stop mid-sanding to hunt for a missing brush.
Consider investing in a premium DIY tool kit to ensure you have high-quality tools that will last through multiple projects.
Your first step in upcycling that old dresser is gathering the right tools, which honestly makes the whole project easier and a lot more fun. You don’t need a professional workshop, but a solid core set is key.
Start with a screwdriver, sandpaper in various grits, a putty knife, a quality paintbrush, and safety gear like gloves and a mask. Smart budget allocation means buying a few good tools you’ll reuse, not cheap ones that’ll frustrate you.
Remember tool maintenance; clean your brush right after painting so it lasts for future projects. Having everything within arm’s reach before you start saves time and keeps your momentum going, turning an intimidating task into a satisfying, creative weekend. Consider investing in a Professional Tool Kit for a reliable, reusable selection of essentials.
With your tools sorted, let’s talk about what you’ll actually put on that dresser. Your main material is paint, so choose a good primer and a durable topcoat in your favorite color.
You’ll also need sandpaper in various grits to level the surface. New hardware, like knobs or pulls, is an instant style upgrade.
For structural repairs, grab some wood glue and filler. If you’re feeling creative, scout for salvaged trim to add decorative detail or reclaimed veneers to patch a damaged top; these unique touches give your piece soul.
Don’t forget a clean drop cloth and plenty of brushes. Gathering everything first makes the process seamless and lets you focus on the fun part—transforming your find.
Also, be sure to thoroughly degrease surfaces and use a bonding primer when painting to ensure long-lasting adhesion.
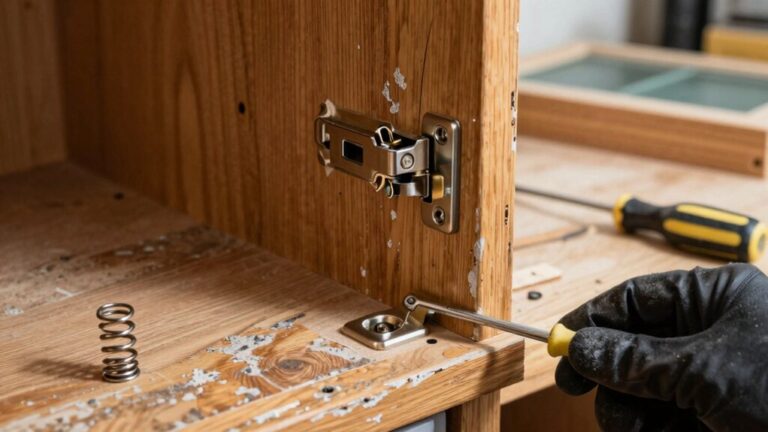
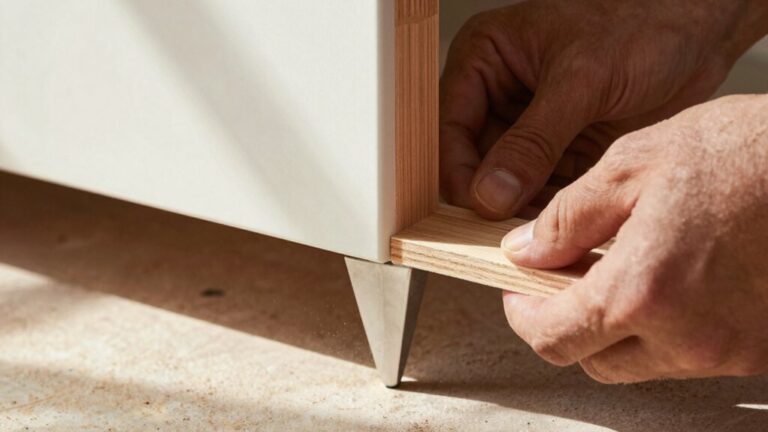
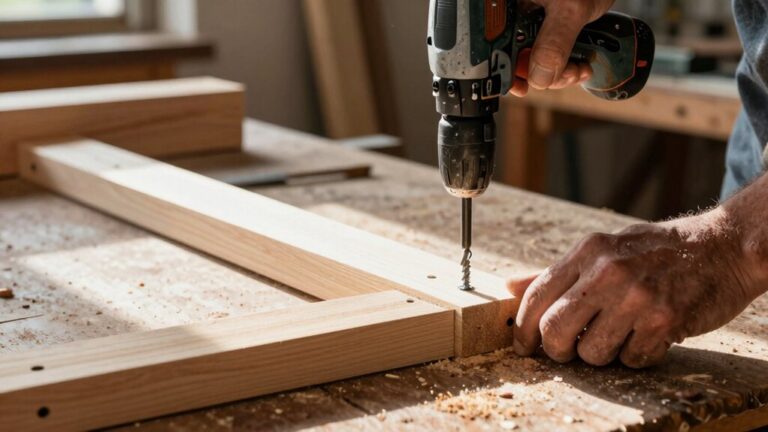
Even if that old dresser you’ve rescued seems a bit wobbly or has drawers that stick, don’t worry—most common structural problems are totally fixable, and tackling them is easier than you might think.
You’ll bring new life to that piece with just a few simple repairs.
Start by checking the overall stability and then move to the nitty-gritty details.
Once you’ve tackled those wobbles and sticky drawers, prepping the surface is your next crucial step because a level base makes all the difference for that gorgeous final look.
First, pick a spot with great workspace ventilation—open those windows! Good lighting setup is also key so you can spot every last bit of old varnish.
Now, give the whole piece a thorough sanding. You don’t need to strip it bare, just scuff up the surface so the new paint has something to grip.
Wipe away all the dust with a tack cloth; this part is boring but non-negotiable. Finally, apply a quality primer. Think of it as a trusty basecoat that guarantees your topcoat color looks vibrant and lasts for years. For best adhesion, lightly sand with 220-grit sandpaper before priming.
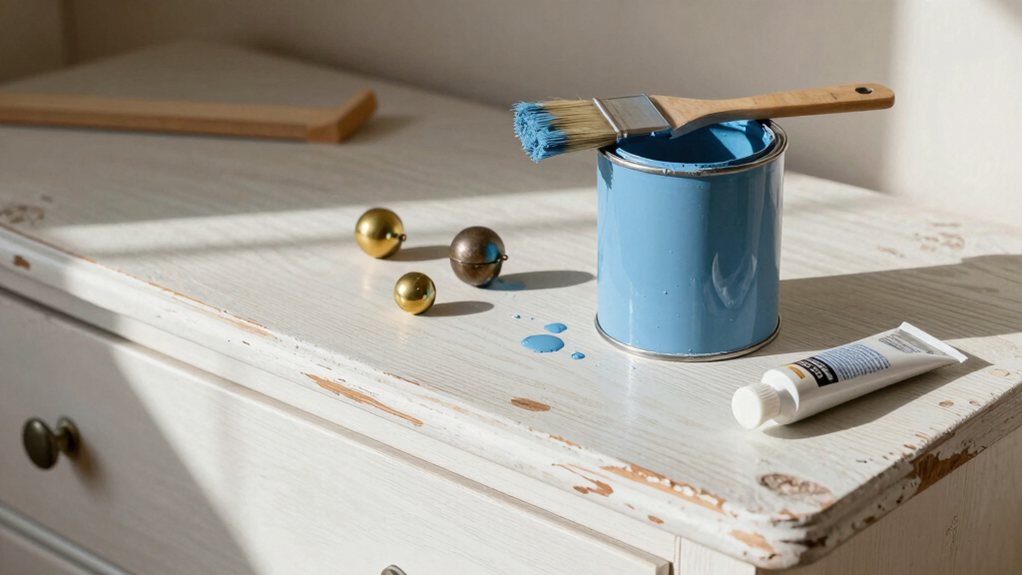
Now that your dresser is prepped and ready, how do you choose the right paint and hardware to make it truly yours?
Think about color psychology; a calming blue might be perfect for a bedroom, while a cheerful yellow could brighten a hallway.
Color psychology is key: choose calming blues for serenity or cheerful yellows to spark joy in your space.
Next, check paint labels for low-VOC options to comply with VOC regulations—better for your indoor air and the planet.
A good primer is a non-negotiable base coat for durability.
Finally, pick hardware that complements your new color and the dresser’s style.
Also consider hardware finishes—matte black and brushed nickel are noted for hiding fingerprints and resisting wear.
Now that your dresser is prepped and primed, you’re ready to apply your paint for that perfect finish.
Aim for thin, even coats with a high-quality brush or roller, letting each layer dry completely to avoid drips and streaks.
Patience here is key—rushing might leave you with a lumpy mess, but taking your time rewards you with a sleek, professional look you’ll be proud of.
For best results, choose brushes with nylon bristles that resist swelling and maintain shape with water-based paints.
Applying paint is the exciting part, but skipping proper surface prep is like frosting a cake before it’s cooled—you’ll end up with a messy, disappointing finish.
A perfect coat starts with a perfectly prepared surface, so don’t rush this essential step.
Your future self will thank you.
Consider using a drywall repair kit for any larger surface repairs to ensure a smooth, professional finish before painting.
With your dresser’s surface cleaned, sanded, and primed, you’ve set the stage for the fun part—painting. Apply your first coat with a quality brush or roller, using long, even strokes in the direction of the wood grain.
Don’t overload your brush, as this causes drips. Let this coat dry completely before even thinking about the next one. Patience here prevents a sticky mess. For larger projects, consider investing in professional deck staining equipment to speed up the work and help achieve consistent, even coverage.
Now that your hardware is shining and securely in place, you’re on the home stretch. This final stage is about preservation and polish.
First, apply a clear, protective topcoat. A UV sealant is a smart choice, as it guards your beautiful paint job from sunlight fading and everyday wear. Let it dry completely, following the can’s instructions.
Next, attach felt pads to the bottom of each drawer and the feet of the dresser. This simple step prevents scratches on your floors and makes the drawers glide effortlessly. It’s a tiny detail that makes a huge difference, proving you’ve thought of everything.
Stand back and admire your work—this upcycled piece is now ready for decades of renewed life and compliments.
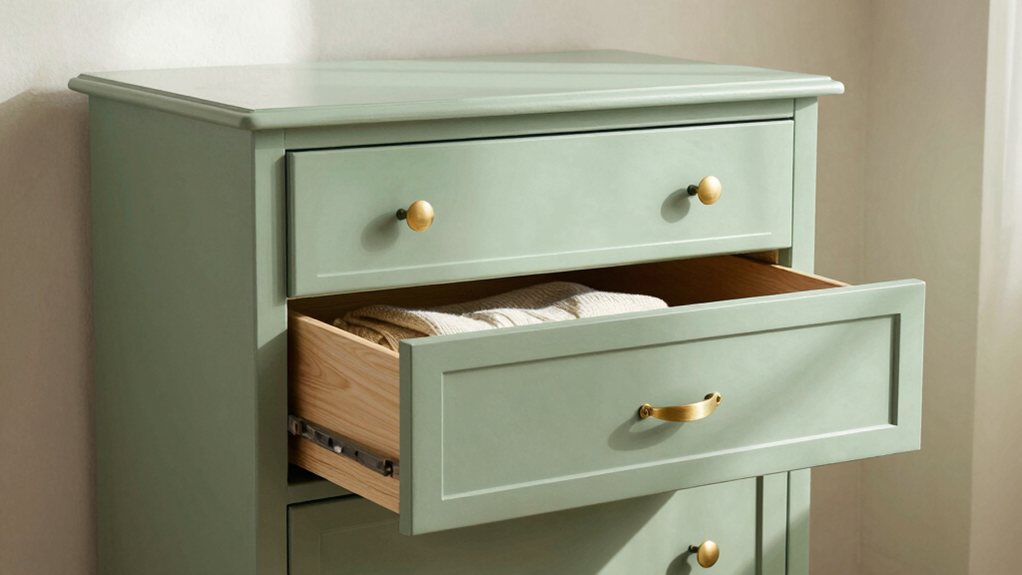
This is your victory lap, so enjoy making it uniquely yours!
Well, you did it! You’ve turned an old dresser into a piece you’re proud of. It wasn’t just a paint job; you fixed its wobbles and gave it a whole new personality with that hardware. Now, stand back and admire your work. You didn’t just save a piece of furniture; you made something uniquely yours. Enjoy styling it in your room and showing it off!