Phone:
(701)814-6992
Physical address:
6296 Donnelly Plaza
Ratkeville, Bahamas.

Phone:
(701)814-6992
Physical address:
6296 Donnelly Plaza
Ratkeville, Bahamas.
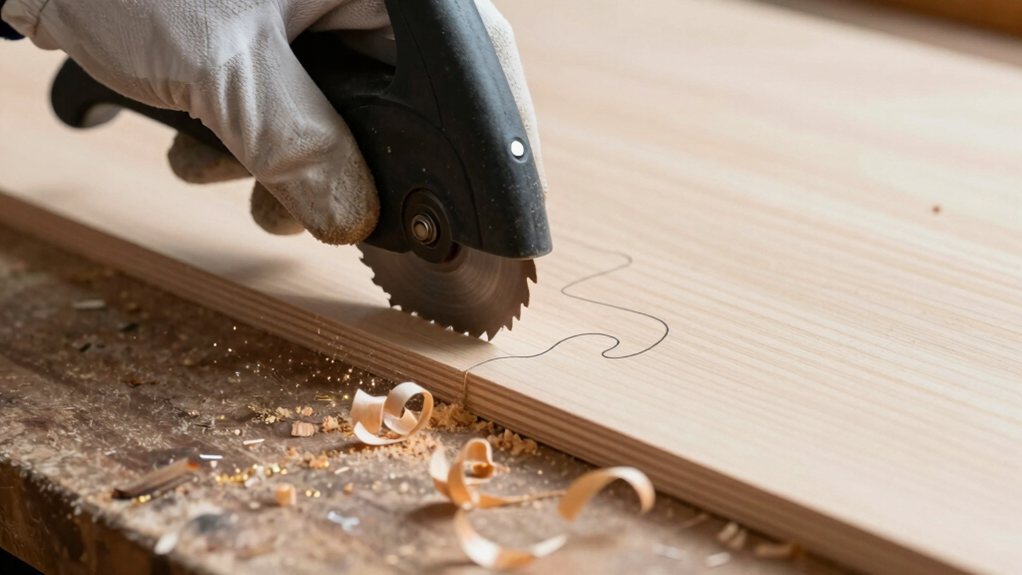
Want to cut smooth curves with a jigsaw? Learn the simple secrets to perfect arcs and unlock your woodworking potential.
You’ll find a jigsaw is perfect for those beautiful curved cuts. First, choose a fine-tooth, narrow blade (10-20 TPI) for clean, tight turns. Clamp your wood securely, start slow, and gently guide the saw, letting the blade do the work. Use a guide for big arcs and sand the edges flush afterward. With a little practice on scrap wood, you’ll be cutting curves confidently in no time, unleashing a whole new world of projects.
Table of Contents
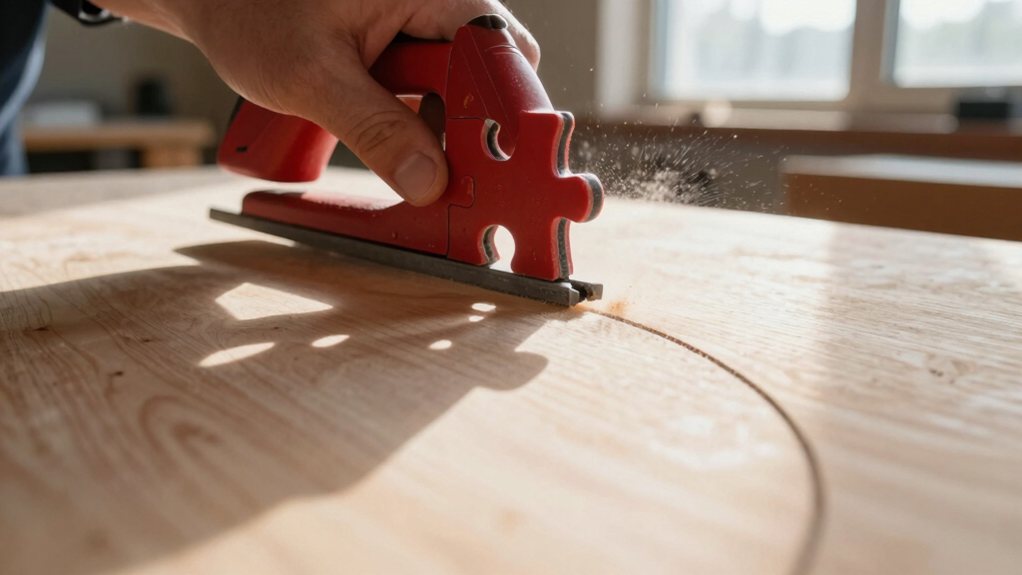
While a jigsaw is a versatile and handy tool for many curved cuts, calling it the *best* tool is a bit of a stretch, depending on what you’re trying to do.
While versatile for curves, calling a jigsaw the best tool is often an overstatement.
For tight, intricate scrollwork, a coping saw often gives you more control. However, for most DIY projects, a jigsaw is your go-to friend.
Its ergonomic advantages are huge—you guide it with two hands, reducing fatigue on long cuts.
The portability benefits can’t be beat; it’s cordless and light, so you’re not wrestling a heavy bandsaw in your garage.
You can start a cut anywhere on the board, not only the edge.
It’s forgiving, too. If you wander off your line, just gently steer back. For curves in plywood or a 2×4, it’s usually the perfect pick.
Many professional models include variable speed control to adjust cutting speed for different materials.
To make precise curved cuts, you’ll need to pick the right blade, starting with its tooth design.
The number of teeth per inch, or TPI, is also key, as fewer teeth cut faster but more teeth give you a cleaner edge.
It’s a bit like choosing shoes for an activity—you wouldn’t wear hiking boots to a dance, so match your blade to your project.
These blades are often included in a woodworking tools professional set offered on product pages.
Think of a jigsaw blade’s teeth as its personality—each design type is perfectly suited for a different kind of cut, especially when you’re negotiating curves.
Let’s break down the main players.
Reverse-tooth blades have teeth pointing downward, so they cut on the downstroke. This design splinters the *bottom* of the wood, leaving the top surface you see perfectly clean—a real lifesaver for visible curves.
Then you have progressive-tooth blades. Their teeth get larger toward the back, which helps clear sawdust fast and prevents the blade from bogging down in thick material.
Modern blades also benefit from advanced coating technologies that reduce friction and heat.
Always check a blade meets high manufacturing standards; it’s the difference between a seamless, controlled curve and a frustrating, jagged mess.
For best results, consider investing in premium woodworking tool sets that include quality blades and accessories.
Now, how do you pick the right blade for those sleek, flowing curves? You’ll want a blade with a high TPI—that’s teeth per inch.
For tight curves in wood, choose a blade with 10 to 20 TPI; it makes neater, more controlled cuts.
Don’t just guess the TPI, though. Use proper measurement methods by checking the number stamped on the blade’s shank.
This follows industry standards, so you know you’re getting an accurate, reliable tool. It’s like choosing the right shoes for a hike—you wouldn’t wear flip-flops!
A higher TPI blade reduces splintering, letting you guide that jigsaw around bends without the wood fighting back. Your project will look clean and professional.
Consider investing in a professional woodworking tools set to ensure durable, accurate blades and accessories.
Before you jump into those elegant curved cuts, you’ll want to get your jigsaw and workpiece prepped for a seamless ride.
Before diving into curved cuts, take time to prep your jigsaw and workpiece for a smooth, controlled experience.
First, set your workbench height so you aren’t hunching over. Comfort is key for control.
Next, suit up with your safety gear—safety glasses and hearing protection are non-negotiables.
Secure your material firmly with clamps; a bouncing board is a recipe for a wobbly line.
Double-check that your chosen blade is tight and facing the right direction. Now, do a quick dry run with the saw off, planning your path around the curve.
A little setup time saves a lot of frustration, making those fluid, swooping cuts feel almost effortless. When shopping, consider reputable manufacturers of power tools to ensure durability and safety.
Now that you’re set up, let’s cut some beautiful curves.
You’ll want to pick a fine-toothed blade for tight turns.
Guide the saw with steady hands and not too much force, and remember that slower blade speed usually gives you more control.
With a little patience, you’ll be steering that jigsaw like a pro in no time.
Also, always follow manufacturer guidelines when selecting accessories for power tools to ensure safety and compatibility.
Imagine your jigsaw blade as a dance partner for your project—choosing the right one makes every move more fluid and more precise.
First, check shank compatibility; a T-shank is modern and tool-free, while a U-shank needs a screw. For curves in wood, pick a narrow blade with more teeth per inch (TPI)—it turns easier. Cutting metal? Use a blade specifically for that.
Don’t overlook blade coatings; a carbide grit edge chews through tile, and a coating can reduce friction and gumming. It’s like picking shoes for an activity—you wouldn’t wear hiking boots to ballet! The right blade means less effort, cleaner cuts, and a much happier you staring at your finished piece. For related tools, consider a professional circular saw guide when choosing accessories for straight cuts.
Once you’ve got the perfect blade for your jigsaw, it’s time to focus on your steering technique—because even the best blade can’t save a wobbly hand.
Start with a solid body stance, planting your feet shoulder-width apart for stability. Don’t just watch the blade; focus your eye alignment on the pencil line you’re following, letting the saw do the cutting work without forcing it.
Guide the saw fluidly, making gentle turns and trusting the tool’s momentum. If you push too hard, you’ll tire your arm and wander off-course. Consider investing in a professional woodworking tool set to ensure you have quality, purpose-built tools that complement your jigsaw technique.
Investing in professional power tool sets ensures you have the right saws and accessories for precise jigsaw work.
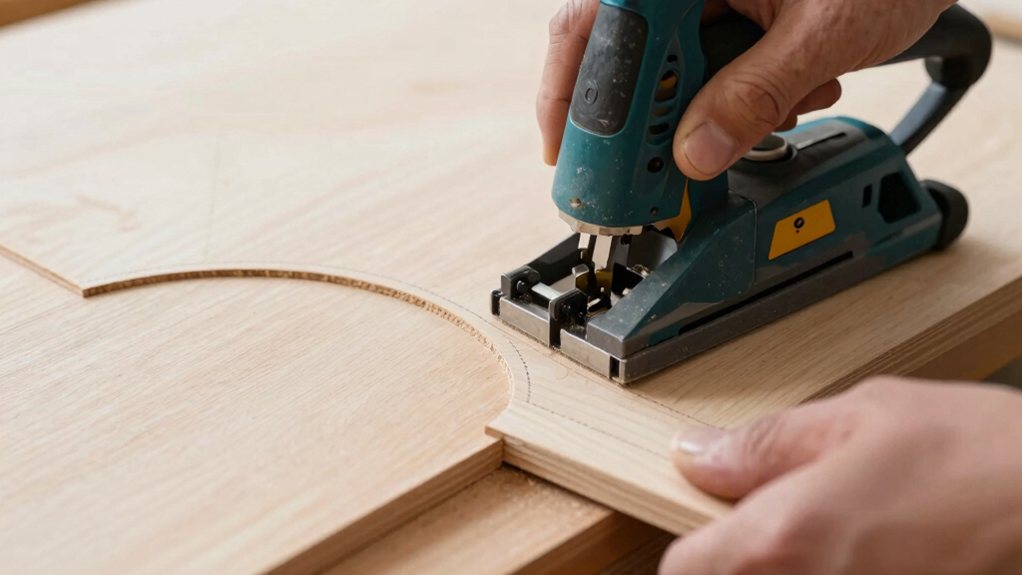
How can you make sure your jigsaw follows a perfect curve without wavering?
For intricate shapes, a guide is your best friend.
Start with smart project selection; guides excel on large, sweeping arcs, not tiny squiggles.
Smart project selection is key: guides work best for large, sweeping arcs, not tiny, intricate squiggles.
For design integration, trace your pattern onto the workpiece first.
You can clamp a sturdy piece of plywood with the desired curve to act as a physical fence for the saw’s base plate.
Just hold the jigsaw firmly and keep the plate snug against that guide edge as you cut.
It’s like giving your saw training wheels for a steadier, more confident ride.
This simple trick boosts accuracy dramatically, turning a wobbly line into a pro-looking curve you’ll be proud of.
Consider pairing this technique with a sturdy router table for improved edge control and consistency.
Once you’ve mastered those tricky curves, you’ll find that switching materials means adjusting your game plan, because cutting through pine isn’t the same as tackling plywood or metal.
For plywood, you’ll want a fine-tooth blade to minimize splintering, and go slow to keep control.
When cutting metal, use a blade specifically designed for it, apply steady pressure, and don’t forget heat mitigation—let the blade do the work to avoid overheating and damaging the material.
For all cuts, dust management is key for both visibility and your lungs, so hook up a vacuum or wear a mask.
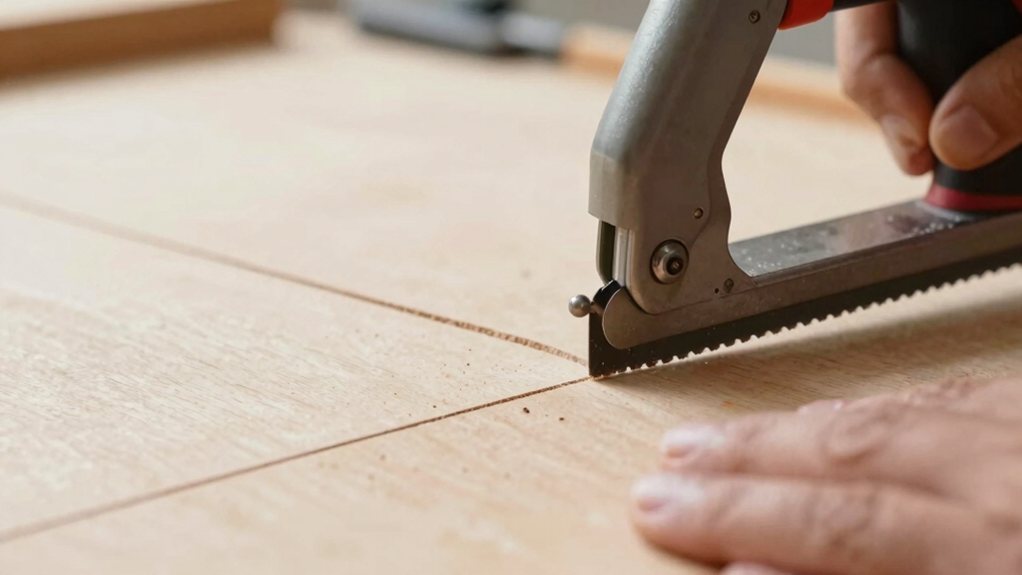
Now that you’ve got your technique tuned for different materials, let’s look at some slip-ups that can trip you up along the way.
Fixing common mistakes will make your curved cuts cleaner and boost your confidence.
Good safety habits are your best friend here, so never rush or force the blade.
Also, check your workshop lighting; a well-lit workspace helps you follow your cutting line accurately and prevents costly errors.
Steer clear of these pitfalls, and you’ll see a major upgrade in your results.
Getting those sleek, clean curves you’re after doesn’t always happen on the first pass, but tidying up rough edges is a satisfying final step.
Start with the right sanding techniques; wrap a medium-grit sandpaper around a foam block or use a sanding sponge to follow the curve seamlessly. This evens out any splinters or wobbles from your cut.
Next, switch to a fine-grit paper for a silky finish that feels great to the touch.
For cuts on plywood, edge sealing is your friend. A quick swipe of wood glue along the raw edge, sanded once dry, seals those pesky layers. It’s a simple trick that makes your project look pro, turning “almost perfect” into “just right.”
Mastering the art of the curve means putting your new skills to work, and there’s no better way than starting with a few simple projects.
These builds build confidence without the pressure of perfection, letting you get a real feel for guiding the blade.
Focus on fun, forgiving tasks first, like ornament making or coaster projects.
Grab some scrap plywood or soft pine and just start cutting.
You’ll be amazed at how quickly your control improves, turning wobbly lines into graceful, intentional curves.
You’ve now got the skills to tackle curves with confidence, so don’t be afraid to start your next project. Remember, a little practice on scrap wood makes perfect, and a steady hand beats a rushed cut every time. Soon, you’ll be cutting graceful arcs like a pro, adding beautiful, custom shapes to everything you build. Grab that jigsaw, trust your new techniques, and enjoy the creative freedom it brings to your workshop.