Phone:
(701)814-6992
Physical address:
6296 Donnelly Plaza
Ratkeville, Bahamas.

Phone:
(701)814-6992
Physical address:
6296 Donnelly Plaza
Ratkeville, Bahamas.
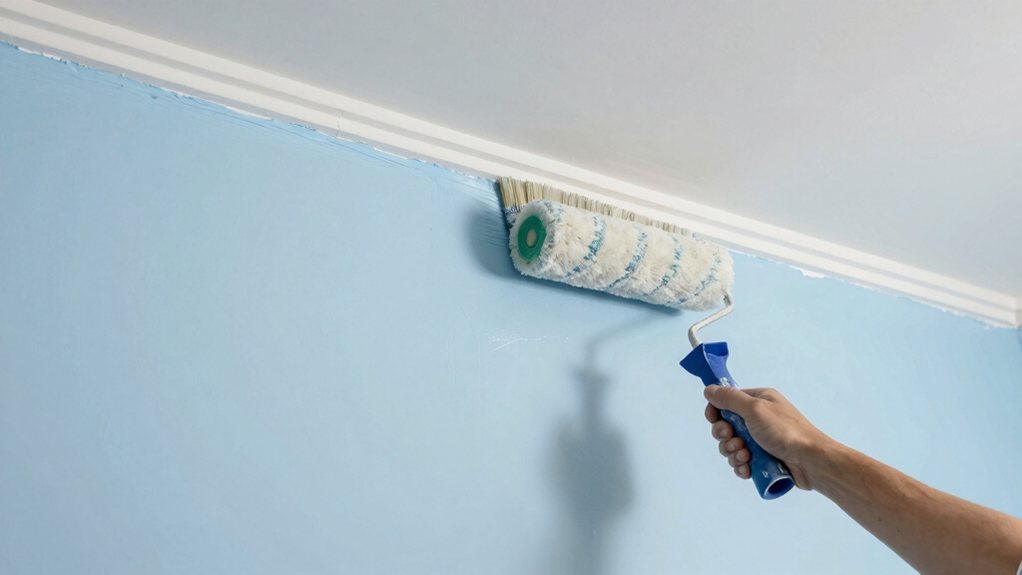
Get pro painting tips for cutting in, rolling, and avoiding lap marks, unlocking the secrets to a flawless finish that...
You’ll want to start by cutting in with a quality angled brush for crisp edges, tilting it for clean lines. When rolling, fully load your roller and use a ‘W’ pattern, keeping a wet edge to avoid streaks. Overlap each stroke slightly to dodge lap marks, and if one appears, blend it out quickly while the paint’s still wet. Stick with that, and the full guide has your pro finish secrets.
Table of Contents
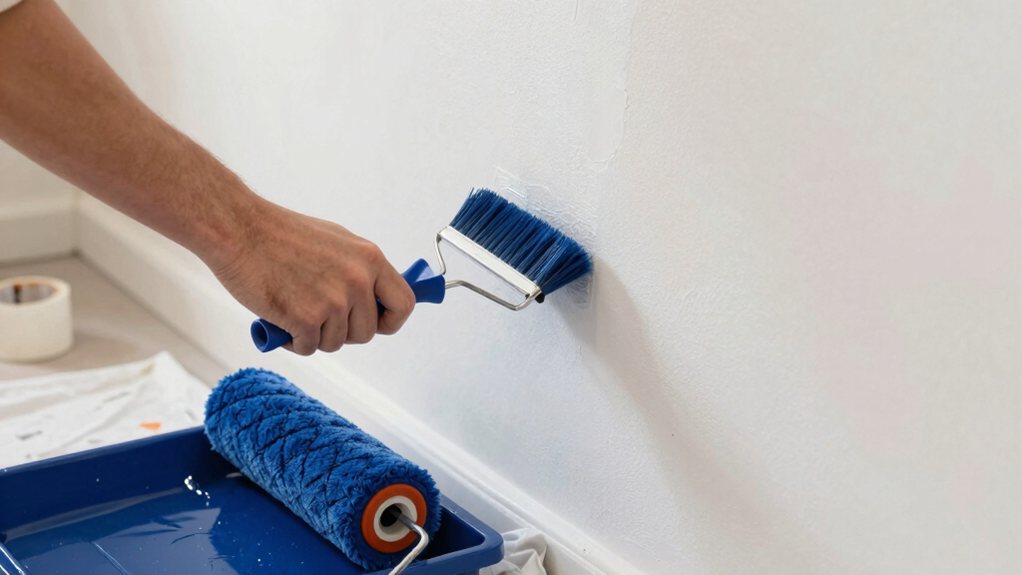
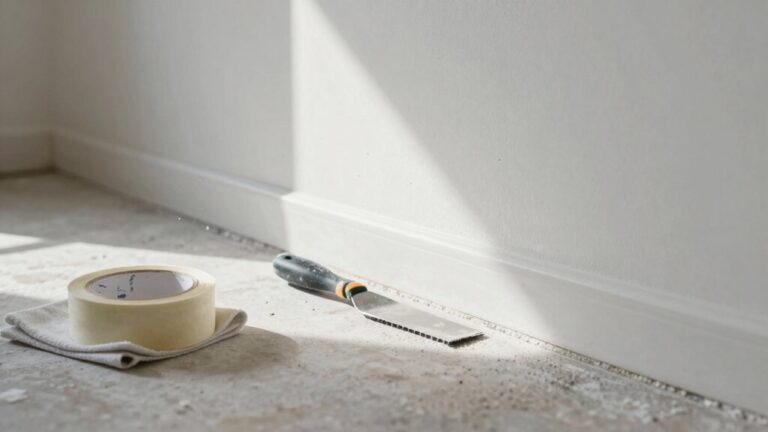
Before you even think about dipping a brush, you’ll want to gather your supplies and get your room ready—trust me, it makes everything go easier. Start with a solid supply checklist: high-quality angled brush, rollers, painter’s tape, drop cloths, and your paint. Don’t forget primer for tricky walls!
Next, prep the room. Move all furniture to the center and cover it well. Remove outlet covers and tape off trim—take your time here for crisp lines.
Now, think about your ventilation setup. Open those windows wide and use a fan to keep air moving; it helps paint dry faster and saves you from those fumes.
Good prep isn’t glamorous, but it’s your secret weapon for a flawless finish. Also, when applying painter’s tape, be sure to set 30–60 minutes before painting to ensure crisp, clean lines.
You’ll want to start by choosing the right brush—a high-quality angled brush is your best friend here.
Holding it at a slight angle and using steady pressure helps you master those crisp lines along edges and trim, almost like tracing with a pencil. Don’t worry if it’s tricky at first; a little practice turns this step from a chore into a satisfying part of the process. For precision edging, consider using a high-quality angle sash brush with a satin steel ferrule to minimize brush marks and achieve cleaner cuts.
Ever wondered how painters get those crisp, sharp lines where the wall meets the ceiling? The secret starts with choosing the right brush.
You can’t just grab any old brush from the garage. For cutting in, you need an angled sash brush.
Pay close attention to bristle types; synthetic bristles are great for water-based paints, holding a sharp edge. Also, consider handle ergonomics.
A comfortable grip reduces fatigue, letting you focus on your steady hand. Think of it like picking a good pen—it just feels right and makes your work neater. A quality brush holds more paint, flows seamlessly, and gives you the control to make those pro-level lines look easy. For large outdoor jobs, invest in quality deck staining equipment designed for professionals to ensure even application and durability.
Now that you’ve got the perfect brush in hand, it’s all about how you hold it. Don’t grip it like a pencil; instead, hold it more like a wand, with a relaxed, ergonomic posture to prevent fatigue.
The real secret is the angle visualization. Imagine your brush bristles are a flat squeegee. You want to tilt that brush at about a 45-degree angle to the surface, letting just the tip’s edge do the work. This gives you incredible control and lets you cut in clean, sharp lines right next to trim without any wobble. It might feel awkward at first, but trust the angle. You’re not merely painting; you’re guiding the paint exactly where you want it to go, like a pro. For even cleaner edges on long runs, consider pairing this technique with a pad-based edger designed to stabilize and deliver crisp strokes.
To get that perfect, drip-free finish, you’ll want to load your roller just right.
Start by rolling it firmly in your paint tray’s well, lifting it onto the textured slope to remove the excess until it’s evenly saturated but not dripping.
This simple step is your secret to seamless, even coverage without any messy surprises. For large wall areas, match your roller to 9-inch rollers to ensure proper coverage and tray compatibility.
While you might think loading your roller is just a quick dip and go, mastering this step is the secret to a flawless, drip-free finish.
It all starts with proper container agitation—stir your paint thoroughly to guarantee consistent paint viscosity.
Here’s your pro-loading checklist:
This simple routine saves you from messy drips and guarantees sleek, professional-looking walls every single time. For smooth surfaces, consider a 3/8-inch nap roller for a finer, more even finish.
Since you’ve already mastered loading your roller, you’re perfectly set up to tackle the next big step: laying down that beautiful, even coverage on your wall.
The secret is in your technique. Start your roller about a foot from the ceiling and roll downward in a straight, vertical line.
Use steady, medium pressure—don’t press so hard you squeeze out all the paint! After each stroke, lift the roller and start again slightly overlapping the previous path. This prevents ugly lap marks.
Your roller’s nap selection matters here, too; a thicker nap holds more paint for textured walls.
In high-moisture zones, remember to prime surfaces and use a waterproofing membrane for long-term durability.
Keep your movements fluid and relaxed.
for that perfect, pro finish.
Also, proper prep matters—use 220-grit sandpaper and a high-quality primer to ensure paint adhesion.
Mastering the art of maintaining a wet edge is your secret weapon for a streak-free finish, turning a good paint job into a great one.
It simply means you’re always painting into a section of paint that’s still damp, so the new paint blends in seamlessly.
If you let the edge dry, you’ll see visible lines, called lap marks, when you roll over it.
Plan your moves! Work in manageable sections, like a three-foot by three-foot area, and keep a steady pace.
Be mindful of your environment, too. Good temperature control and humidity management are essential; paint dries too fast in hot, dry air, making a wet edge nearly impossible.
Stay ahead of the drying clock, and your walls will look beautifully uniform.
For kitchen cabinets, also prioritize thorough degreasing before painting to improve adhesion.
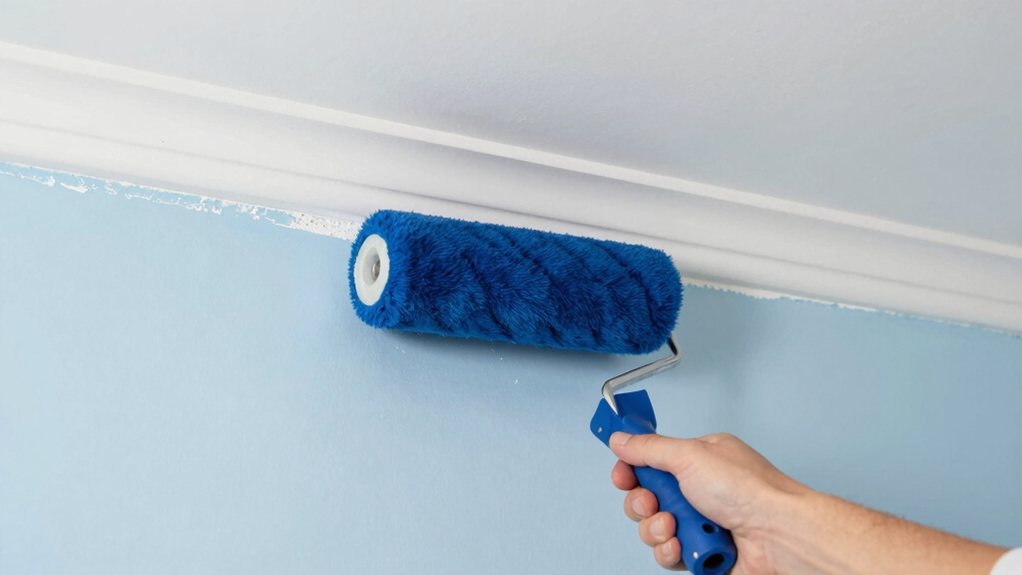
A quick touch-up usually blends everything right back in! Using the right sprayer settings and accessories, such as adjustable flow control, can help maintain an even finish.
Ever notice how a paint job can look perfect one minute, then suddenly reveal drips, splatters, or patchy spots as it dries? Don’t worry, these are common fixes.
Ever notice a paint job looking perfect, only to reveal drips or splatters as it dries? These are typical, fixable issues.
For drips, you’re likely applying too much paint on your roller or brush. Wipe drips immediately with a rag before they dry. Splatters often happen when you roll too fast, so slow your pace.
Uneven coverage usually points to skipping proper surface priming or painting over a damp wall. Make sure your primer is uniform and completely dry. Also, pay attention to humidity control, as high moisture slows drying and causes runs. A dehumidifier can be a hero here.
Stay patient, fix issues as you see them, and you’ll master a flawless finish.
Taking care of your tools after the hard work is done might seem like a chore, but it’s the secret to having them ready for your next project.
Proper cleaning saves you money and hassle, and it’s easier than you think.
Just follow these simple steps for brushes and rollers that look like new.
You’ll thank yourself later when your perfect brush is right where you left it.
You’ve got all the skills now to paint like a pro! Remember, keeping that wet edge and rolling carefully will give you a seamless finish, free of those pesky lap marks. Clean your tools right away so they’re ready for next time. Before you know it, you’ll be stepping back to admire your beautiful, streak-free walls—and you’ll have earned every bit of that pride. Great job!