Phone:
(701)814-6992
Physical address:
6296 Donnelly Plaza
Ratkeville, Bahamas.

Phone:
(701)814-6992
Physical address:
6296 Donnelly Plaza
Ratkeville, Bahamas.
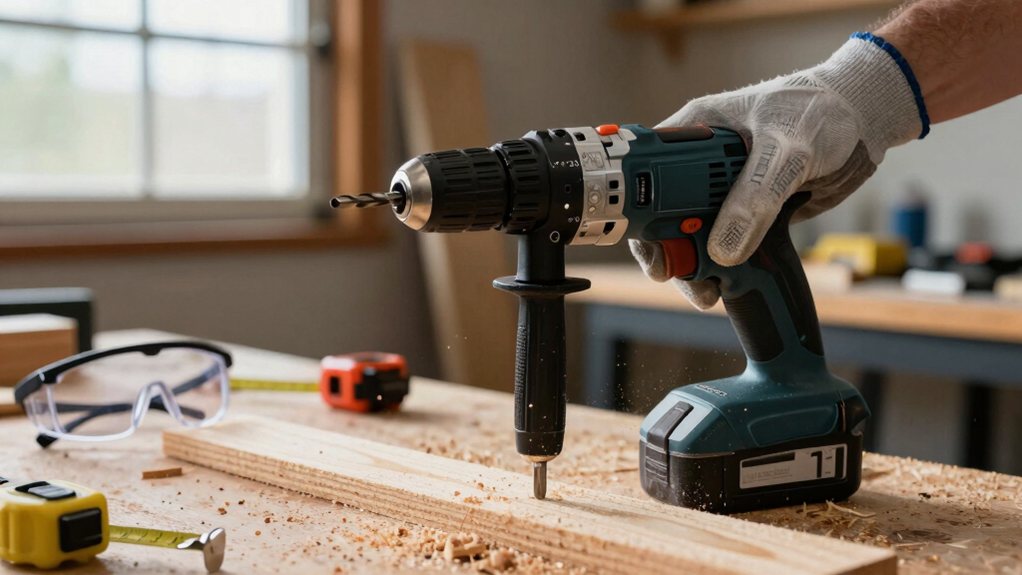
Unlock essential power drill safety tips and expert techniques to master your next project like a pro.
To use your power drill safely and effectively, start by choosing the right bit for your material, like HSS for wood. Always wear safety glasses and inspect your drill before each use. Set your clutch for screw driving to prevent stripping, and apply steady, gentle pressure—let the tool do the work. Remember, a well-maintained drill lasts for years. Discover even more tips that’ll boost your confidence on every project.
Table of Contents
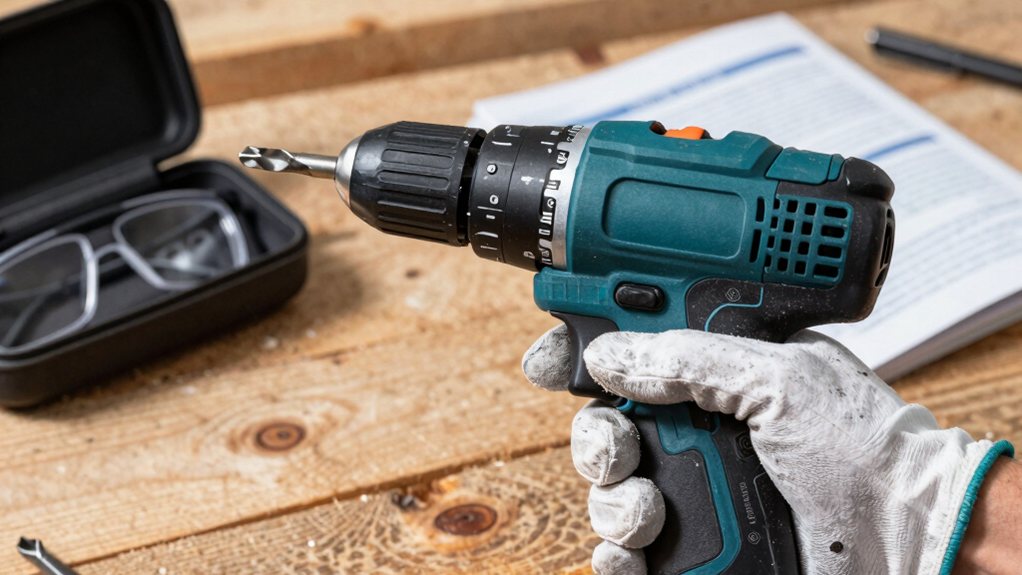
Before you get started on your first DIY project, let’s get familiar with the power drill itself—it’s not as intimidating as it looks!
Think of it as your new best friend for making holes and driving screws.
You’ll encounter two main chuck types: the keyless chuck, which you tighten by hand and is super convenient, and the keyed chuck, which uses a special tool for a tighter grip.
Then there are torque settings; this clutch lets you control the twisting force so you don’t strip screws or drill too deep. Start with a lower setting and increase it as needed.
Mastering these basics turns a formidable tool into an extension of your hand, ready for action.
Consider investing in a professional cordless drill set for reliable performance on a range of projects.
Ever wondered why some drill bits glide through wood but struggle with metal? The secret is matching your bit to your material.
For wood, standard high-speed steel bits work well, but consider grain orientation; drilling with the grain is easier than going across it. For masonry, you need a carbide-tipped bit.
When tackling metal, opt for cobalt or titanium-coated bits. Those coating differences aren’t just for looks; they reduce friction and dissipate heat.
Using the wrong bit is like trying to cut steak with a butter knife—frustrating and ineffective. So, take a moment to check your bit’s label. Your project will go more smoothly, and your drill will thank you for the kindness. For precision tasks, consider a professional drill bit set designed for accurate results.
Now you’ve got your bit, it’s time to put it to work by applying steady, firm pressure as you drill.
Remember, you’re not trying to force the drill through the material, but rather guiding it with a consistent push to let the tool do its job.
Choosing the right bit for your screw and project is just as important, as it prevents slipping and makes for a clean, strong connection every time.
Consider investing in a professional drill driver set for a robust, versatile toolkit suited to most jobs.
Have you ever wondered why your screw won’t sit flush or your drill bit seems to skate across the surface? The culprit is often the wrong bit.
Start by matching Shank Types; a hex shank grips better in quick-release chucks, preventing slippage.
Next, consider Coating Benefits. A black oxide or titanium coating isn’t just for looks—it drastically reduces friction and heat, making your bits last much longer.
For driving screws, use the exact Phillips or square drive size; a mismatched bit will cam out and strip the head.
For drilling holes, match the bit material to your workpiece—a masonry bit for brick, a twist bit for wood.
This simple attention to detail makes every job seamless and saves your screws from an early retirement. Also, choose a hex shank when using quick-change holders for improved retention and less slippage.
You’ve got your perfect bit locked in, so let’s talk about the force you’re feeding it.
Think of your drill and your own hands as built-in pressure sensors. You don’t need to lean your whole weight into it; let the tool do the work.
For drilling, start slow with steady, moderate pressure. If you see smoke or hear a high-pitched whine, you’re pushing way too hard.
Driving screws is all about finesse.
Listen and feel for the feedback systems at play—the sound of the motor will change as the screw seats flush. Ease off the trigger right then to avoid stripping the head or sinking the screw too deep.
It’s a dance, not a wrestling match.
Consider investing in professional power tool sets to ensure matching quality and compatibility.
Before you fire up your drill, let’s run through a quick safety checklist that’s as important as remembering to charge the battery.
First, suit up with vital protective gear like safety glasses to guard your eyes from flying debris.
Then, give your drill a quick pre-operation inspection to make sure everything’s tight and working right, because a quick check now can prevent a big surprise later.
Consider investing in a professional safety equipment kit to ensure you have proper PPE for every job.
Since a power drill is a fantastic tool for getting things done, it’s important to suit up before you start making holes or driving screws. Your eyes are your most valuable tool, so always wear safety glasses. Check the goggle fit to make sure they’re snug and won’t slip off when you look down.
If you’re sanding or drilling into masonry, don a dust mask; proper respirator selection is key for fine particles. Tough work gloves protect your hands from heat, sharp edges, and pinches, while sturdy, closed-toe shoes shield your feet from dropped tools.
This gear isn’t just for pros—it’s your everyday armor for safe and confident DIY. Consider installing a professional dust collection system to reduce airborne dust and improve workshop air quality.
Now that you’re suited up, it’s time to give your power drill a quick once-over, because a quick check can save you from a real headache later.
Start by inspecting the power cord for any frays or damage, and confirm the plug is secure.
Give the trigger a gentle squeeze to test its response; it should feel even, not sticky.
Next, check the chuck alignment by inserting a bit and tightening it—it should grip straight and true without wobble.
Listen for any unusual motor noise when you briefly run the drill; a high-pitched whine or grinding sound means it’s time for a professional look.
These few simple steps guarantee your tool is ready for safe, effective work.
If you’re shopping for tools, consider our professional cordless tool set listings to ensure compatible batteries and chargers.
Even though a power drill seems straightforward, it’s surprisingly easy to develop a few bad habits that can lead to frustration or even a quick trip to the hardware store for replacement parts.
First, don’t underestimate the jolt of ignored kickback. If the bit binds, the drill can twist violently, so always brace yourself and use a firm, two-handed grip.
Second, improper clamping is a classic error. Holding a workpiece with just your hand invites it to spin dangerously with the bit. Take an extra moment to secure it to your workbench.
You might also forget to check if you’re in drill or drive mode, leading to stripped screws or damaged bits. It’s a silly mistake that’s easily avoided with a quick glance at the clutch collar.
Refer to specs for different power tools for home improvement to match torque and speed to the job.
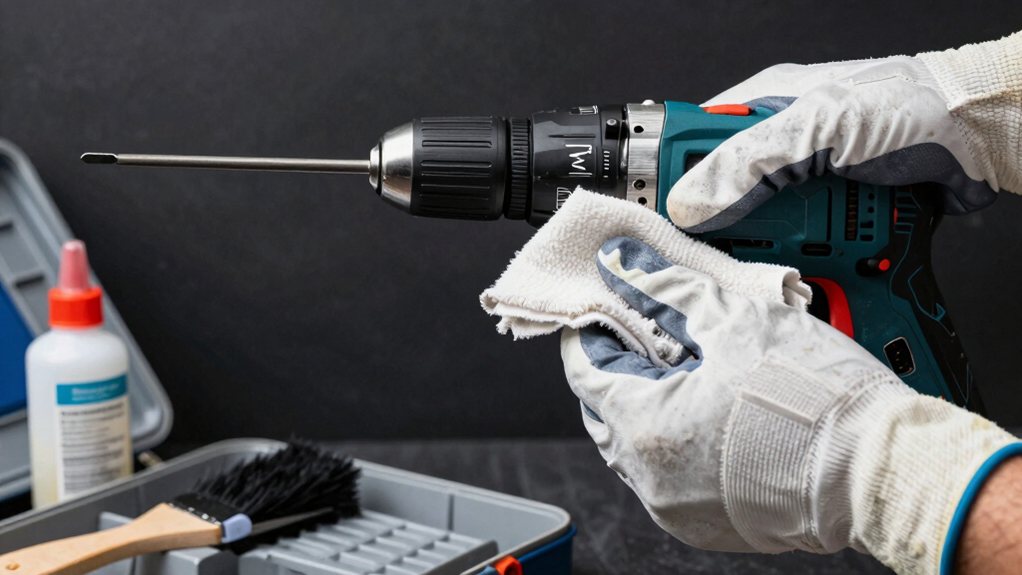
Keeping your power drill in top shape is like giving your trusty sidekick a little TLC—it’s a simple habit that pays off with effortless performance and a longer life.
Start by wiping down the drill body and chuck after each use to prevent dust and grime buildup. A regular lubrication schedule for the chuck mechanism keeps it spinning effortlessly.
For cordless drills, proper battery storage is key; never leave it fully drained or in extreme temperatures. Store batteries half-charged in a cool, dry place.
Check brushes and vents occasionally, and your drill will reward you by starting strong every time. A few minutes of care saves you from future headaches and keeps your projects on track. If you’re equipping your workshop, consider power tool combo kits that provide a coordinated set of tools to cover common tasks.
Mastering your power drill’s basics opens up a world of fun, and what better way to celebrate than by tackling a few simple projects?
Start by building some Painted Planters.
You can easily assemble a wooden box, drill drainage holes in the bottom, and then release your creativity with colorful paint.
It’s practical and pretty.
Next, try making Stenciled Signs for your home or garden.
Drill pilot holes to attach your boards together securely, then sand them even before painting.
These projects are forgiving and fantastic for practicing precision drilling and screw-driving.
You’ll gain confidence with each screw you set, turning scrap wood into something you’re genuinely proud to display.
You’re now ready to tackle your first project with confidence and safety. Remember, it’s all about starting simple and respecting your tool. Keep that safety checklist handy, avoid those common goofs, and your drill will be your trusty sidekick for years. Go ahead, grab those bits, and start building something awesome. You’ve totally got this.