Phone:
(701)814-6992
Physical address:
6296 Donnelly Plaza
Ratkeville, Bahamas.

Phone:
(701)814-6992
Physical address:
6296 Donnelly Plaza
Ratkeville, Bahamas.
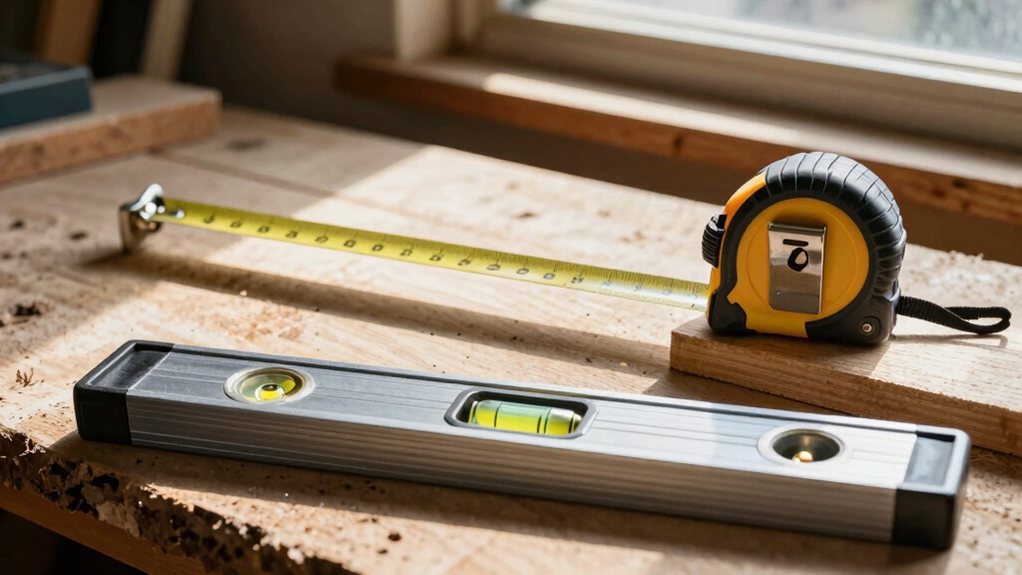
Mastering measuring and marking basics is your first step to building solid DIY projects without...
Mastering DIY starts with measuring and marking basics, as precision prevents wobbly shelves and safety hazards. You’ll need a reliable tape measure, a quality square for perfect angles, and a level to check plumb, true, and flat surfaces. Sharp pencils make crisp marks, and a speed square handles quick cuts. With the right tools and these core techniques, you can build confidently. Imagine the solid projects you’ll create when these fundamentals click.
Table of Contents
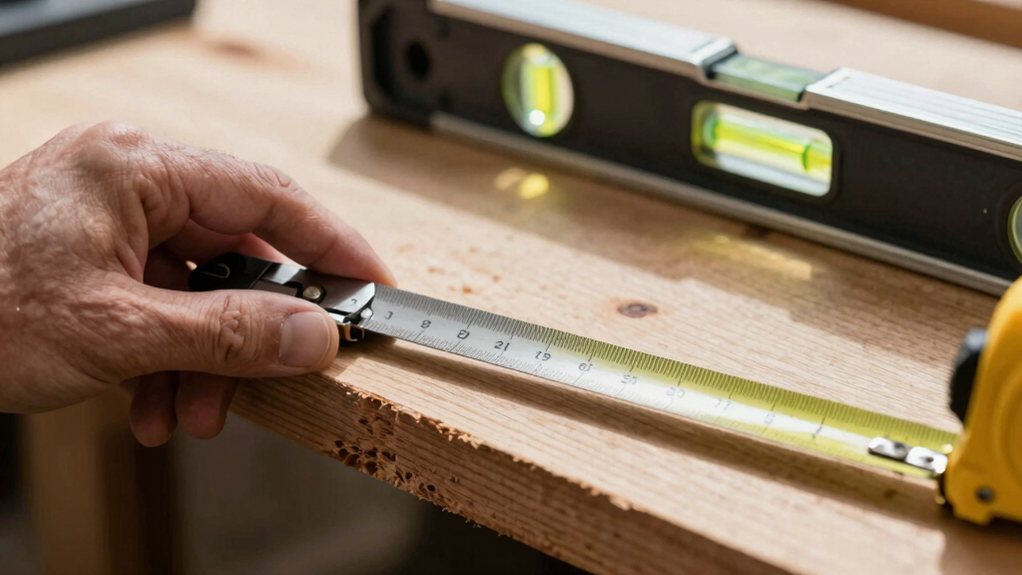
While you might be tempted to think “close enough” will do for your weekend project, that mindset is the sneaky culprit behind wobbling shelves, doors that stick, and picture frames that hang just a little bit crooked.
That small gap you ignore can become a big wobble, and a slightly off-angle cut means wasting materials when your board is suddenly too short. It’s frustrating and expensive.
More importantly, imprecise work can create real Safety Risks. A poorly measured stair rail or a wonky deck support isn’t merely unsightly; it’s dangerous.
Never compromise on measurements; a small error can create a major safety hazard.
Good measuring is a form of self-respect. It proves you care about the craft, your home, and everyone in it. So grab your tape, double-check those marks, and build something that’s not merely done, but done right.
For critical measurements, consider using laser distance meters to ensure accuracy and reduce rework.
Now that you know why precision matters, let’s get you set up with the right gear.
Your indispensable toolkit should include a reliable tape measure, a quality combination square, and a sharp pencil or marking knife, as these are the foundation for accurate work.
Picking the right tool for each job isn’t just about having it, it’s about knowing how to use it to make a clear, lasting mark every single time.
Consider investing in a Professional Tool Kit Set to ensure you have a complete selection of these essentials.
Imagine your toolbox, and right there next to the hammer and screwdrivers, you’ll find the unsung heroes of every successful project: your measuring and marking tools.
Let’s start with the trusty tape measure. It’s your go-to for quick lengths, but mastering basic fraction conversions—like knowing that 1/2” is bigger than 1/4″—saves you from major headaches.
For perfect right angles, a quality combination square is indispensable, helping you mark lines and check corners with confidence.
And don’t be intimidated by modern laser measures; they’re fantastic for quickly spanning large distances with digital precision.
These core tools form a reliable foundation, guaranteeing your cuts are accurate and your assemblies are square from the very start.
For more advanced alignment tasks, consider a professional laser level kit for improved accuracy and faster setup.
Having the right tools is a great start, but your marks are what actually guide your saw or drill.
For accurate marking techniques, always begin with good surface preparation. Wipe away dust and debris so your pencil or knife can make a crisp, clean line.
Next, consider marking visibility. A sharp carpenter’s pencil is your friend for wood, but on dark materials, a white marking pencil or chalk line really pops. Press firmly and use a square to make sure your line is perfectly straight.
It’s a simple step, but a wobbly mark leads to a wobbly cut, and nobody wants that. Take this extra moment for clarity, and your project will thank you with professional-looking results. Consider investing in a professional woodworking tool set to ensure durable, accurate measuring and marking tools.
How do you choose the right tool from a crowded toolbox? Start by matching the tool’s capability to your project’s precision needs. A basic tape measure is fine for rough framing, but fine cabinetry demands a precision square.
Next, consider user ergonomics. A comfortable grip and clear markings reduce fatigue and error, making the job more enjoyable.
Finally, weigh budget considerations. You don’t need the most expensive laser level for hanging a single picture; a reliable spirit level will do. Sometimes, a mid-priced tool offers the best balance of quality and value. Think of it as building a trusted team—each member has a specific role, and you want them to feel right in your hand. Many professionals keep a ready woodworking tools professional set to cover common measuring and marking needs.
Now that you’ve got your toolkit ready, let’s talk about choosing the right tape measure, which can be a little more exciting than you might think.
You’ll want to weigh the length options first, because grabbing a tiny 12-footer for a big deck project is a recipe for frustration. Then, look at the blade’s durability and features like a sturdy case and a clear, easy-to-read lock, since a flimsy tape that bends or won’t stay put is no help at all. There is also a webpage that lists products for sale under the premium DIY tool kit title.
While you might think a tape measure is just a tape measure, picking the right length can be the difference between a frustrating job and a seamless one.
For everyday tasks like hanging pictures, a compact 16-foot tape is your best friend. Stepping up to a 25-foot model is perfect for most DIY room measurements.
Need to size up a deck? A 35-foot tape gives you that extra reach.
For truly big projects, like property lines, you’ll want to look into long survey tapes and check for metric availability if you’re using those plans.
Also consider browsing suppliers that specialize in power tools home improvement when selecting measuring tools.
Once you’ve got the right length figured out, you’ll want to make sure the tape itself can handle a bit of real-world punishment, because a flimsy blade that kinks or snaps is just a headache waiting to happen. Look for a blade made from a thicker, springier steel that resists kinking when you let it snap back. Good edge retention is key, meaning the printed numbers and markings won’t rub off after scraping against concrete a few times.
Modern coating technologies also add serious durability; a non-stick polymer coating helps the blade slide easily and protects it from rust and grime. It’s a small upgrade that makes a huge difference, saving you from the frustration of a tape that gives up before you do. For a comprehensive selection, consider a professional tool set when shopping.
Choose wisely, and you’ll build straight, professional-looking projects every time. For consistent results, consider investing in a professional tool set designed for every task.
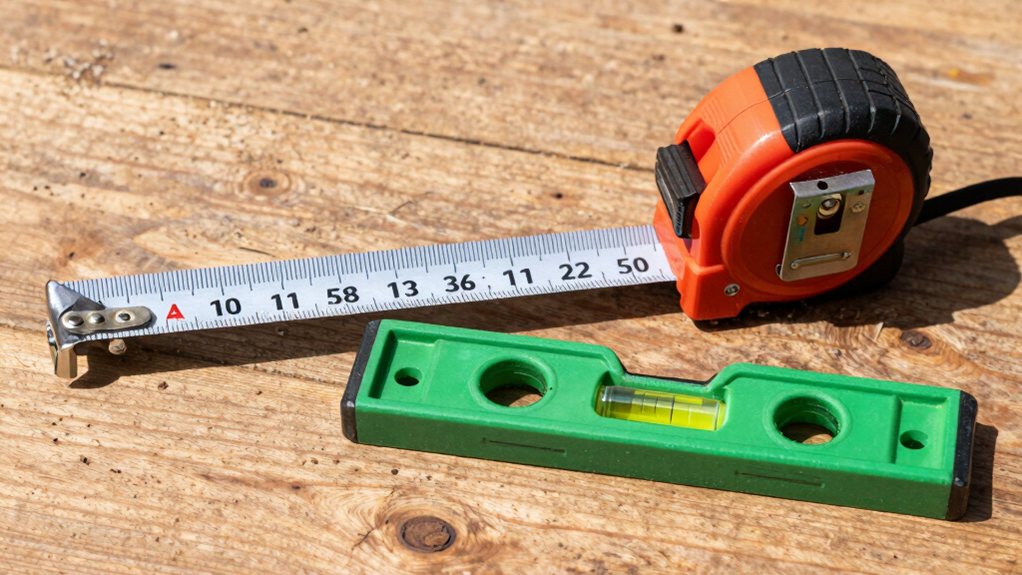
You’ve got your trusty level in hand, but to really master it, you need to know it’s about more than just a bubble between two lines.
A level confirms three distinct states: plumb (vertical), true (level horizontally), and flat (a surface plane). Trusting it starts with a simple bubble calibration. Place it on a known flat surface, note the bubble’s position, then flip it end-for-end. If the reading changes, your tool needs adjustment.
Also, use visual cues; sight along the edge of your project while checking the vial for a faster, more intuitive read. It’s a partnership—you provide the steady hand and critical eye, and your level gives you the confidence that everything is aligned just right. Consult ASTM F710 for industry flatness tolerances to guide substrate prep and measurement.
It’s the pocket-sized powerhouse for accurate marking and cutting.
While your speed square is fantastic for quick angles, truly measuring and marking like a pro means mastering a few more fundamental techniques that improve your accuracy. First, always use the same tape measure for an entire project, as switching tools can introduce tiny errors.
For critical marks, use a sharp pencil and make a distinct “V” at your measurement, not merely a line, so your saw blade has a clear target. This simple habit drastically boosts your workflow efficiency.
Also, think about jobsite ergonomics. Don’t contort yourself to make a mark; instead, reposition your workpiece or body to get a comfortable, square-on view. This saves your back and makes every line more precise, turning a chore into a seamless, professional process.
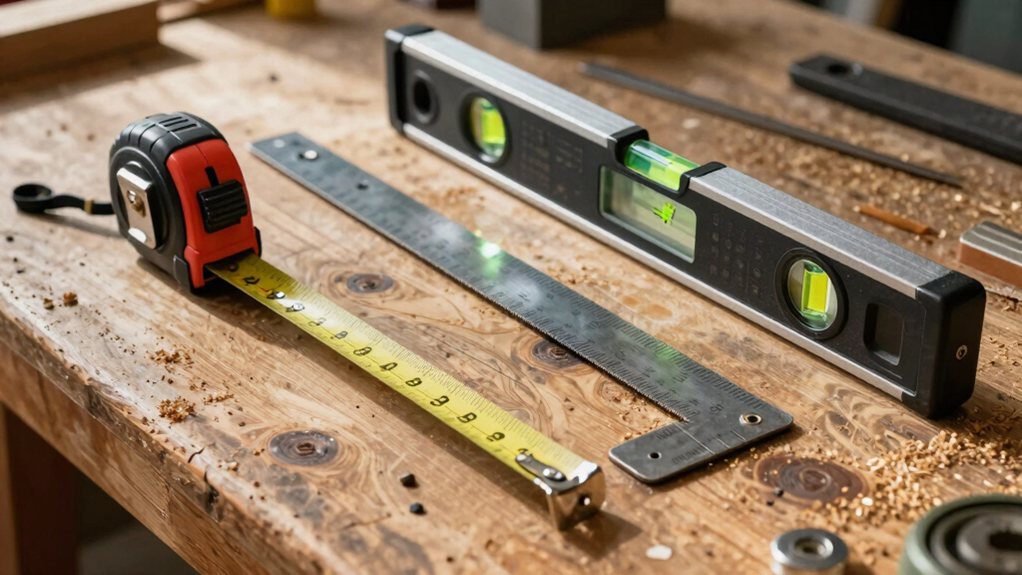
Properly caring for your tools isn’t just about keeping them clean; it’s an vital habit that directly protects their precision. You rely on them for perfect lines and square corners, so show them a little love!
Start by keeping them dry and giving them a quick wipe-down after use—this is your first line of defense in rust prevention. For tools like squares and levels, check their accuracy occasionally against a known true surface.
It’s a good practice to keep simple calibration logs; just a note on a pad can remind you when you last checked.
A few mindful minutes of care keeps your tools honest and your projects spot-on.
So, you’ve got your tools and know-how. Remember, taking your time with measuring and marking isn’t just fussy—it’s what makes your project look truly professional. You’ll avoid the frustration of bad cuts and wobbly shelves, saving yourself a lot of headaches later. Now go put that tape and square to work, and build something you’re genuinely proud to show off. Good luck, and measure twice