Phone:
(701)814-6992
Physical address:
6296 Donnelly Plaza
Ratkeville, Bahamas.

Phone:
(701)814-6992
Physical address:
6296 Donnelly Plaza
Ratkeville, Bahamas.
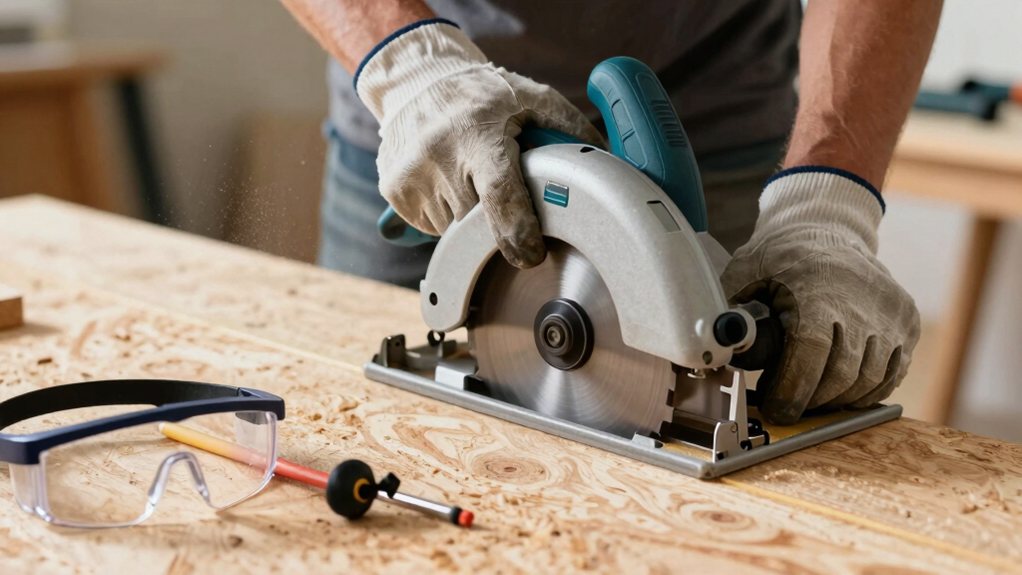
Confidently master circular saw safety basics for beginners, ensuring your cuts are straight and your worksp
Start by getting cozy with your saw’s key safety features, like the spring-loaded blade guard and electric brake. Always secure your workspace by clearing debris and clamping your workpiece down. For a straight cut, mark your line, clamp a guide board, let the blade reach full speed, and push steadily. Avoid forcing the blade or cutting freehand. If you keep these basics in mind, you’ll build confidence for more projects down the road.
Table of Contents
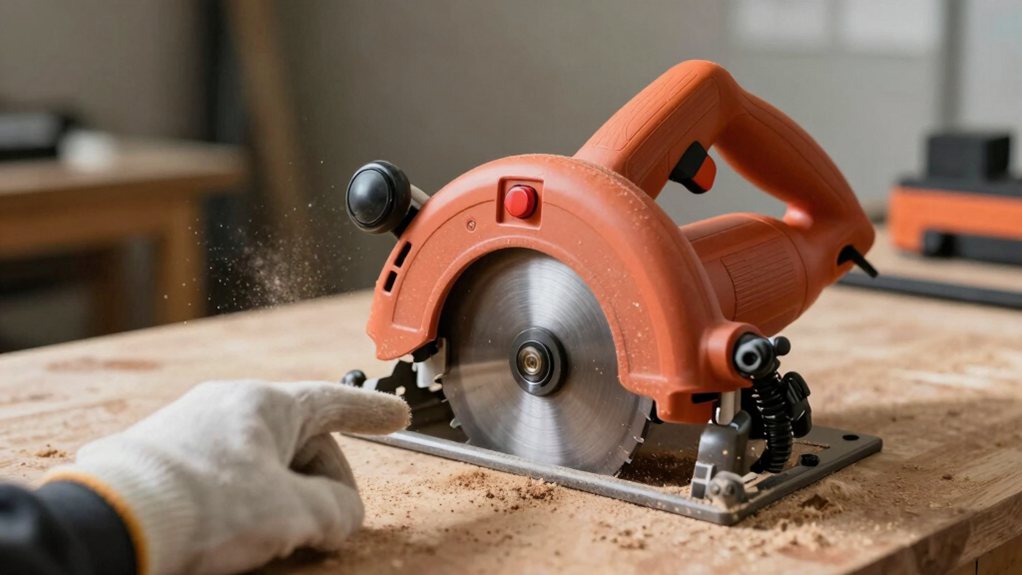
Have you ever looked at a circular saw and wondered what all those parts are actually for?
Let’s get familiar with two of its most important safety friends.
First, you’ve got the Blade Guard.
It’s that spring-loaded cover that hugs the blade when you’re not cutting.
Imagine a spring-loaded shield that cradles the blade at rest, keeping sharp teeth safely covered until you’re ready to cut.
It automatically retracts as you push forward and snaps back when you finish.
Think of it as a protective eyelid for the spinning blade—it’s there so you don’t accidentally touch the sharp stuff.
Next, look for a trigger with an Electric Brake.
This nifty feature stops the blade almost instantly when you release the power.
It’s a huge help in preventing a runaway saw if you get startled.
Knowing these features builds your confidence right from the start.
For product recommendations and detailed specs, refer to a professional circular saw guide.
Before you even think about making that first cut, your absolute top priority is setting up a safe and stable stage for your saw to perform on. Start by clearing your area of any tripping hazards like cords or scraps.
Next, firmly support your wood on sawhorses, never just on flimsy tables or your lap. This is where proper clamp selection becomes your best friend; use them to lock the workpiece down so it can’t shift or kick back.
For a cleaner environment and better visibility, consider hooking up a shop vacuum for dust collection. It’s a simple step that keeps the sawdust out of your lungs and your cut line clearly marked, making the whole process more seamless and safer from start to finish. For best results, consider investing in a quality deck building tools kit to have the proper tools on hand.
Now that your workspace is secure and your material is clamped tight, you’re ready to tackle the most common reason you picked up a circular saw: cutting a straight line.
Don’t just eyeball it; your first friend here is smart marking techniques. Use a speed square and a sharp pencil to draw a clear, dark line.
For guaranteed perfection, clamp a straight board to your workpiece as a cutting guide, aligning its edge with your pencil mark. This guide keeps the saw’s baseplate running true.
For a perfect straight cut, clamp a guide board to your workpiece to keep the saw’s baseplate running true along your marked line.
Start the saw, let it reach full speed, then steadily push it forward, keeping the guide tight to the edge. You’ll feel like a pro when that clean, straight cut is revealed. Consider investing in a cordless circular saw kit for portability and convenience on the job.
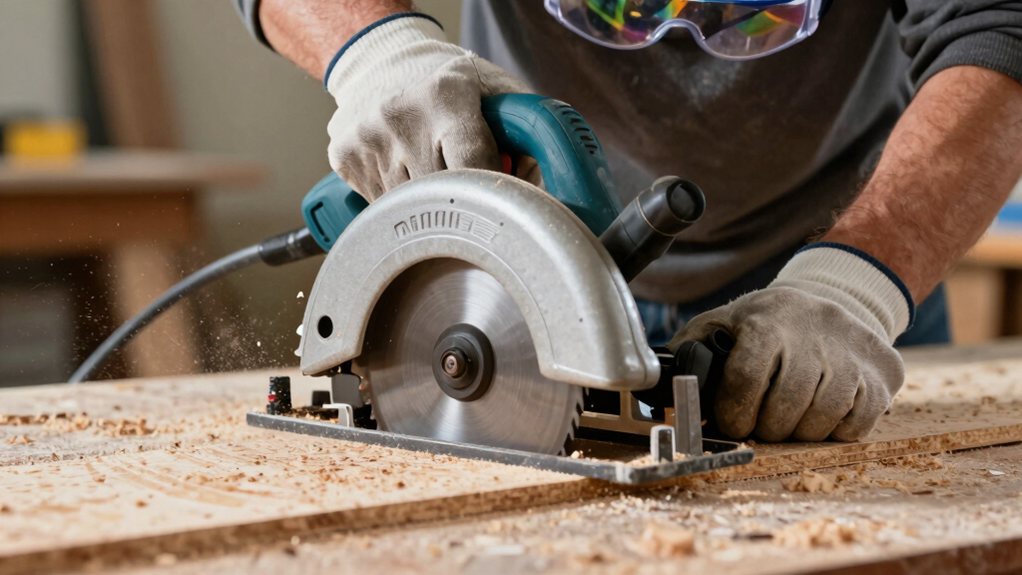
See our webpage listing home renovation power tools to compare suitable models and safety features.
Getting comfortable with avoiding common mistakes is a great step, but you’ll also need the right partner for the job—your saw blade.
Think of it like choosing shoes; you wouldn’t wear hiking boots to a fancy party.
For clean, precise cuts in plywood, pick a blade with a high tooth count, like 60 teeth.
For faster, rougher cuts in framing lumber, a lower tooth count, around 24, works great.
Also, check the kerf width, which is just the thickness of the cut it makes.
A full-kerf blade is sturdy for big jobs, while a thin-kerf blade is easier on your saw for everyday tasks.
Matching your blade to your material makes everything safer and gives you pro-level results.
Consider investing in a professional set to ensure you have the right tools for a range of tasks.
You’ve now got the basics to use your circular saw with confidence! Remember, safety is your top priority, so always double-check your setup before you start cutting. With a little practice, you’ll make those clean, straight cuts like a pro. Don’t be too hard on yourself if your first few tries aren’t perfect—every expert was once a beginner. Now go enjoy your project and build something great!