Phone:
(701)814-6992
Physical address:
6296 Donnelly Plaza
Ratkeville, Bahamas.

Phone:
(701)814-6992
Physical address:
6296 Donnelly Plaza
Ratkeville, Bahamas.
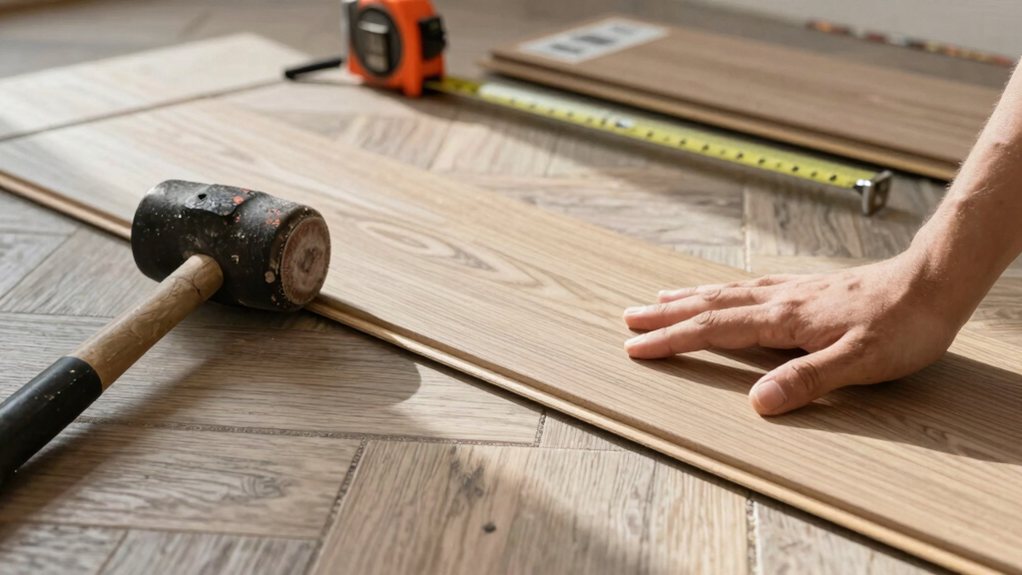
A complete guide to installing LVP flooring yourself, from prep to pro tips for a flawless
You can totally install LVP flooring yourself! Start by making sure your subfloor is perfectly clean and flat, a step that’s crucial for a seamless result. Plan your layout, staggering seams at least 10 inches apart to avoid narrow strips. Whether you choose a glue-down or floating click-lock method, follow the manufacturer’s guidelines for warranty. Take your time locking planks in place, and finish with trim. Stick with me for all the finer details and pro tips!
Table of Contents
Getting your new LVP flooring installed starts with proper preparation, a step that’s important for making sure your beautiful floor lasts.
First, inspect and repair your subfloor; it needs to be clean, even, and level.
You’ll want to remove those baseboards and plan your layout, running your vinyl plank flooring parallel to the longest wall—and don’t forget to buy an extra box for cuts!
Next, if you’re using underlayment, roll it out, tape the seams, and place spacers to create those necessary gaps around the entire room’s perimeter.
Always check your manufacturer’s instructions for specific guidance.
This prep work mightn’t be glamorous, but it’s the secret to a professional-looking floor you’ll love for years.
For concrete or below‑grade subfloors, choose an underlayment with an integral vapor barrier to protect against moisture.
Before you start, you need to pick your installation method: glue-down or floating.
This choice affects everything from how stable your floor feels under heavy furniture to how much effort you’ll put in on installation day.
Think about your room’s traffic and your DIY comfort level, as the best method for a busy kitchen mightn’t be the same for a quiet bedroom.
Also consider the specific type of luxury vinyl plank flooring you’re buying, as different products have different wear layers and installation requirements.
Once you’ve chosen your beautiful new LVP, one of the first big decisions you’ll make is how to install it: glue-down or floating? These two options will affect your time and money.
Glue-down uses adhesive to permanently bond planks to a clean subfloor. It’s the pro choice for heavy-duty spaces, offering rock-solid stability.
Floating, the common DIY route, involves clicking planks together over an underlayment. It’s more forgiving and lets you go around obstacles more easily.
Many LVP options also feature 100% waterproof cores that make them suitable for kitchens, baths, and basements.
So, how do you decide between glue-down and floating LVP?
First, consider your subfloor.
Glue-down needs a very flat, clean surface, but it’s super stable, making it perfect for busy areas.
Floating is more DIY-friendly and forgiving; you can often fix minor bumps with a good underlayment.
Make sure you check your manufacturer’s instructions, as they sometimes require one method.
Think about your room, too.
For a bustling kitchen, you might want that permanent bond, while a bedroom is ideal for a faster floating floor.
Remember to buy an extra box of planks so you can row with the remaining pieces from each pack for the best look, and you’ll have spares needed using cuts from tricky corners.
Also, check substrate flatness against industry standards (like ASTM F710) before installation to avoid future failures.
Before you lay a single plank, you’ll want to give your subfloor a thorough check-up, fixing any cracks or uneven spots to avoid future squeaks and bumps.
Next, focus on leveling and cleaning; a perfectly flat, dust-free surface is your secret weapon for a seamless installation that looks professional. Always check your flooring manufacturer’s specific guidelines, too, because following their specs guarantees your beautiful new floor lasts for years to come. If you discover dips greater than 1/2 inch or signs of rot, consider self-leveling compound or professional subfloor repair to ensure a stable foundation.
Now that you’ve cleared the room, it’s time to get up close and personal with your subfloor, because a successful LVP installation truly starts from the ground up.
Begin with a thorough surface inspection. You’ll want to check for moisture issues; a simple plastic sheet test can help with moisture mapping.
Look for any signs of mold and address them immediately with proper mold remediation—safety first!
Next, perform a fastener assessment, tightening any loose screws or nails to eliminate squeaks and movement. Remember, LVP will telegraph every bump and hollow, so this step is non-negotiable. Fixing these issues now prevents a world of frustration later, guaranteeing your beautiful new floor feels solid and silent underfoot. If you encounter uneven areas, consider a self-leveling underlayment to create a smooth, stable surface.
Achieving a perfectly even, level surface is your next essential step, because your subfloor needs to be as flat and clean as a pancake griddle before you can even think about laying those first planks.
First, suit up with your protective gear—gloves, goggles, and a good mask—because this gets dusty. Use a floor grinder for stubborn high spots and a leveler for dips, checking with a long straightedge.
Dust containment is key, so vacuum thoroughly and wipe with a damp sponge. Proper waste disposal of all debris keeps your workspace safe. Also choose cleaning products that are pH-neutral to protect finished surfaces.
While you might be tempted to rush into laying your planks, your luxury vinyl floor’s long-term happiness truly depends on sticking to the manufacturer’s rulebook. Think of it as a friendly contract for a flawless floor.
Ignoring these specs can void your warranty, turning a small issue into a costly headache. To stay on track, focus on three key actions:
In wet areas, install a waterproof membrane to prevent mold, rot, and future failures.
Ever wondered how to guarantee your new luxury vinyl plank flooring looks professionally laid? Start by measuring your room and planning for focal alignment, typically running planks parallel to the longest wall to optimize traffic flow.
Start by measuring your room and planning the focal alignment to optimize traffic flow and achieve a professional look.
Calculate how many full planks fit to avoid a tiny sliver at the end. Next, focus on staggering; make certain end joints are offset by at least 10 inches between rows and no piece is shorter than 8 inches.
This prevents weak spots and creates a natural look. For waste minimization, use the cut-off end from one row to begin the next.
Always dry-layout a few rows first to check your plan, and remember to buy about 10% extra material for those inevitable tricky cuts. Also remember some products use pressure-sensitive adhesives, which gain strength over 24–72 hours and may require avoiding heavy traffic during cure.
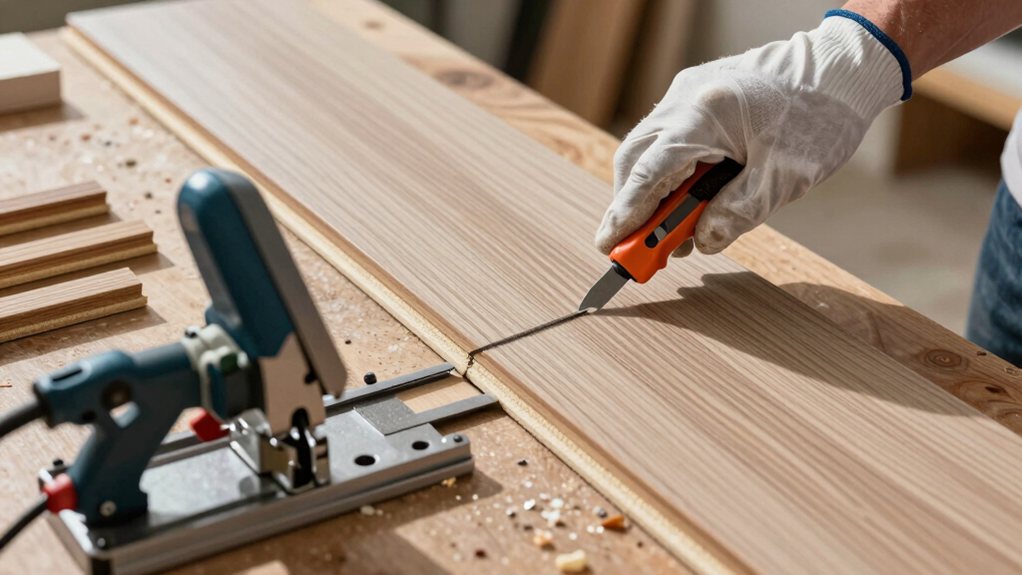
Now that you’ve planned your layout, it’s time to make those cuts—don’t worry, it’s easier than you think!
Good technique keeps your planks looking sharp.
Remember to always wear your safety gear, like glasses and gloves.
Consider using a professional jigsaw with variable speed for smoother, more controlled cuts in tight or curved areas.
You’re ready for the most satisfying part—locking those planks together to see your floor come to life!
Start on your longest wall with spacers. Angle the tongue into the groove for the short-side click, then lower the long side until you hear that satisfying click.
Focus on seam alignment, using your hands to feel for any height differences. Your installation rhythm will develop: lock, press, click, repeat.
When a plank’s too long, cut it and use the leftover to start the next row, staggering joints by at least 10 inches.
Use a tapping block gently to snug planks together without force. This careful dance of click mechanics and alignment builds a floor that’s both stable and beautiful.
With the last plank clicked into place, you’re looking at a beautiful new floor, but the final touches are what make it look complete and professional.
This final stage seals the deal, hiding expansion gaps and creating clean junctions.
1. Reinstall or dress your baseboards.
If you removed them, nail them back on top of the LVP.
If you left them on, cover the gap with quarter round or shoe molding.
Consider molding styles and color matching for a cohesive look.
2. Tuck flooring under door jambs.
Undercut the trim so the planks slide underneath for a seamless finish—it’s a clever trick!
3. Add thresholds between rooms.
Install T-molding or reducers where your LVP meets another floor.
Secure them properly, making smart fastener choices so nothing pinches your new floor.
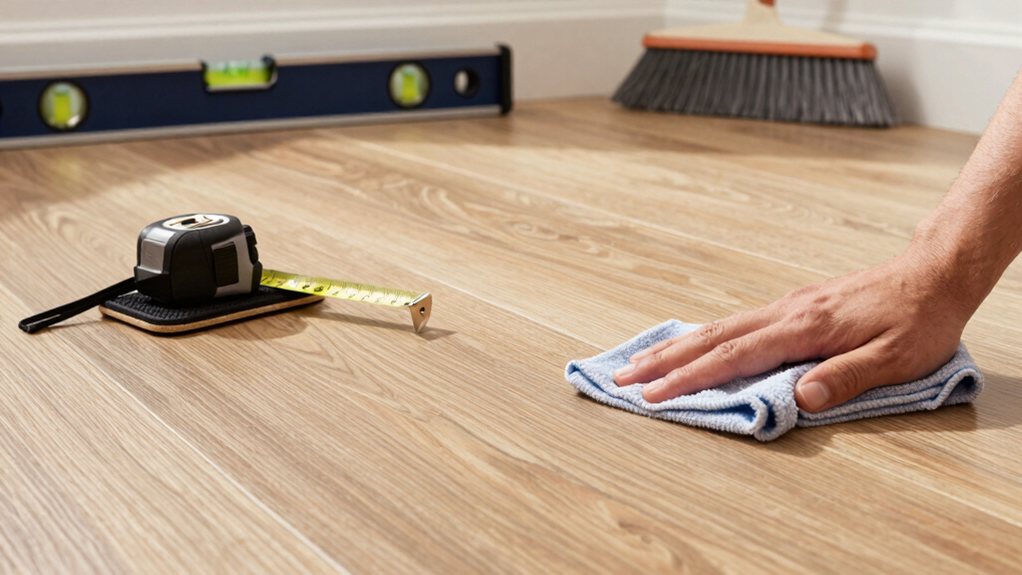
Because your new floor is installed and trimmed out, it’s time for a final once-over and to learn how to keep it looking great for years to come.
Now that your floor is beautifully installed, it’s time for a final inspection and to learn simple secrets for lifelong beauty.
First, inspect every seam and junction for lifting, and confirm baseboards cover the expansion gap—this also helps with warranty validation.
For maintenance, vacuum regularly and damp-mop with a pH-neutral cleaner; never use a steam mop!
Use felt pads under furniture and promptly blot spills.
Think of seasonal maintenance like checking your tire pressure; monitoring indoor humidity prevents gaps.
For pet stains, an enzymatic cleaner is your friend.
Call a pro if you see buckling, big flatness issues, or water damage—it’s okay to ask for help, that’s what experts are for.
And there you have it—your beautiful new floor is ready for action. Give it a final sweep, then take a step back and admire your work. Remember, a little patience goes a long way with this project, but you’ve proven you can handle it. Enjoy your upgraded space, and don’t stress the occasional tiny imperfection; it just adds character. Now, go ahead and break it in with a cozy sock-slide. You’ve earned it!