Phone:
(701)814-6992
Physical address:
6296 Donnelly Plaza
Ratkeville, Bahamas.

Phone:
(701)814-6992
Physical address:
6296 Donnelly Plaza
Ratkeville, Bahamas.
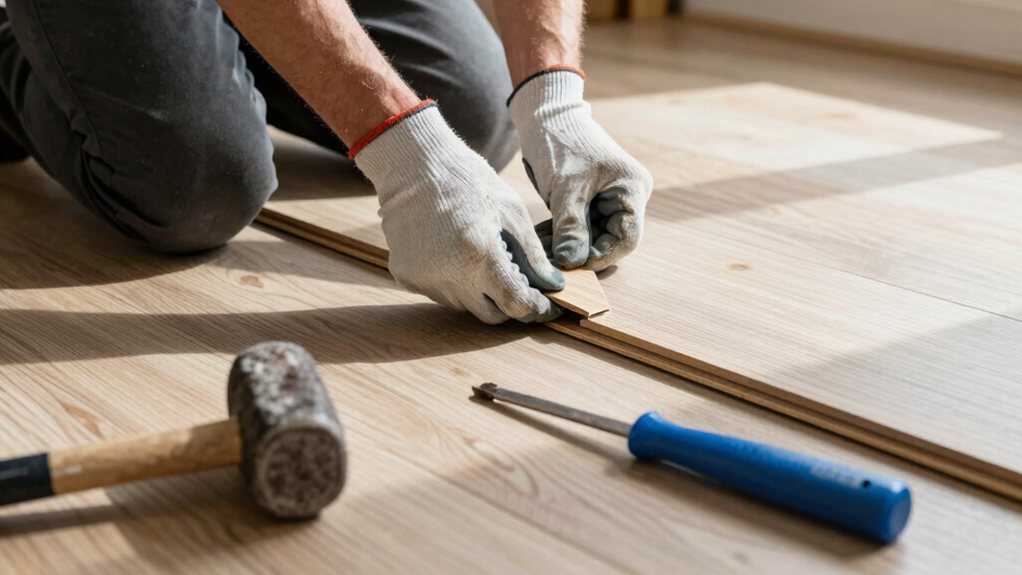
Begin your laminate flooring journey step by step to unlock all the secrets for a flawless finish.
You’ll start by letting your laminate planks rest in the room for a couple days. Then you’ll prep your subfloor and roll out underlayment. Working from one corner, you’ll click the planks together row by row, tapping seams snug and staggering the joints. Cut pieces to fit around doorways and finish up with trim to hide the edges. Stick with these steps, and you’ll uncover all the tips for a flawless floor.
Table of Contents
Ever wonder how you can get that beautiful wood floor look without the hefty price tag or a weekend-long commitment? The answer is laminate.
This clever flooring is a durable, multi-layer composite that mimics real wood with a tough, scratch-resistant surface. It’s designed for busy homes and is surprisingly easy to maintain.
The best part? You can likely install it yourself. Most laminate planks use a simple snap-and-lock system—no glue or nails needed. With basic tools and a bit of planning, you’ll save a bundle compared to hardwood and professional installers. It’s a perfect DIY project that boosts your home’s style and your confidence, all in one weekend. Many modern planks also feature snap-and-lock system designs and waterproof cores that make them suitable for kitchens and basements.
Before you start, you’ll want to gather all your tools and materials, like a cook prepping ingredients.
Let’s run through a crucial checklist of hand and power tools, and then we’ll take inventory of all the flooring and supplies you’ll need. Getting this organized now will save you from frantic, dusty trips to the hardware store later. Consider investing in a premium DIY tool kit to have quality tools on hand.
Gathering the right gear before you tackle your laminate flooring project is like packing for a successful camping trip—it makes everything more seamless and saves you from frustrating mid-job trips to the hardware store.
You’ll need a tape measure, pencil, square, and chalk line for layout. A power saw with a fine-tooth blade makes cleaner cuts.
Don’t forget a tapping block, pull bar, and a mallet to snugly click planks together, using spacers to maintain that essential 1/4–3/8″ expansion gap. You’ll use a pry bar and hammer to remove old baseboards.
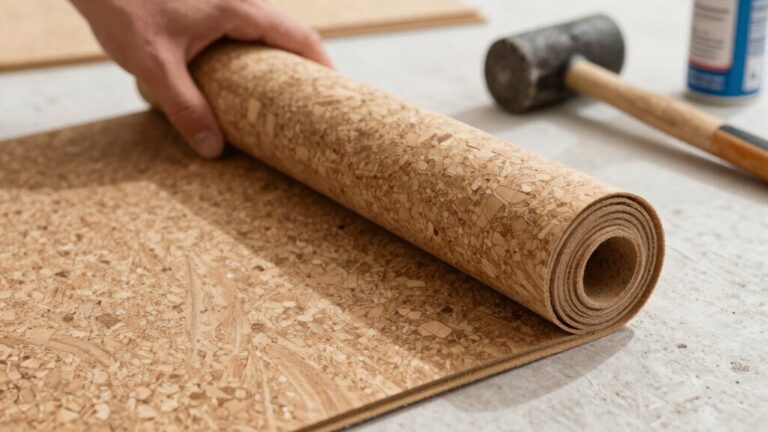
Have Pergo underlayment rolls and a utility knife ready for the subfloor. Finally, gear up with safety glasses, gloves, knee pads, and a shop vacuum for a clean, safe workspace. For concrete or below-grade subfloors, choose an underlayment with an integrated vapor barrier to protect against moisture.
You’ll want to get all your materials lined up like ducks in a row before the fun begins; it’s a lot easier to focus on the install when you aren’t scrambling for missing pieces.
Start with your laminate planks, buying 10–15% extra for waste. Grab matching threshold strips and quarter‑round trim, plus the required underlayment sized to your room’s area—don’t forget the tape for its seams.
You’ll also need fasteners like 1½” brad nails and a tube of sealant for skirting.
Having everything on hand, from that Pergo kit to a fresh utility knife blade, turns a potential headache into a seamless project. Trust me, future‑you will be grateful for this bit of prep. You can also explore luxury vinyl plank flooring inspiration pages that showcase products for sale to compare styles and finishes.
You’ve got your tools ready, but don’t skip acclimating your planks—it’s the secret to a floor that stays flat and beautiful.
Let the unopened boxes sit flat in your room for at least 48 hours, which lets the wood adjust to your home’s unique temperature and humidity.
This simple waiting game prevents future headaches like gaps or buckling, so your patience now will pay off later with a perfect floor. Taking time to acclimate also helps address issues related to substrate flatness that can telegraph through and shorten a floor’s longevity.
Have you ever wondered why your laminate floors might buckle or warp after it’s installed?
Proper acclimation duration is your best defense.
Generally, you should leave those planks in their original packaging, stacked flat in the installation room, for at least 48 hours.
Think of it as letting them get comfortable in their new home!
Now, if your house has wild climate swings, you’re on a concrete slab, or the flooring traveled from far away, play it safe.
Extend that party to 72 hours, or even up to 7 days if the manufacturer says so.
This patience guarantees the planks adjust fully to your room’s specific temperature and humidity, preventing any future drama.
Your floor will thank you!
Also, if you’re installing over concrete, consider using a concrete primer to ensure proper bonding.
While the planks are getting comfortable in your room, it’s necessary that your home’s environment is also ready to be a good host. You want to maintain your normal living temperature and humidity during this 48-hour period, just as you’ll after installation. Think of it as a practice run for your floor’s future life. This step is vital because the wood inside laminate will naturally swell or shrink with moisture changes. Getting this balance right now prevents major headaches like gapping or buckling later.
Then, during installation, don’t forget to leave the manufacturer’s recommended expansion gap around the room’s edges. This small space is your floor’s breathing room, allowing it to shift slightly with the seasons without causing damage. Also make sure to maintain about expansion gaps of roughly 1/4 inch around the room perimeter to accommodate thermal movement and prevent buckling.
Before your beautiful new laminate flooring goes down, there’s a vital step that can’t be skipped—getting your subfloor ready.
Before installing laminate flooring, the essential first step is preparing a perfectly smooth and stable subfloor.
First, you’ll remove all old coverings and vacuum the entire surface thoroughly.
This banishes debris and guarantees a clean, dry base.
Next, play detective with a long level.
Hunt for dips or humps exceeding 3/16 inch over 10 feet, smoothing them with leveling compound or a sander.
Now, silence any squeaks by firmly securing loose boards with screws.
Don’t forget a moisture check for concrete or wood, as too much dampness is a recipe for trouble.
Finally, roll out your recommended underlayment over the even subfloor, taping seams.
This critical prep creates a perfect, stable stage for your new floor.
Consider using a self-leveling underlayment like Ardex V-1200 for uneven subfloors to ensure a smooth, durable base.
Now that your subfloor is clean and level, it’s time to add a comfy cushion—your underlayment. This step is essential for laying laminate correctly.
Choose the right type for your subfloor, like one with a vapor barrier for concrete.
Unroll it parallel to your first plank row, cutting strips to length.
Butt the seams together neatly—don’t overlap them—and seal joints with tape. Tuck it slightly under baseboards, but remember to leave that all-important expansion gap at the walls.
An even underlayment over a flat floor prevents future squeaks and adds warmth. Taking care here makes the rest of your project a joy, giving your new floor a quiet, stable base it deserves. If your subfloor has minor dips, consider using a self-leveling compound before laying the underlayment.
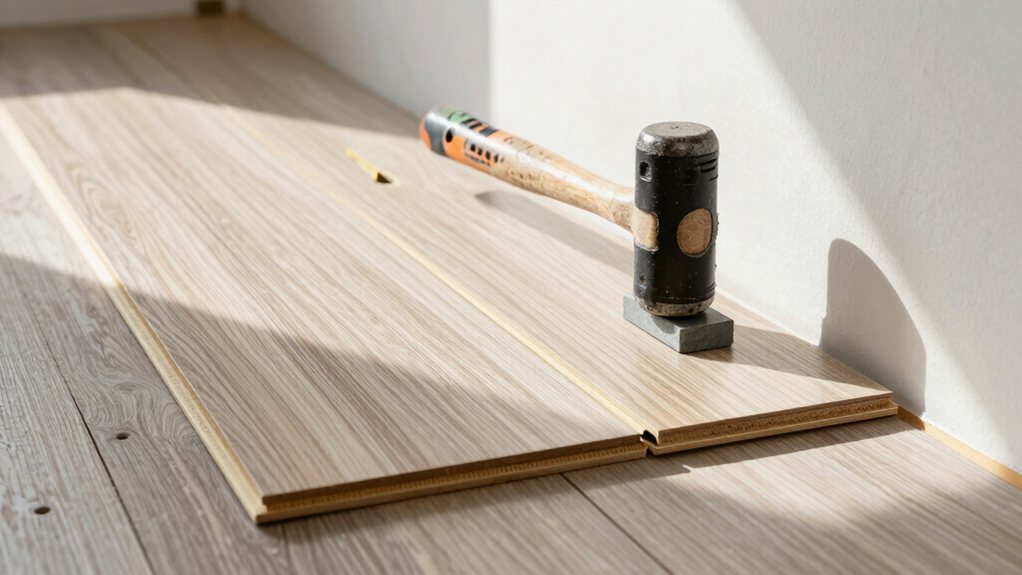
You’ll want to plan your starting rows carefully, so grab your measuring tape to figure out your plank count and final row width.
Once you’ve marked where that last full plank will go, you can set your first row with the tongue side facing you, which is your starting point for the whole floor.
This first step sets the tone for your project, so take your time clicking those initial planks together and checking they’re perfectly straight.
Before you start clicking planks together, do a dry lay of the layout to catch issues early.
How do you make sure your laminate floor looks perfectly balanced from wall to wall?
It all starts with smart math before you lay a single plank.
You’ll avoid a skinny, awkward final row by calculating your starting rows properly.
Once you’ve planned your layout and know your starting line, the actual installation begins by setting those all-important first planks, which anchor your entire floor.
Now you get to install the first row.
Remember to place these boards tongue-side out toward the room, using spacers against the wall to maintain that vital expansion gap.
It’s like setting a foundation—take your time here.
Hook the long edge of each plank into the previous one, then gently tap the short end seam with your tapping block to lock it tight.
Check your straight reference line often; a little correction now prevents a big headache later.
This careful start guarantees your beautiful floor will look seamless and professional, giving you a solid base to build from.
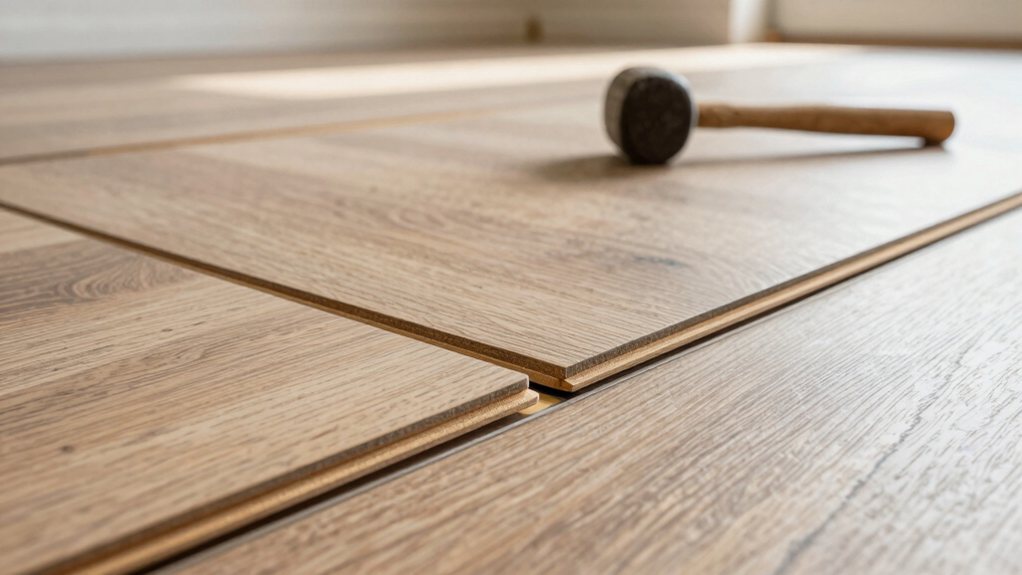
Clicking, tapping, and staggering your way across the room transforms those individual planks into a sturdy, beautiful floor, but there’s a real method to the madness.
You’ll work row by row, building from your starter wall. The key is to maintain that all-important expansion gap and make sure every plank clicks snugly into its neighbor.
Maneuvering those final tricky areas around doorways is where your laminate floor truly starts looking like a professional installation, blending seamlessly from room to room.
First, measure your opening’s height and add a quarter-inch to the plank for the necessary expansion gap. You’ll need to leave a gap everywhere.
Then, undercut the door trim with a jamb saw so your plank can slide right underneath for a clean look.
For cuts around hinges or stops, a jigsaw is your best friend. Mark carefully, cut with the decorative side up, and remember to leave a gap behind the trim, too.
Use spacers and a pull bar to lock those final planks in place without fastening them under the jambs, allowing the floor to breathe with the seasons.
Now that you’re approaching the finish line, installing the final rows and threshold strips is where you’ll lock everything into place and give your floor that polished, complete look.
This stage is all about precise final fitting and neat junctions.
Once your beautiful new floor is locked in place, it’s time for those finishing touches that make it look professionally installed and guarantee it stays looking great for years to come.
In your Flooring Installation, cover the perimeter expansion gap with quarter round, nailing it only into the baseboard, never the floor.
Use matching threshold strips at doorways for a neat finish.
For maintenance, daily sweeping is your best friend.
Clean with a damp mop and a mild, recommended cleaner—please avoid soaking it or using a steam mop, as they’re like kryptonite to laminate.
Finally, protect your investment with felt pads under furniture legs and rugs in high-traffic areas.
This care will keep your floor stunning long after the project is done.
And there you have it! You’ve just installed a beautiful new floor that’ll last for years. Give yourself a well-deserved pat on the back for a job well done. Remember, if a plank feels a little wobbly, a gentle tap usually fixes it. Now, kick back, admire your handiwork, and enjoy the feeling of walking on your own fantastic new surface. You absolutely earned it.