Phone:
(701)814-6992
Physical address:
6296 Donnelly Plaza
Ratkeville, Bahamas.

Phone:
(701)814-6992
Physical address:
6296 Donnelly Plaza
Ratkeville, Bahamas.
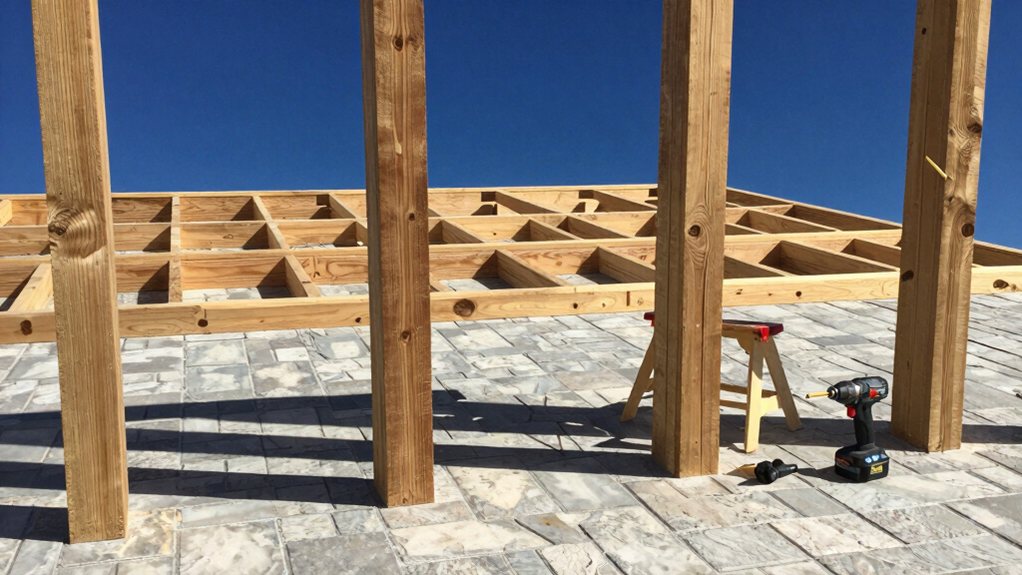
Uncover step-by-step plans for building a sturdy patio pergola, ensuring a perfect, professional look with essential tips you...
Start by planning your pergola’s size and checking local codes. You’ll then lay out your posts on the patio slab, using strings and the classic 3-4-5 method to get everything square. Cut and secure your posts, making sure they’re perfectly plumb, before installing the main beams and rafters with sturdy, corrosion-resistant screws. Finish with a protective sealant and your choice of decorative lights or vines. There’s plenty more to discover for your perfect build ahead!
Table of Contents
Before you get started on building your pergola, let’s talk about planning—because let’s be honest, a little upfront thought can save you from a real headache later.
Before diving into construction, solid planning is essential—it prevents major headaches and ensures a smooth, successful project.
First, choose an overall size and overall height that fits your patio. Next, you must check your local building codes for permits and footing rules.
For materials, budget-friendly Pressure-Treated Pine is popular, while gorgeous Western Red Cedar resists rot naturally.
You’ll also decide how to anchor the posts. For the strongest support, set them in concrete footings. If you’re building on an existing slab, you’ll use post bases anchored down. Getting these choices right upfront makes the actual build go so much easier. A quality deck building tools kit can save time and ensure proper construction.
Now you’re getting to the fun part—translating those plans into real marks on your patio slab.
A precise layout here makes everything else easier.
1. Establish your lines: Snap a tight string line from a fixed point, like your door sill.
Use the 3-4-5 method to guarantee perfectly square corners for each post base location on the concrete slab.
2. Mark the anchor points: Position each post base over its mark, then scribe through its holes to transfer the exact spots for drilling.
3. Drill the holes: Grab your hammer drill with a 5/8″ carbide-tipped drill bit.
Drill holes about 4¼” deep, and always clean them out thoroughly.
4. Secure and verify: Fasten the bases with concrete anchors, tighten them down firmly, and double-check your alignment against your original reference line.
For even greater accuracy consider using a professional laser level kit to project your reference lines across the slab.
Now you’ll get those posts ready to support a perfectly level pergola top, starting by clamping a scrap-wood extension to your door sill and running a tight, level string line as your reference.
Measure from that string down to each post base and jot down the four offsets, because your largest number tells you exactly how much to trim from your 8-foot posts.
You’ll then mark and cut each post, adding the beam shoulder and tenon, which sounds fancy but is just a few careful saw cuts—and don’t forget to label them A through D so you know who’s who when it’s assembly time.
For faster, safer post installation consider using a fence post driver tool to set posts quickly.
Since your pergola’s top needs to be perfectly level, you’ll first create a precise reference line that extends your patio door’s height out across the entire slab.
Think of it as an invisible, perfectly flat ceiling.
Before cutting, consider doing a dry lay to preview how your post cuts will look across the slab.
After you’ve snapped your layout lines and marked your post centers, it’s time to measure the critical post offsets—a step that guarantees your pergola’s top will be perfectly flat, even if your patio slab slopes a bit.
Clamp a scrap-wood extension to your patio door sill and run a tight string line to stakes into the ground. Measure straight down from this string to each post base location; these numbers (label them A-D) determine each post’s height.
Transfer these offsets to your labeled posts by measuring up from the bottom. Use a combination square to mark your cut lines clearly. This careful prep makes certain all your posts will meet your beams perfectly for a professional, level result.
For even greater accuracy, consider using laser measuring tools to take the string-to-post measurements.
1. Label each post (A-D) to match your offset measurements.
Then transfer the longest measurement up from the bottom to find your unified cut line.
2. Using a Circular Saw, square a line around the entire post and make your cut, flipping the post to get through most of it.
3. Finish the cut with a reciprocating saw for a clean, level top on the post.
4. Chamfer the edges of the post with a router to ease sharp corners and protect the wood from splintering.
For selecting the right blade and setup, consult a professional circular saw guide to match tool capacity to your cuts.
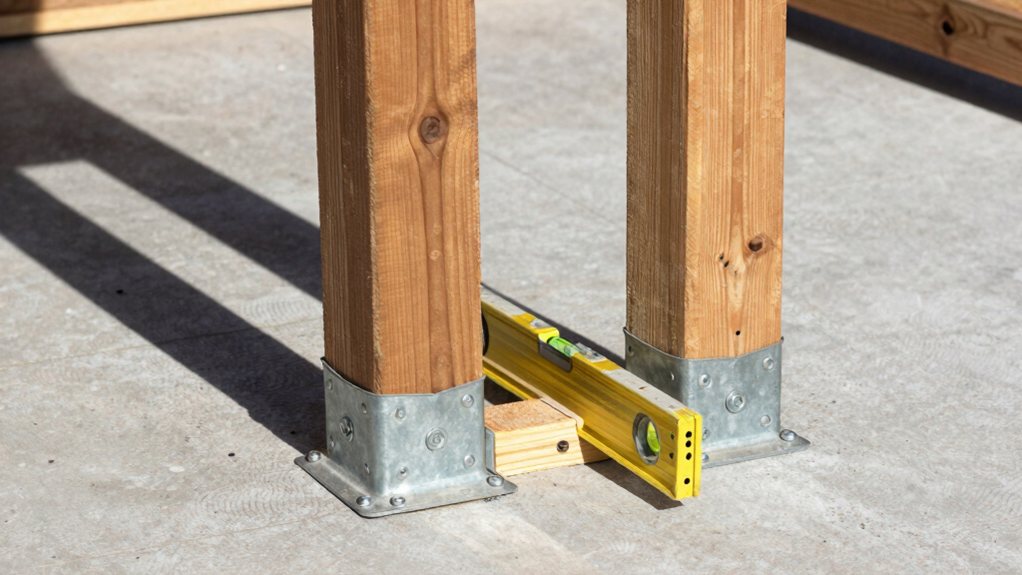
Now you’ll stand each post in its base, plumb it carefully, and lock it in place with temporary braces.
Use a 4-foot level to check that the post is perfectly vertical on two adjacent sides, then secure your angled braces with a few nails—this keeps everything from wobbling while you work.
Once the post is plumb, drill and drive four strong screws through the base into the post to make the connection permanent, but leave those braces on until the beams are installed for extra safety.
For best long-term results consider consulting or hiring door frame installation professionals.
Consider overhead clearance and load capacity when mounting posts near garage ceiling storage to avoid conflicts.
With your posts cut to their measured lengths, it’s time to stand them up straight and lock them in place—this is where your pergola starts looking like a real structure.
Place each post in its base and fasten two long, temporary 2×4 braces about six feet up, using a single nail so you can adjust.
Now, take your 4‑ft level. Check two perpendicular lines, or faces, around the post, adjusting those braces until it’s perfectly plumb.
Pound stakes into the ground to anchor your braces solidly. Once straight, drive more nails to lock it.
Before final fastening, make sure your DIY pergola posts are aligned with your reference strings. You’ll remove this bracing only after installing secondary beams for stability, so patience pays off!
For best results, consider using quality professional deck staining equipment designed for even application.
Although your temporary braces have been doing a great job holding everything straight, you can finally set them free once your post is permanently anchored and supported by its beams.
If any posts show signs of rot or structural damage, consider consulting professional floor joist repair services to address underlying issues.
Before you remove them, though, a final check verifies your pergola build stays perfect for years.
Follow this simple order to finish strong.
Once you’ve got your posts standing tall and true, you’ll install the beams that give the pergola its signature look and strength.
To Build a Pergola frame, first saw to cut your main beams to length, using the first piece as a template so all decorative ends match.
You’ll need to be cut and profile these tails before lifting them into the post notches. Make sure the edges are facing upwards to handle the bending load, and check that one end seats snugly.
Before installing beams, cut and profile the tails, ensure edges face up to manage bending loads, and check that one end fits snugly.
Pre-drill a triangular pattern and drive three structural screws at each joint. Then, add your secondary beams across the mains, using the same three-screw pattern for solid load transfer.
Finally, check for level and square before you remove any temporary supports—your structure is now self-bracing!
Now that your sturdy pergola frame is all squared up, you’ll get to space and fasten the rafters—the final pieces that define both its structure and the quality of shade it’ll provide.
To build one that lasts, follow this checklist:
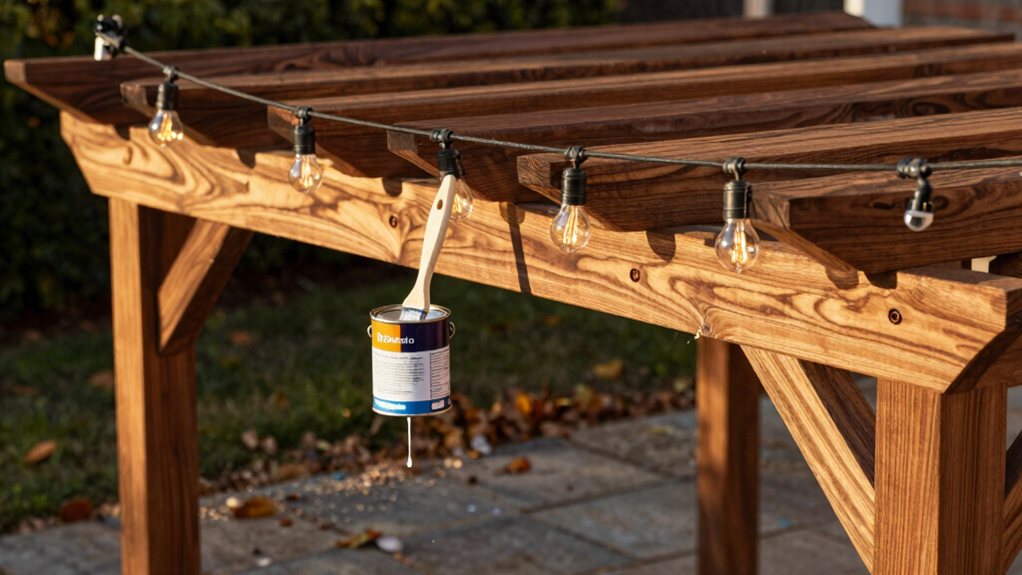
Applying a protective finish and adding your personal decorative touches turns your sturdy pergola from a simple structure into a beautiful, lasting part of your outdoor living space.
First, sand and clean all wood, then fill any holes.
If you used pressure-treated lumber, you’d want to wait 6–12 months before staining or painting.
Protect every cut with a sealer, then apply your finish.
Use corrosion-resistant hardware for a polished look that lasts.
Your next step is to enjoy your new pergola!
After finishes cure, create a beautiful scene with string lights or climbing vines.
I would suggest reinspecting everything every few months.
Soon, you’ll absolutely love the pergola in your new outdoor space.
You’ve just built your own outdoor living room, and that’s a big accomplishment. Now, it’s time to relax under your beautiful new shade. Remember to protect your work with a good sealant, and then add those personal touches, like lights or vines, that make it truly yours. Get ready for years of great meals and lazy afternoons in your perfect spot. You’ve earned it.