Phone:
(701)814-6992
Physical address:
6296 Donnelly Plaza
Ratkeville, Bahamas.

Phone:
(701)814-6992
Physical address:
6296 Donnelly Plaza
Ratkeville, Bahamas.
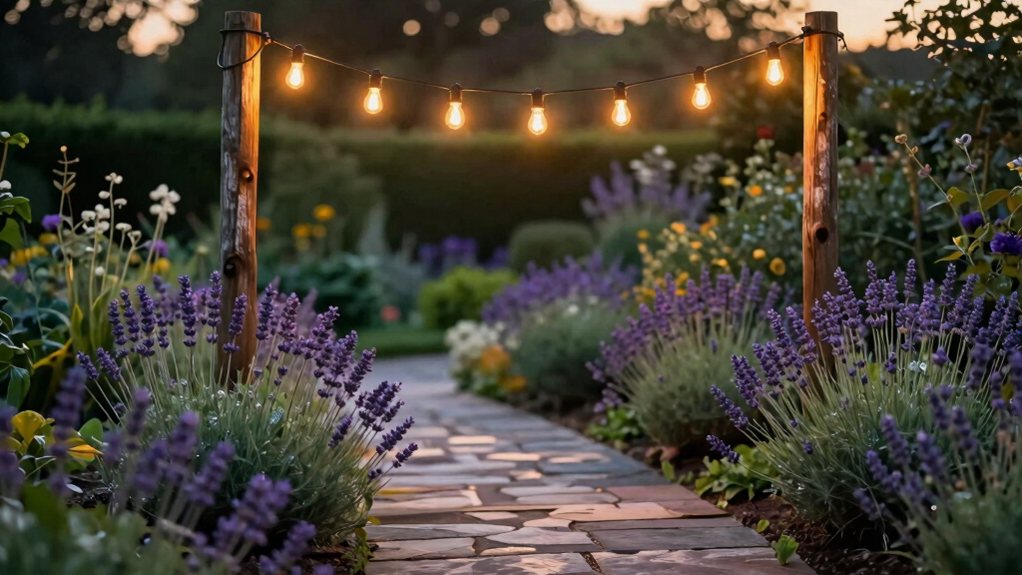
Create custom string light poles and discover enchanting layout ideas to transform your outdoor space into a magical retreat.
You can build your own outdoor string light poles using weather-resistant materials like pressure-treated wood or galvanized steel. Set your posts securely in concrete and then have fun with creative draping layouts, from cozy canopy waves to a playful zigzag. Always use outdoor-rated fixtures and a GFCI outlet for safety. Your perfect backyard ambiance is just a project away, and there’s more inspiration waiting for you.
Table of Contents
Ever wondered why some DIY string light poles stand strong all season while others wobble or warp? It all comes down to your material choices.
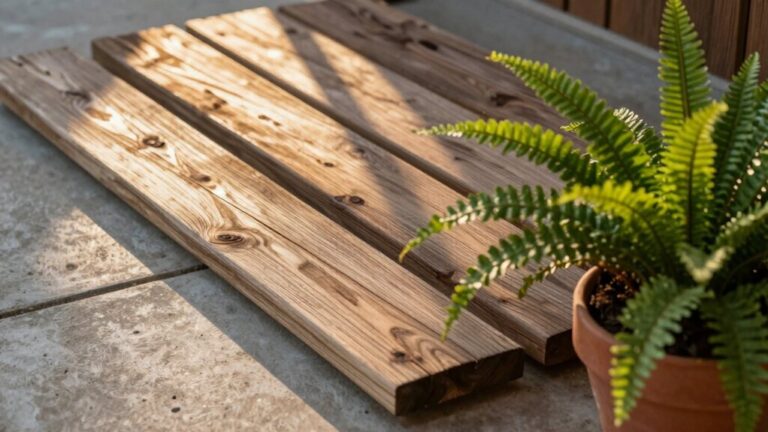
You want poles that laugh in the face of rain and sun, so prioritize weather resistance. Pressure-treated wood or metal like galvanized steel are fantastic, durable options that won’t let you down.
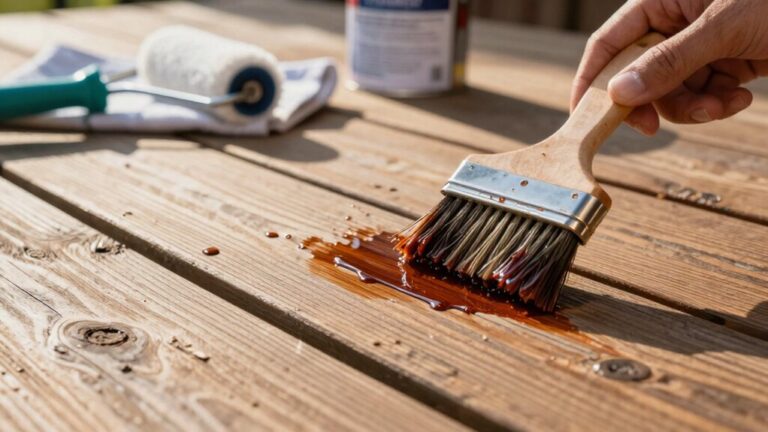
If you’re eco-conscious, explore sustainable materials like bamboo or reclaimed lumber; they’re kind to the planet and add unique character. Just remember, even the best-looking wood needs a protective sealant. Think of it as a raincoat for your pole!
Choosing the right stuff means your creation stays upright and beautiful, giving you more time to enjoy those magical evenings under the lights. Many retailers sell purpose-built outdoor string light poles that come in varying heights and finishes.
Now that you’ve picked out the perfect materials, let’s roll up our sleeves and get building.
First, do your permit checks with local authorities to avoid any headaches later—trust me, it’s worth the call.
Don’t skip the permit call—it’s a quick step that saves you from major headaches down the road.
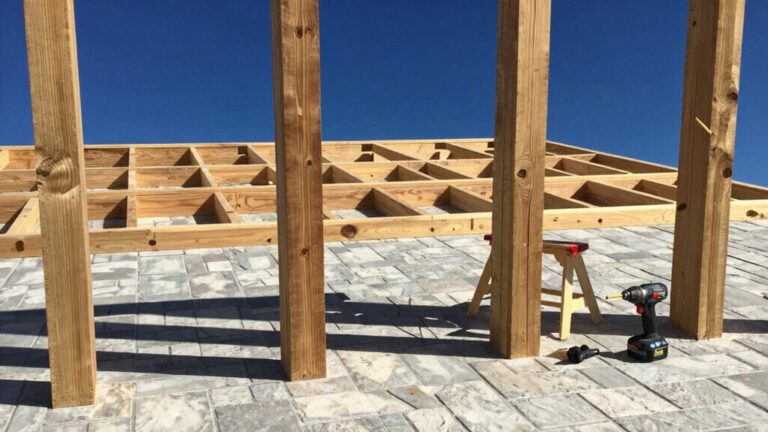
Next, cut your posts to the desired height and securely set them in concrete, using a level to verify that they’re perfectly straight.
Once the concrete cures, attach your crossbeam or hooks for the lights.
Finally, string your lights and step back to admire your work!
To keep everything shining bright, establish a simple maintenance schedule; a quick check each season for loose hardware or weather wear will make your setup last for years.
You’ve just built the backbone for countless magical evenings. Consider using a fence post driver tool to speed installation and reduce strain.
How can you transform a simple string of lights into a stunning outdoor feature? Get creative with your draping!
Instead of a straight line, try making soft canopy waves between your poles for a cozy, starry-night effect. For a dramatic entrance, create a curtain cascade by hanging several vertical strands from a single horizontal line; it’s like a twinkling waterfall of light.
You can zigzag them for playful energy or drape them in loose swags for a relaxed, festival vibe. Remember, your poles are just the framework—the real magic happens when you play with the pattern.
A little experimentation turns basic lighting into pure ambiance, making your backyard the place everyone wants to be. For increased durability in wet conditions, choose fixtures with an IP65 waterproof rating to ensure reliable outdoor performance.
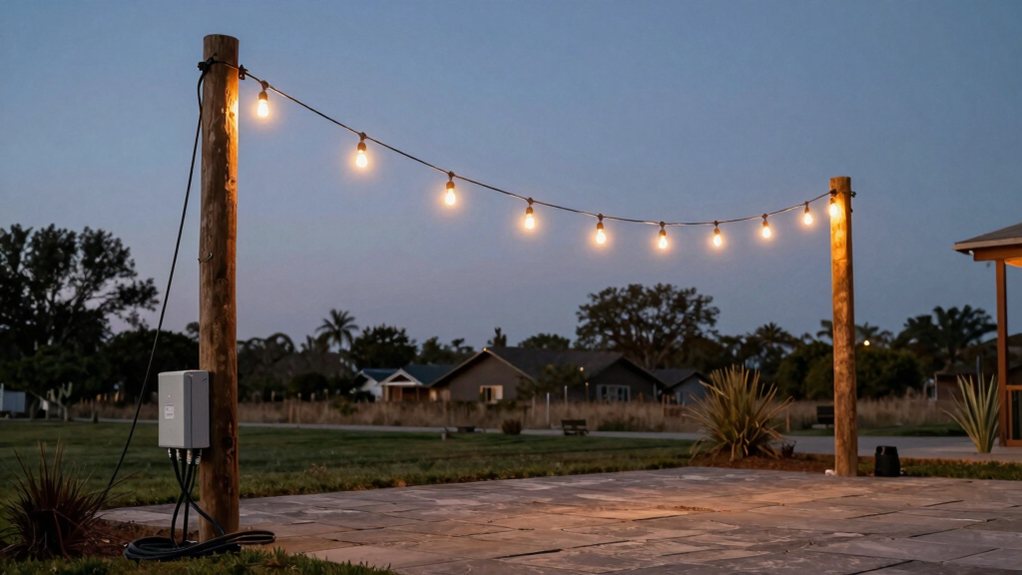
While your creative draping sets the mood, it’s the solid installation that keeps your lights shining safely all season long.
Start by firmly securing your poles and hooks; you don’t want a breeze turning your masterpiece into a tangled mess.
For power, always use outdoor-rated extension cords and plug into a GFCI outlet. Seriously, don’t skip this—it’s a major safety win. Consider adding a dedicated outdoor surge protection device to guard against voltage spikes from storms.
Always use outdoor-rated cords and GFCI outlets—adding dedicated outdoor surge protection guards against storm-related voltage spikes for major safety wins.
Neat wire routing is next; use clips or stakes to manage cords along fences or deck edges, preventing trips and protecting the wires. Finally, do a nighttime test before your party to fix any dark spots. A little careful setup now means you can relax and enjoy the glow later. Also, choose IP-rated fixtures for outdoor use to ensure weather resistance and durability.
Once your lights are safely hung and powered, you can turn your attention to the poles themselves—they’re more than just supports, they’re a chance to show off your style.
For a rustic look, use reclaimed wood or simple black metal poles, letting nature be your guide. Modern styles love clean lines; think sleek, powder-coated steel in monochromatic color palettes.
Boho is all about playful character, so consider brightly painted poles or wrapping bases with macramé. Don’t forget the finishing touches! Accent accessories like hanging planters or decorative bases truly personalize your setup.
Your pole design can make your entire space feel cohesive and uniquely yours, so have fun expressing yourself. It’s the perfect final flourish. Consider pairing your poles with cedar planter boxes for a cohesive, high-quality garden aesthetic.
So, you’ve built your poles and strung your lights, and now your yard feels like a magical retreat. You’ve done the hard work, and it shows. Grab a seat, turn them on, and soak in that cozy glow with your friends and family. Remember, the best part isn’t just the beautiful setup, it’s the memories you’ll make under those twinkling lights. Enjoy your handiwork and your wonderful new outdoor space.