Phone:
(701)814-6992
Physical address:
6296 Donnelly Plaza
Ratkeville, Bahamas.

Phone:
(701)814-6992
Physical address:
6296 Donnelly Plaza
Ratkeville, Bahamas.
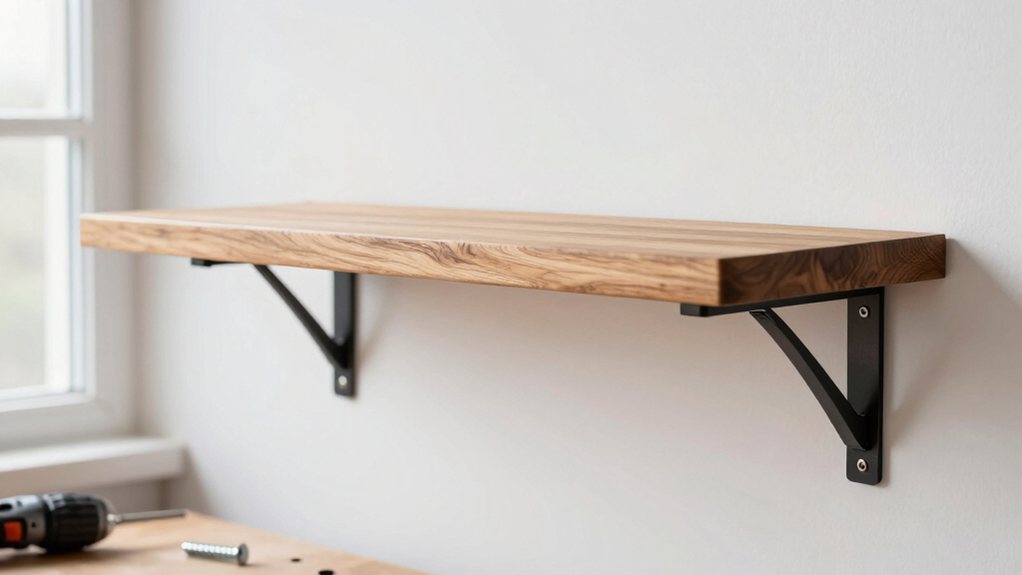
Find out how to build a floating shelf with hidden brackets for a sleek, professional look that will transform your space.
You start by cutting a shelf board and sanding it level. Then, find the wall studs and drill holes for 8mm threaded rods—those are your invisible brackets! Drive the rods into the studs, slide your pre-drilled shelf onto them, and tap it flush. It’s a solid, sleek project that looks professional. Once you secure it, you can patch the wall for a clean finish that hides all the clever work inside.
Table of Contents
Before you begin building your floating shelf, it’s helpful to get a bird’s-eye view of the whole process—because honestly, knowing the end goal makes each step less mysterious.
You’ll start by measuring and marking your wall, then cut your board to size using power tools like a circular saw.
You drill holes for hidden rods that anchor into the wall studs, which sounds tricky but is just a little bit of careful work. After securing the shelf, you sand and finish it.
Each stage builds toward that sleek, final result where the shelf seems to magically float. It’s a straightforward project that rewards patience, and you’ll feel a real sense of pride when it’s done. For best results, use quality professional floating shelf hardware designed for stud mounting.
Now that you’ve got the big picture, let’s roll up our sleeves and gather everything you’ll need, because having the right gear at your fingertips makes the whole project easier and way more fun.
Grab your gear first—having the right tools makes any project easier and more fun.
I’m gonna start by telling you to measure your space and grab some 18 mm shelf boards and 8 mm threaded rods.
For tools, you’ll want a circular saw, a router for fancy edges, and a drill with 6 mm and 8 mm bits.
An angle grinder cuts the rods, and a 13 mm socket tightens everything.
Don’t forget a level for alignment and sandpaper up to 220 grit for a silky finish.
Grab safety glasses and a dust mask, too—trust me, sawdust isn’t a good look for anyone!
We also offer a selection of walnut floating picture shelves, available on our site as floating picture shelves walnut.
Ever wondered how to get that perfectly snug fit for your floating shelf? It starts with accurate measuring.
Use a laser measure for inside dimensions, like a pantry, and transfer those numbers to a measuring stick. Don’t forget to include small clearance allowances—a few millimeters can be the difference between a perfect fit and a frustrating one.
Next, tackle Stud Mapping. Scan the wall with your stud detector, performing a quick Detector Calibration on a known stud-free spot first.
Mark each stud center where you get a solid green light. Then, connect those marks with a perfectly level line; this will be your guide for those hidden brackets, guaranteeing your shelf is both beautiful and securely mounted.
For best results, consider using a professional stud finder tool to ensure accurate stud detection.
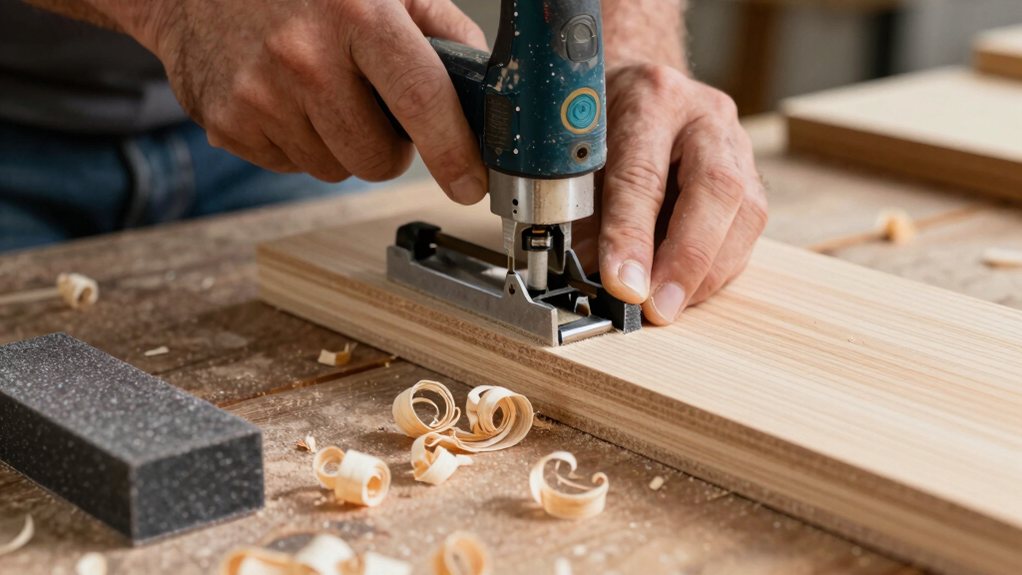
Once your wall is mapped and ready, you can turn your attention to the shelf itself.
First, check the grain orientation on your pine board for the most pleasing look. Mark your cut line with a speed square, then use a circular saw with a clamped straightedge for a perfect rip. Good tool maintenance, like a sharp blade, makes this safer and cleaner.
Before cutting, assess the grain for aesthetics, then use a speed square and a clamped guide to ensure a precise, safe rip with a sharp blade.
Next, use a router with a 45-degree chamfer bit, taking several shallow passes to create that sleek Nordic profile.
After routing, sand everything progressively up to 220 grit.
Finally, meticulous dust collection—vacuuming and using a tack cloth—is a boring but essential step before finishing, guaranteeing your stain goes on uniformly and evenly.
For all the right gear, consider investing in premium woodworking tool sets to ensure tool quality and consistency.
Now you’ll get to make some holes, but don’t worry, it’s not as scary as it sounds.
First, carefully mark the centerline on your shelf and use your speed square as a guide to transfer the exact spots for the rods.
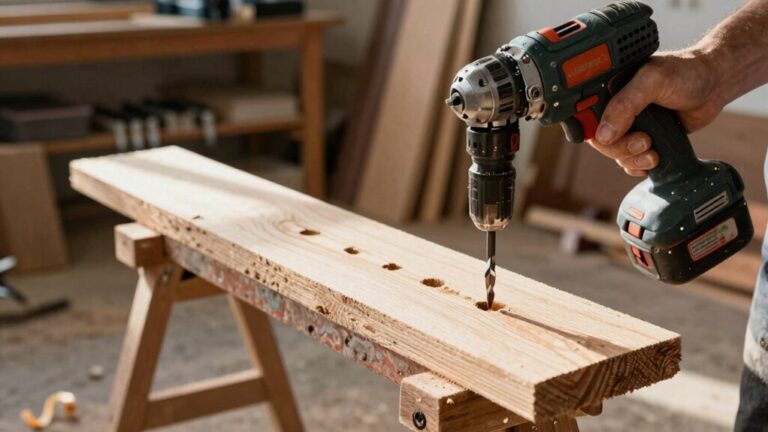
Then, grab your drill, hold it nice and square, and make those clean, straight holes that will let your shelf float securely on the wall.
For best results use a professional cordless drill set with appropriate drill bits and a stable battery to ensure consistent power.
Before you start drilling, it’s important to get your hole placement just right, since even small misalignments can make your shelf feel wobbly or cause damage.
First, mark the shelf center on your board and lay out the rod positions.
This offset layout guarantees your rods are dead-center for strength.
Give yourself good edge clearance from the shelf ends for proper load distribution.
When transferring those marks to the wall, use a simple pencil template from your stud finder locations.
Keep everything on a laser-leveled line!
Drill your shelf holes for a snug fit and your wall pilots slightly smaller.
Double-check that every hole is perfectly perpendicular; a quick test on scrap wood saves a lot of wall-plaster drama later.
For best results, align everything using a professional laser level kit to maintain accuracy.
With your shelf holes carefully placed, it’s time to bring everything together by drilling into the shelf and the wall itself.
First, clamp your shelf securely to your workbench; this provides crucial vibration control for cleaner holes. Use your speed square as a perpendicular guide for the drill.
For the wall, mark your stud locations clearly. When you start drilling, go slow. Good dust extraction is a must—attach a vacuum if you can, because nobody enjoys a plasterboard snowstorm.
Consider ear protection for noise mitigation, especially if you’re drilling into wood studs. Drilling pilot holes first helps with accuracy.
A steady hand and a bit of patience here will make your shelf fit perfectly and look professional.
For best results, use a professional drill driver set with adjustable clutch settings to control torque.
Get ready to drive those threaded rods into the wall studs—this step locks your floating shelf securely in place. Be mindful of the actual torque you apply—consumer drills typically produce enough for this task, and avoiding over-torquing protects the studs.
First, screw two nuts onto each rod’s end and lock them together; this gives your socket wrench a good grip.
Now, carefully drive each rod into its pilot hole, keeping the drill perfectly square to the wall.
You’ll want to stop before you hit the torque limits of your wrist—snug is strong, but stripping the wood isn’t helpful!
Once all rods are in, do a little load testing by giving each a firm tug.
Finally, a quick dab of clear nail polish on the exposed threads acts as cheap corrosion protection and locks the adjustment nuts.
You’re almost there!
Consider using a professional wood refinishing kit to ensure consistent results and have all necessary supplies on hand.
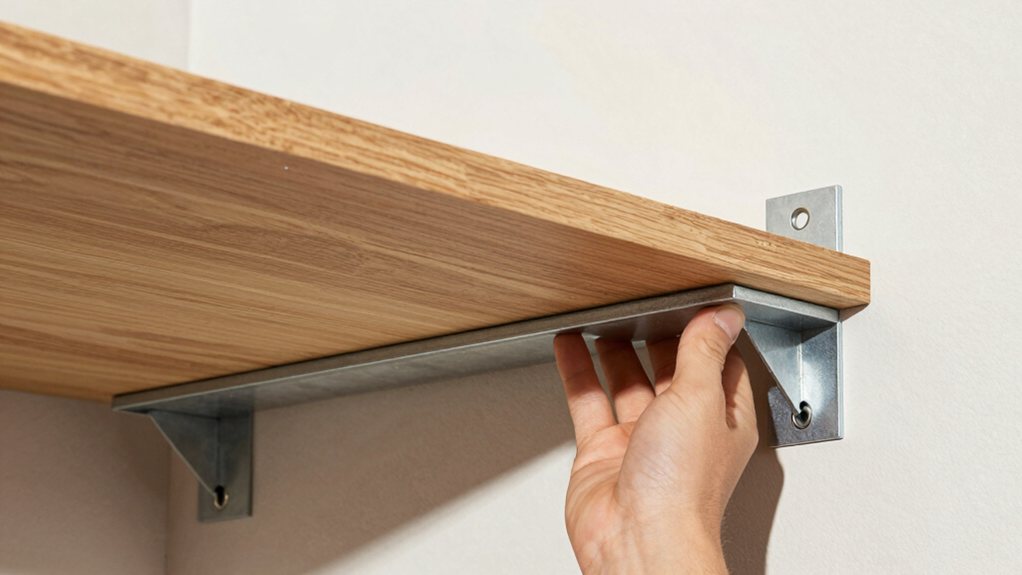
Now you’re ready to bring your shelf to life by mounting it securely on the wall—it’s a satisfying step that really makes the project feel complete. Slide your shelf onto the threaded rods, tapping it gently with a rubber mallet until it’s flush. If it’s stubborn, slightly ream the holes; a perfect snug fit is what you want.
Before loading it up, do a quick load testing with some heavy books to confirm it’s solid. Consider adding a thin felt pad between the shelf and wall for subtle vibration damping. Also check the shelf’s weight capacity and aim for a safety margin of about 70–80% of the rated capacity.
Once your shelf is seated on those hidden rods, you’ll want to make sure everything is locked in tight, because the difference between a good install and a great one is all in these final details.
The final details make all the difference between a good install and a truly great one.
Start with a hardware inspection: confirm each rod is fully engaged in the stud and that the nuts are double-locked.
Next, patch any plasterboard holes with filler for seamless surface blending.
After sanding and priming, touch up with your matching wall paint.
If you stained the shelf, wait 24 hours before doing finish touchups on any scuffs with a soft cloth.
Finally, perform a load test with clamps or weight, then recheck for level.
This last step is your victory lap, proving your shelf is secure and ready for duty.
And there you have it! You’ve built a floating shelf that looks amazing and hides all its hardware. It’s a satisfying project that adds both style and storage to your space. Remember, if you hit any snags, just take a breath and double-check your measurements. Now step back, admire your handiwork, and start thinking about what you’ll proudly display on your beautiful new shelf. Great job!