Phone:
(701)814-6992
Physical address:
6296 Donnelly Plaza
Ratkeville, Bahamas.

Phone:
(701)814-6992
Physical address:
6296 Donnelly Plaza
Ratkeville, Bahamas.
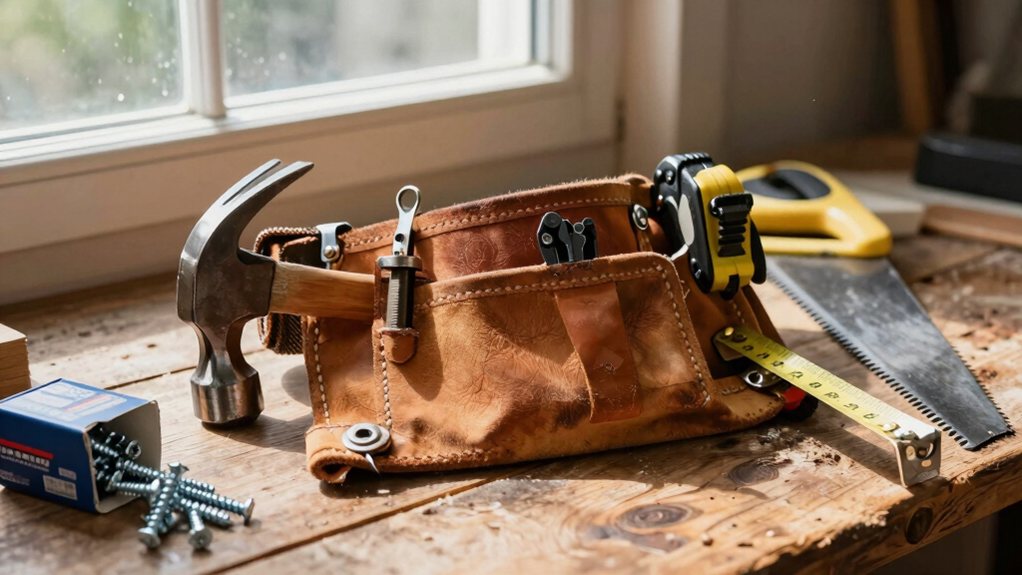
With your first DIY toolkit, unlock home projects but know when to call the pros for safety.
Start by getting your core four tools: a claw hammer, screwdrivers, an adjustable wrench, and a tape measure. Focus on durable, budget-friendly basics before specialty items. Master measuring, cutting, and drilling, and always use safety gear like gloves and glasses. Keep everything organized on a pegboard or in a toolbox. Knowing when a job needs a pro is key, so start simple. There’s plenty more to discover as your skills grow.
Table of Contents
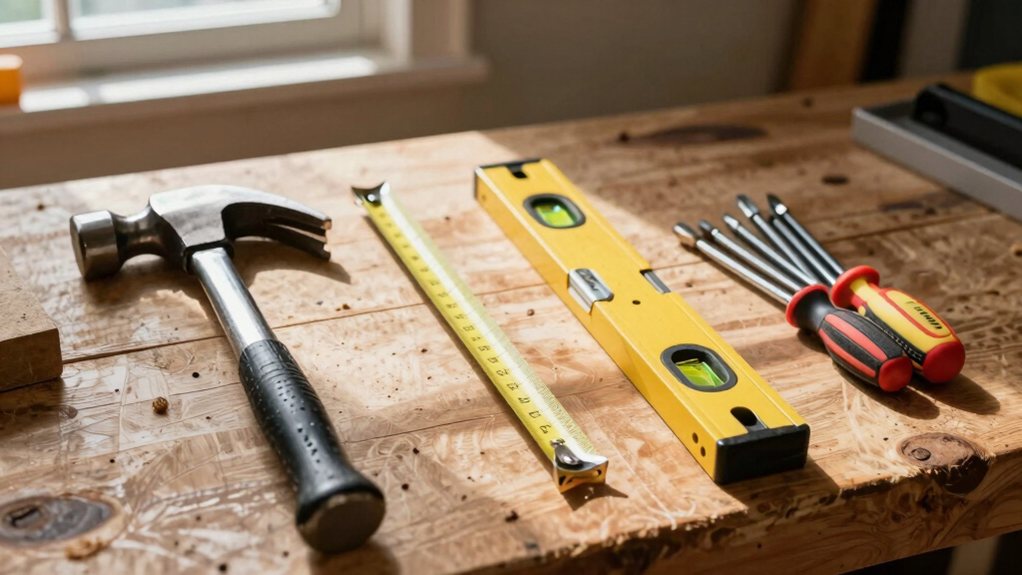
The first step in your DIY adventure isn’t buying a fancy gadget or tackling a big project—it’s building your own indispensable starter toolkit. Think of it as your personal “core four” for everyday fixes.
First, a reliable claw hammer handles nails and light demolition. Next, a set of screwdrivers, both flathead and Phillips, tackles everything from outlet covers to assembling furniture. A sturdy adjustable wrench grips nuts and bolts of various sizes. Finally, a 25-foot retractable tape measure helps keep your projects square and level.
When you buy these, use an unboxing checklist to inspect for defects and always register your tools online for warranty tips—it saves future headaches. This simple kit builds confidence for countless tasks. Consider purchasing a professional tool set kit to get all these essentials together.
Now that you’ve got your core four tools in mind, you’ll want to pick them wisely without breaking the bank.
Start by focusing your budget on those must-haves, then look into reliable brands known for durability—you don’t need the fanciest name, just tools that won’t quit on you after one project.
Keep an eye out for starter sets or holiday sales, as these bundles can be a real win, giving you more bang for your buck so you can save for your next big idea.
Also consider checking power tool combo kits for bundled savings and consistent battery systems.
When you’re just starting out with DIY, it’s easy to feel overwhelmed by the sheer number of tools you *could* buy, but don’t worry—you don’t need them all at once. Begin with a core set that handles most common tasks.
Your first priority should always be safety must-haves; good safety glasses and a pair of sturdy gloves are non-negotiable. Next, focus on an ergonomic selection of basic hand tools: a comfortable claw hammer, a set of screwdrivers, adjustable pliers, and a quality tape measure.
Think of it like building a wardrobe—start with versatile classics before adding specialty items. This smart approach saves money and frustration, letting you build confidence and skill with every project you complete. Consider investing in a professional safety equipment kit to ensure you have all essential protective items.
Consider starting with professional tool sets designed for multiple tasks to get more value.
This homework pays off, guaranteeing your starter toolkit is built to last.
Having done your homework on trusted brands, you’ll find that building your starter kit doesn’t have to empty your wallet. Your next smart move is to seek value bundles. Many retailers offer pre-assembled sets of indispensable tools at a lower total cost than buying each piece separately.
This is where your research pays off—look for bundles from those reputable names you already identified. Keep an eye out for seasonal discounts around holidays, which are perfect for snagging a deal.
Don’t be shy about a little bundle negotiation, either; sometimes asking if a store has any upcoming promotions can uncover extra savings. It’s like finding a treasure chest for your garage, giving you more quality tools for your budget. Check trusted retailers’ listings for a power tool combo kit to compare included tools and prices.
Now that you’ve got your tools, it’s time to master a few core skills to make your projects look professional.
You’ll want to focus on measuring and marking accurately, so everything fits together perfectly, and then practice some basic cutting techniques, which is easier than it sounds once you get the hang of it.
Finally, learning the fundamentals of drilling and fastening will help you assemble everything solidly, turning your plans into real, finished creations.
Consider investing in a professional tool set to ensure you have quality equipment for all your projects.
Ever wonder why your DIY project didn’t quite fit together, even though you “measured twice”?
Accurate measuring and marking is the secret sauce for success.
It’s not only about the tool, but how you use it.
Mastering these habits saves you from the dreaded “cut twice, still too short” moment. Consider upgrading to professional laser measuring tools for faster, more accurate distance measurements on many projects.
Mastering a few basic cutting techniques turns that intimidating pile of lumber into a collection of precise, project-ready pieces.
First, focus on straight, square cuts; they’re the foundation of everything. When you need an angled edge, you’ll use bevel cutting, which tilts the saw blade.
Remember kerf compensation: the blade’s width removes material, so cut on the waste side of your line, or your piece ends up short. It’s a classic rookie mistake we’ve all made! Let the saw do the work—don’t force it—and always secure your material firmly. With a little practice, you’ll gain confidence and start seeing every board as a potential masterpiece, more than a chunk of wood. If you’re shopping for the right tool, consider a professional miter saw built for accuracy and durability.
Once you’ve got your pieces cut to size, you’ll need a reliable way to join them together, and that’s where drilling and fastening come in.
Mastering these skills will make your projects feel solid and professional.
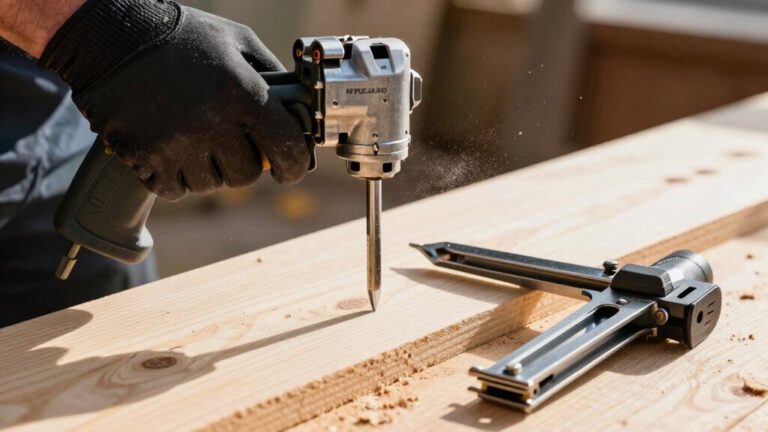
First, always consider fastener compatibility—using the right screw for your material prevents splits and weak joints.
Next, drilling pilot holes is a non-negotiable step; it guides your screw and keeps wood from cracking, so don’t skip it!
Finally, get to know your drill’s settings; the clutch is your friend for avoiding stripped screws.
Consider investing in a professional drill driver set for consistent performance and durability.
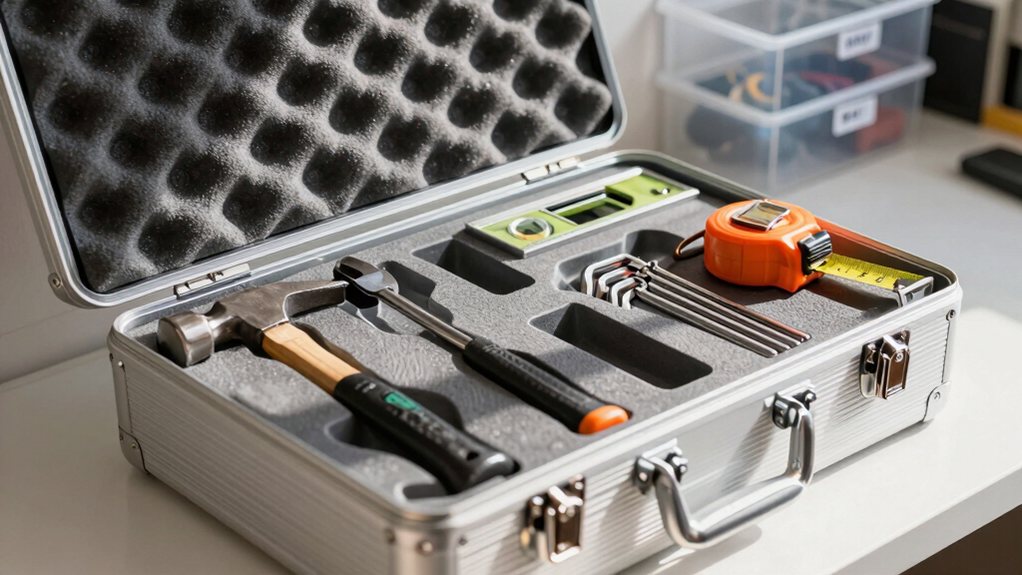
As your collection of tools expands, you’ll quickly discover that finding a clever way to store everything isn’t just about tidiness—it’s about saving your sanity the next time you need a specific screwdriver in a hurry.
Start with a pegboard layout; it’s a game-changer for hanging everything from hammers to pliers, giving you a clear visual inventory.
Begin with a pegboard system; it transforms your tools into a visible, organized wall of essentials.
Don’t forget magnetic strips for your metal rulers and smaller wrenches—they keep those pesky items from getting lost in a drawer.
A sturdy toolbox with compartments is perfect for portable projects.
Labeling bins for screws and nails might feel over-the-top, but you’ll thank yourself later.
Good storage makes every DIY job easier and far more enjoyable.
Consider investing in a professional pegboard tool cabinet to combine pegboard organization with secure, enclosed storage for larger tools.
This small, consistent effort pays off hugely in more seamless, more enjoyable work.
While your DIY toolkit can handle many projects, knowing when to tackle a job yourself and when to hire a pro is a crucial skill that saves you time, money, and a whole lot of frustration.
Start by honestly evaluating the project’s complexity and your own skill level. You should always respect critical safety thresholds; if a task involves major electrical work, structural changes, or gas lines, it’s definitely time to call a licensed professional.
Before you begin, weigh the project’s complexity and your skills—and never gamble with critical safety thresholds.
Consider the insurance implications, too. A botched DIY job could void your home insurance or leave you liable for damages.
It’s okay to paint a room or build a shelf, but for jobs where mistakes are costly or dangerous, swallow your pride and phone a friend—a professional one. Your future self will thank you.
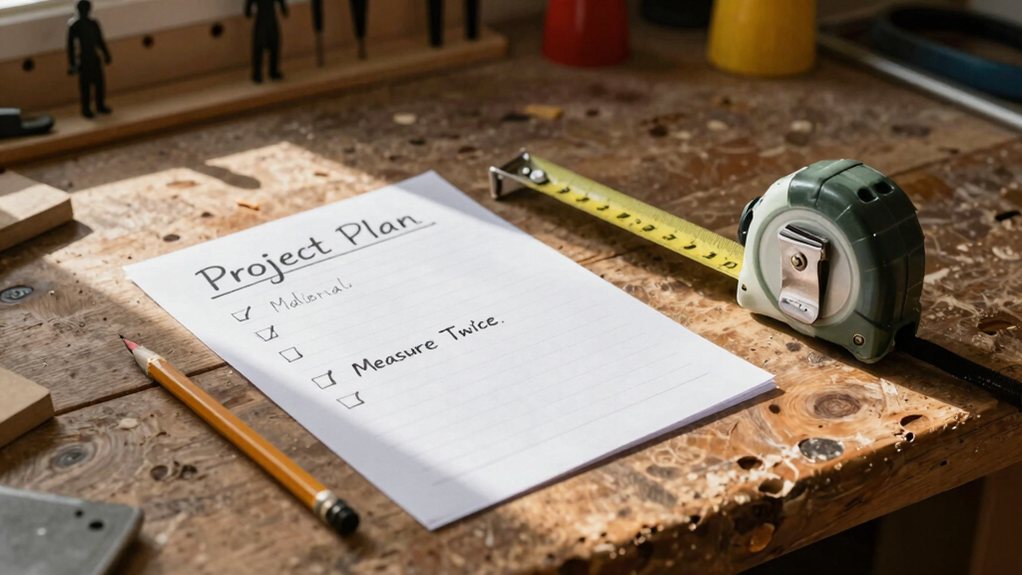
After you’ve decided a project is right for your skills, the next step is to resist that urge to rush to the hardware store. Planning saves you time, money, and frustration.
Start by clearly defining your project’s scope definition. What exactly are you building or fixing? This prevents “project creep,” where a simple shelf turns into a whole new room!
Next, check local permit requirements; some jobs need official approval. Finally, make a detailed shopping list from your plan.
To paint a picture:
Now you can shop confidently, knowing you have everything mapped out.
Now that your project plan is set and your shopping list is ready, let’s focus on the gear that makes it all happen: your toolkit.
Think beyond the basics next.
Good safety gear, like impact glasses and a respirator mask, isn’t optional; it’s your first line of defense against dust and flying debris.
Then, consider specialty attachments for your power drill.
A set of sanding pads or a mixing paddle for paint can transform one tool into many, saving you money and storage space.
It’s like giving your drill a promotion!
Adding these items thoughtfully means you’re not merely collecting tools, you’re building a smarter, safer system for every future project you tackle.
So, you’ve got your core tools and the skills to use them. Remember, every expert was once a beginner just like you. Start with small projects to build your confidence, and don’t be afraid to make a few mistakes—that’s how you learn! Your toolkit will grow with you, one project at a time. Now, go fix that wobbly shelf, and enjoy the pride of a job well done. Happy DIY-ing