Phone:
(701)814-6992
Physical address:
6296 Donnelly Plaza
Ratkeville, Bahamas.

Phone:
(701)814-6992
Physical address:
6296 Donnelly Plaza
Ratkeville, Bahamas.
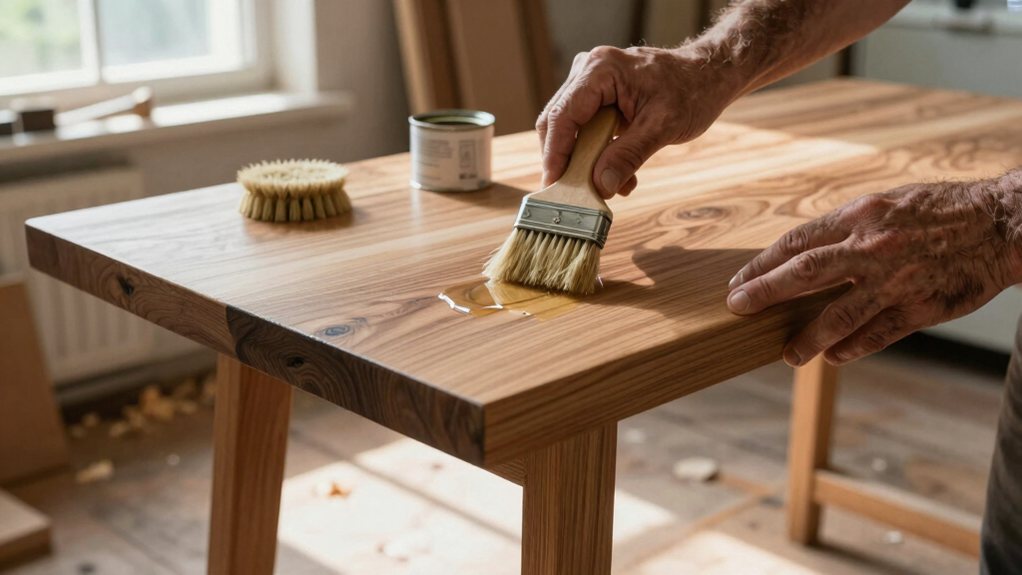
These simple beginner DIY skills transform your home, from painting walls to fixing leaks, and will have you...
You can quickly add real value to your home with beginner DIY skills. Learn to paint walls properly for a big visual impact and fix that leaky faucet to save money. Sealing drafts boosts comfort and slashes energy bills, while updating cabinet hardware refreshes a kitchen in an afternoon. These foundational projects build your confidence and your home’s worth. Stick with us to uncover even more simple, rewarding upgrades you can tackle.
Table of Contents
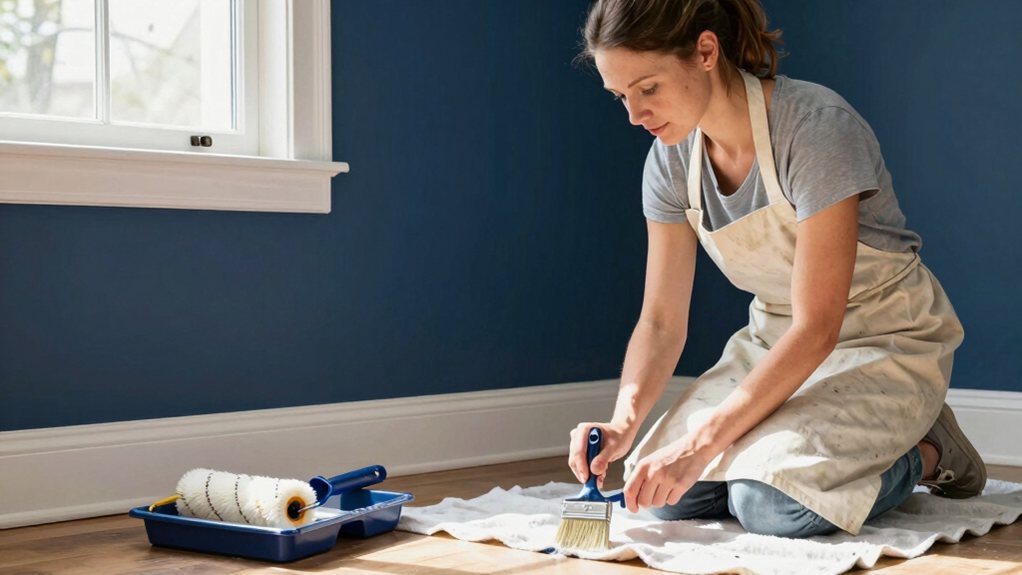
Have you ever stared at a freshly painted wall and felt that surge of pride? You can achieve that feeling by mastering a few pro tips.
First, consider color psychology—soft blues for calm bedrooms, energetic yellows for kitchens. Your color choice sets the entire room’s mood.
Next, nail your finish selection. Flat paint hides wall flaws beautifully, while a satin or semi-gloss finish is perfect for easy cleaning in high-traffic areas like hallways and bathrooms.
Don’t skip prep! Washing walls and using painter’s tape are boring but make your work look crisp. Remember, two thin coats always beat one gloppy one. Take your time, and you’ll transform any space. Also, when using painter’s tape apply it firmly to a clean, dry surface and allow it to set for 30–60 minutes before painting.
First, you’ll need a few necessary tools for the job, but don’t worry—they’re probably already in your toolbox.
Next, we’ll walk you through a simple step-by-step repair guide that makes fixing that drip easier than you think.
You’ll save water, slash your bill, and feel like a true home hero in no time.
You can also buy a Professional Plumbing Tool Kit that contains the essential tools for faucet repairs.
Before you can tackle that pesky drip-drip-drip and start saving money, you’ll need to gather a few key tools.
First, grab an adjustable wrench and some slip-joint pliers; these are your main players for loosening nuts.
A set of screwdrivers, both flat-head and Phillips, is non-negotiable.
Investing in ergonomic tools can make the job much easier on your hands.
You’ll also need replacement washers or a cartridge, which you’ll identify after taking the faucet apart.
Having a cloth and a small bowl to catch parts prevents lost screws and messes.
Sticking to a simple maintenance schedule, like checking for leaks every few months, prevents bigger problems later.
With these basics, you’re ready to conquer that leak and enjoy the silence. For longer-lasting repairs, consider replacing worn parts with a ceramic cartridge where possible, since ceramic cartridges are tested for 500,000+ cycles.
Roll up your sleeves and prepare to silence that annoying drip for good—you’re about to fix that leaky faucet and watch your water bill shrink.
First, always follow Safety Protocols: turn off the water supply valves under your sink before you start.
Next, you’ll need to source new parts.
For Parts Sourcing, you can take your old washer or cartridge to a hardware store to find a perfect match.
Carefully disassemble the faucet, laying the pieces out in order so you remember how they go back together.
Replace the worn-out part, then reassemble everything tightly.
Turn the water back on slowly and test your work.
No more drip! You’ve just saved water, money, and your sanity from that pesky sound. Also, consider upgrading to a premium bathroom faucet to enhance durability and style.
Sealing up those sneaky gaps around your home is like putting a cozy sweater on your house—it’s a simple fix that makes a huge difference in keeping you comfortable and your energy bills down.
Start with a draft detection mission on a breezy day; just feel around windows and doors with your hand, or use a candle flame to spot invisible air leaks.
This seasonal maintenance task is perfect for fall, preparing your home for winter. You’ll need a caulk gun and some weatherstripping. You can purchase exterior door replacement weatherstripping made for outside doors to improve the seal. Apply caulk to stationary cracks and use weatherstripping for moving parts like doors.
It’s a satisfying, low-cost project. You’ll immediately notice a cozier, quieter home, and your heating system won’t have to work so hard.
To get started, you’ll need to gather a few necessary tools and materials, like tiles, adhesive, and a notched trowel.
Planning your tile layout first is a smart move, saving you from any “oops” moments during the actual installation.
With your pattern set, you can then focus on the fun part—cutting and sticking those tiles to create a kitchen space you’ll love.
Plan for a 10–15% waste allowance when buying tiles to account for cuts and breakage.
Getting your hands on the right gear is the secret sauce for installing a backsplash without a fuss. First, prioritize your safety gear; safety glasses and gloves are non-negotiable when cutting tiles.
Your core toolkit includes a notched trowel for adhesive, a tile cutter or snips, a level, and spacers for even grout lines. Don’t forget a bucket and sponge for clean-up!
For material storage, keep your tiles and adhesive in a dry, flat area to prevent warping or mess. You’ll also need a sturdy drop cloth to protect your countertops. Gathering everything before you start turns a potential weekend nightmare into a seamless, satisfying project. You’ve got this! You can find a variety of options in a dedicated bathroom renovation tile kit to streamline your project.
With your tools ready and materials waiting, it’s time to map out where those tiles will go.
Start by laying them out dry to plan your pattern.
This dry run helps you avoid awkward cuts and plan for pattern shifts, which is just a fancy way of saying you want the design to flow nicely.
Check your surface with a level; if you’re on a floor, subfloor leveling is vital to prevent lippage—that’s when tiles stick up and trip you.
A little prep prevents a big headache later.
When you start applying adhesive, work in small sections.
Use spacers for even grout lines, and don’t be afraid to trim tiles.
A stylish backsplash really is a weekend project you can tackle with pride.
Do a full dry lay first to preview grout lines, check transitions at doorways, and confirm spacer placement and cuts before committing to adhesive.
Swapping out an outdated light fixture is one of the easiest ways to completely transform a room’s vibe, and you really don’t need to be an electrician to do it.
Upgrade a room’s atmosphere instantly by swapping out an old light fixture—no electrician needed for this simple, transformative project.
First, always turn off the power at the breaker. Then, match the new fixture’s wires to the old ones—black to black, white to white—and secure it with the provided hardware.
For even more control, consider a dimmer installation or smart switches. These let you set the perfect mood from cozy to bright with a simple slide or a phone tap. Be sure to match dimmer capacity to the total wattage of your fixtures to avoid flicker or overload.
You’ll be amazed at the dramatic change. It feels like you’ve given the whole space a facelift, and you get to proudly say, “I did that!” every time you flip the switch.
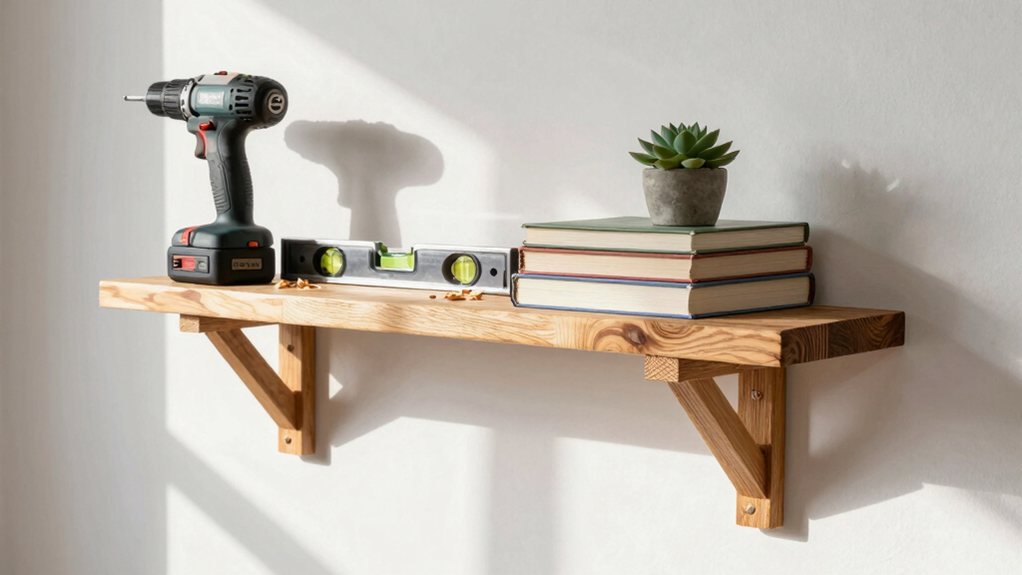
Since you’ve already given your room a fresh glow with new lighting, why not build some custom shelves to show off your space in a whole new way?
Start with basic Floating Shelves; they look modern and are surprisingly simple. You just need a sturdy bracket, a level, and a solid piece of wood. Mount them securely, and suddenly your favorite books or plants have a perfect home.
For a clever twist, consider adding Hidden Compartments behind a front panel or underneath. It’s a fun way to tuck away remotes or spare keys, adding a layer of smart storage.
You’ll feel a real sense of accomplishment, and your guests will be impressed by your savvy, custom solution. It’s easier than you think to build both form and function. You can source reliable Professional floating shelf hardware designed for secure mounting and clean lines.
After you’ve tackled those custom shelves, let’s shift focus to a smaller upgrade that packs a big visual punch: revitalizing your cabinet hardware.
Swapping out dated knobs and pulls is a one-afternoon project with stunning results. First, measure your cabinet holes carefully to verify new hardware fits.
A simple afternoon swap of knobs and pulls delivers stunning results—just measure carefully to ensure a perfect fit.
Don’t be afraid to experiment with mixed metals; combining brushed nickel with brass accents can look incredibly chic. For a truly streamlined, modern look, consider installing hidden hinges.
They make your cabinets look seamless and custom-built. This simple change instantly lifts your kitchen or bathroom’s entire aesthetic, proving you don’t need a full renovation to make a major style statement. It’s all in the details
While you might think every DIY upgrade automatically adds cash to your home’s selling price, that’s actually a bit of a myth.
The real trick is choosing projects that boost your curb appeal and offer a solid return. Think fresh exterior paint or a tidy garden; these create that pivotal first impression.
Before you start, do a quick ROI analysis by checking what features buyers in your area actually want. A fancy kitchen might feel rewarding, but a simple bathroom refresh often pays back more.
You’re investing your time and money, so focus on visible, functional fixes. Smart, targeted projects make your home more enjoyable now and more valuable later, which is a win-win in any book.
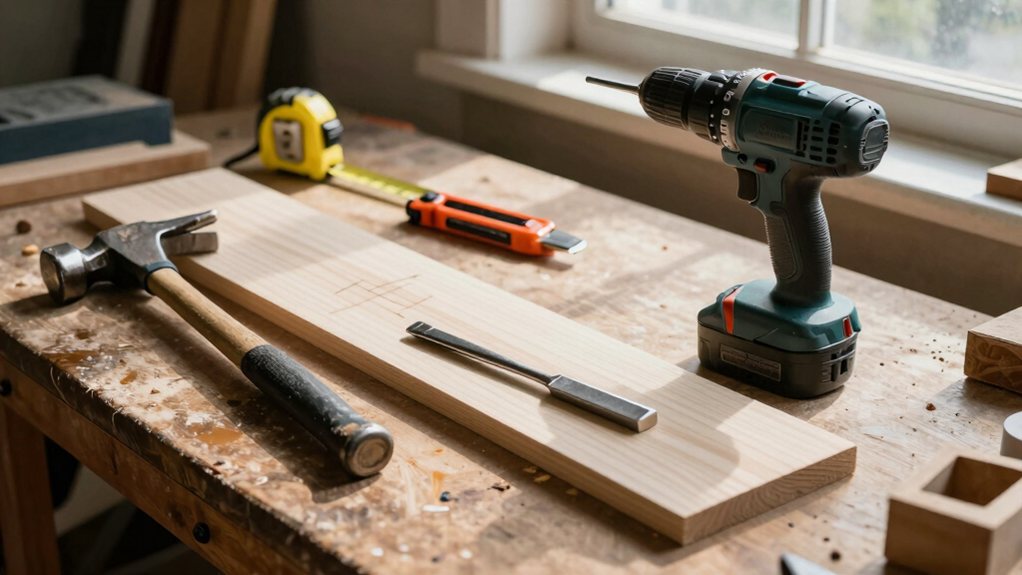
Building your first DIY toolkit doesn’t mean you need to buy out the hardware store; you can start with just a handful of versatile must-haves. Grab a quality claw hammer, a set of screwdrivers, a tape measure, and an adjustable wrench.
A cordless drill is a game-changer for many projects. Don’t fear budget brands for these basics; they’re perfect for learning.
Remember, tool maintenance is essential. Keep blades sharp, wipe metal parts to prevent rust, and store everything in a dry place.
A cared-for cheap tool often outlasts a neglected expensive one. This small, organized kit builds your confidence, letting you tackle repairs and upgrades without that panicked trip to the store.
You’ve got this! These beginner DIY skills aren’t just about saving money, they’re about gaining confidence and adding real value to your home. You’ll feel a real sense of pride with every fixed leak or freshly painted wall. So grab your toolkit, pick a project, and get started. Your home—and your wallet—will thank you for the effort, and you’ll love the results you’ve created yourself.