Phone:
(701)814-6992
Physical address:
6296 Donnelly Plaza
Ratkeville, Bahamas.

Phone:
(701)814-6992
Physical address:
6296 Donnelly Plaza
Ratkeville, Bahamas.
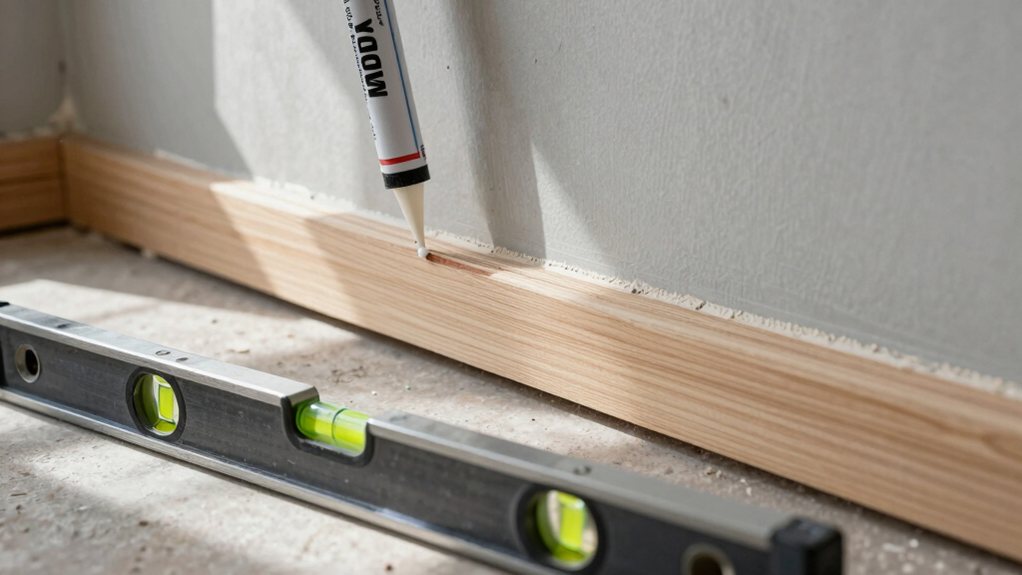
Discover how to install wainscoting over drywall for a professional finish.
First, plan your layout around room features and set a classic height, often 36 inches. You’ll mark this level line and prep your walls, then dry-fit panels and rails to check spacing. Secure everything with adhesive and nails into studs, hide seams with caulk, and fill nail holes. Prime well and apply two thin paint coats. Stick around and we’ll walk you through each step to get that perfect, pro-level finish.
Table of Contents
Before you jump in with hammer and nails, it’s prudent to take a step back and plan your wainscoting project, because a little forethought now saves a ton of headache later.
Hold your tools and plan first—a small investment in forethought prevents major headaches down the road.
Decide your style and height up front. A three-foot top is typical and would look great, giving you that classic paneled feel.
You’re going to start by inventorying your room. Check for radiators, windows, and doors, planning your panel layout so everything looks balanced.
It might sound like a little bit much, but trust me, measuring stud locations and your old baseboard now means your rails attach securely later.
Finally, specify your materials—adhesive and proper fasteners—in your scope so you have everything ready for a seamless install. Before committing, perform a dry run to preview the layout and catch issues early using a dry lay approach to ensure everything fits.
Now, let’s pick your wainscoting style and get its height just right. You’ll want a look that suits your home, like a simple flat panel, and a traditional height around 36 inches works beautifully in older spaces.
Grab a gauge stick to mark a level line, which is much more reliable than a laser when your walls have settled over time.
Before installing, check your wall with a straightedge to reveal any unevenness.
How do you pick a style and height that’ll look like it’s always belonged there? I’m going to recommend a flat panel style—like flush, beadboard, or V-groove—that sits nicely against your drywall.
This gives you that simple, historic look without a bulky build-out.
For height, I’m just going to say that 36 inches is a classic, safe bet, especially in older homes. It protects your walls and lines up beautifully with things like door handles.
Most importantly, match your new panel’s profile to any existing trim in adjoining rooms. This trick makes everything feel intentional and cohesive, like your wainscoting was always part of the home’s story.
You can also consider a cabinet crown molding kit to coordinate trim elements and create a unified finish throughout adjacent cabinetry and wall treatments.
So, you’ve picked a style—great! Now, let’s set the perfect height. For older homes, a classic 36 to 42 inches works, with 36 inches often hitting that sweet three-foot mark for historic proportion guidelines.
Start measuring from the finished floor up, using a gauge stick to scribe a level line all around. This guarantees sightline continuity, making the installation look intentional and seamless.
Remember to account for furniture clearance; check for radiators or a piano that might demand a local adjustment. Planning for these obstacles upfront saves headaches later.
Matching existing wainscoting? Just replicate its top rail—your eye will thank you for keeping everything visually harmonious and professionally done.
Also consider coordinating nearby finishes by matching finish coordination with adjacent fixtures so the wainscoting feels integrated into the room.
Grab your pencil and tape measure—it’s time to translate your chosen style into crisp, clear layout lines on the wall.
First, make a gauge stick to your finished height. Hold it at multiple points along the wall and snap a chalk line for the top rail; this simple tool automatically handles any plumb correction from your floor.
Now, mark your panel widths using center or half measurements for even spacing.
Before cutting anything, do a sight verification by walking the room. Look for interruptions like radiators or settled walls, marking breaks directly.
Trusting your eyes over a laser here prevents awkward, narrow panels in corners, saving you from a layout headache later.
Careful marking now makes installation a breeze.
Also, perform a quick dry layout before cutting to prevent awkward edge pieces and layout surprises.
Let’s dive right in and get your walls ready for wainscoting—this is where your careful planning pays off and everything starts to take shape.
This is where careful planning pays off and your project starts to take real shape.
First, grab your tool checklist: a stud finder, level, tape measure, pencil, and safety glasses for crucial safety precautions.
Now, inspect drywall for any major damage or bumps that could throw off your panels.
For best results, keep a professional drywall repair kit on hand for patching any damage before installing wainscoting.
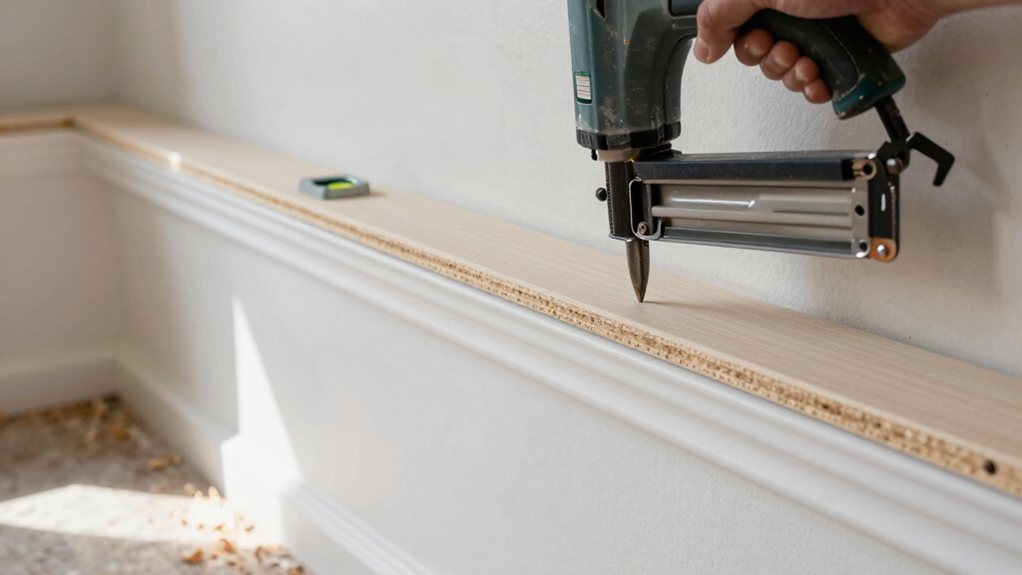
Installing the panels and rails is where your project really starts looking like a pro wainscoting job.
First, dry-fit everything, checking your miters and spacing so seams land evenly on the studs.
Apply a continuous adhesive bead to each piece’s back, then press firmly to the wall for full contact.
Now, fasten it! Use finish nails into studs, following that nail spacing of about every 16 inches.
Where there’s no stud, use small brads.
For those corner joints, remember miter clamping—glue them well and brace until set.
Installing the top rail along your chalk line is your victory lap. It’s starting to look fantastic, and you’re doing it right.
Consider investing in professional woodworking tools to ensure clean cuts and reliable fastening throughout the installation.
Now you’ll want to hide those nail holes and panel seams for a seamless, finished look. Start by filling the holes with a matching wood filler, and use a paintable acrylic caulk for any gaps along the wall or between rails.
Feather the caulk with a wet finger and clean up any excess, because these little steps make a huge difference in giving your wainscoting that professional, built-in appearance. For best results, consider using a professional caulking tool kit to ensure smooth application and clean finishes.
Ensure surfaces are thoroughly degreased beforehand to promote adhesion of primer and paint, especially in kitchens exposed to grease and humidity.
Once you’ve filled those nail holes, you can move on to the next magic trick—sealing the panel seams, which is really all about making those joints disappear.
You’ll run a thin bead of paintable acrylic-latex caulk along every joint between panels, rails, and walls, which seals gaps and acts as a flexible moisture barrier over minor expansion gaps. Immediately feather it with a wet finger—your tool selection here is simple but essential for a clean, concave shape that accepts paint. Don’t forget hairline miter gaps; hide them with caulk, too.
After 24 hours of cure time, spot-prime everything. This final prep blends seams into a flat, continuous surface, ready for your perfect paint finish. In wet areas, consider installing a waterproof membrane under panels to prevent mold and rot.
You’ve done it! With your wainscoting up, you’ve added timeless charm to your walls. Just remember, those little gaps are easily fixed with caulk and putty before you paint. So grab your brush, finish it off, and step back to admire your work—you’ve totally earned that proud moment. Enjoy your beautiful, refreshed space, and maybe start planning your next DIY adventure. You’re a natural at this!