Phone:
(701)814-6992
Physical address:
6296 Donnelly Plaza
Ratkeville, Bahamas.

Phone:
(701)814-6992
Physical address:
6296 Donnelly Plaza
Ratkeville, Bahamas.
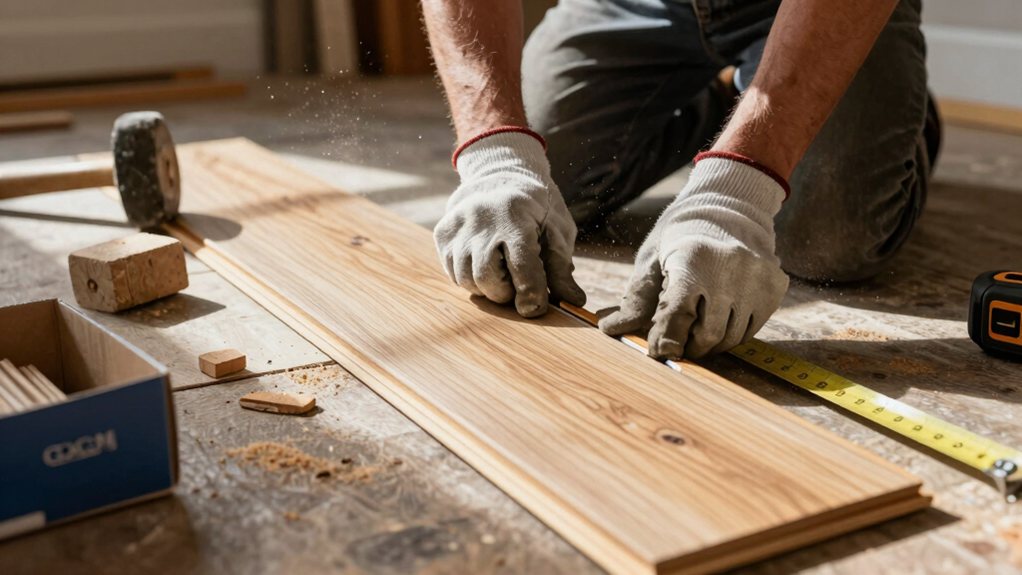
Master click-lock hardwood floor installation from start to finish for a flawless DIY transformation that will
To install hardwood flooring as a beginner, you’ll find click-lock engineered boards are your best bet for a DIY-friendly project. Start by properly preparing your subfloor, then acclimate your boards in the room for a few days. Snap a chalk line as a guide, lay the first row with spacers, and lock each piece together. Stick with these basics, and you’ll be on your way to a beautiful new floor. Following a detailed guide will help you master each step for a flawless finish.
Table of Contents
Have you ever wondered if you could tackle a hardwood floor installation yourself? It can be very DIY-friendly, especially if you choose Engineered hardwood with a click-lock system. Solid hardwood is trickier, needing a nailer and more skill.
While you’ll save on labor, you still pay for materials, typically $6–$14 per ft², plus tool rental like saws and nailers. Don’t skip subfloor preparation; if it needs leveling or moisture remediation, that’s a big job.
Consider your time and labor—it’s physically demanding but rewarding. For complex layouts or if you want a guaranteed finish, it’s wise to hire a professional. Weigh the installation methods and costs to decide what’s right for you. Proper substrate prep and checking subfloor flatness is essential to prevent premature failures like cracking, gapping, and telegraphing of imperfections.
Now that you’re considering taking on the project, let’s pick out your flooring. First, decide between solid hardwood floors, nailed to wood subfloors, or Engineered floors, which handle basements and concrete.
Engineered options have a real wood top layer, but check its thickness for future sanding. Your subfloor moisture is key; a proper Vapor Barrier over concrete prevents trouble.
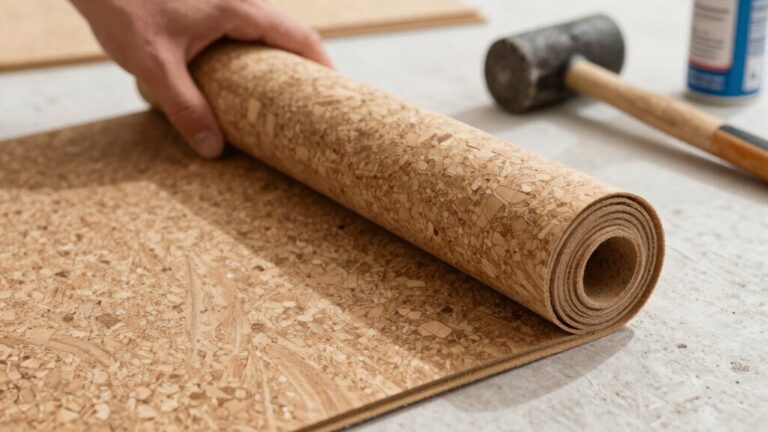
For floating floor installs, a good underlayment levels out imperfections and muffles sound. Choose durable urethane finishes for easy cleaning or natural oils for a matte look.
For floating floors, consider a 3 mm 3‑in‑1 underlayment with an integrated vapor/foil barrier and pre‑attached tape for seams integrated vapor barrier.
Before you start laying down those beautiful boards, it’s important to get your subfloor ready and let your wood get used to its new home.
Before installing your new floor, ensure your subfloor is properly prepped and your wood is given time to acclimate.
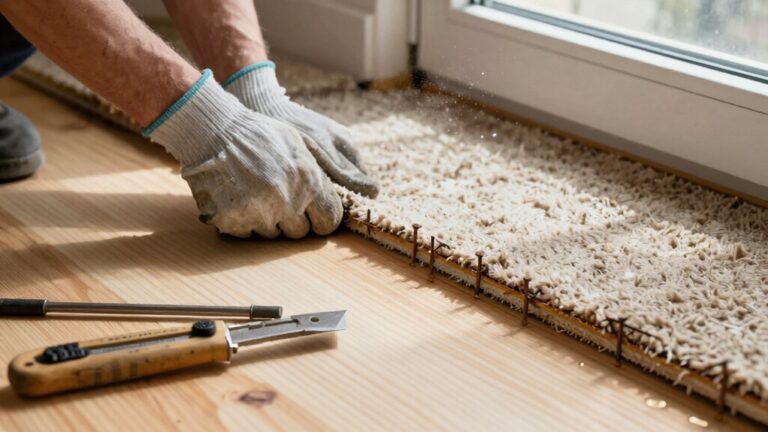
First, clear everything, pulling up old coverings and checking for loose boards to re-fasten.
Then, you must remove dust, staples, and adhesive.
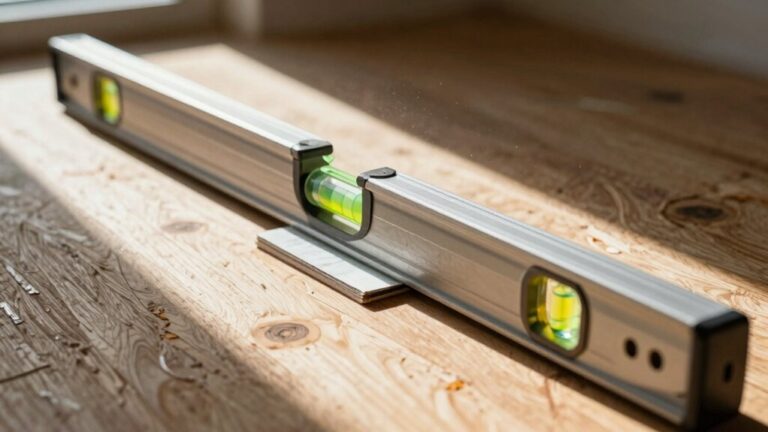
Next, check for flatness—use a leveling compound on low spots. This step is vital!
You also need to check moisture levels with a moisture meter; this is especially important for concrete subfloors.
Install the correct underlayment or vapor barrier as specified.
Finally, let your wood acclimate hardwood in the room for a few days, with the box ends open, so it settles in happily before its big installation day.
For uneven areas, consider using a self-leveling underlayment to create a smooth, crack-resistant surface before installing your hardwood.
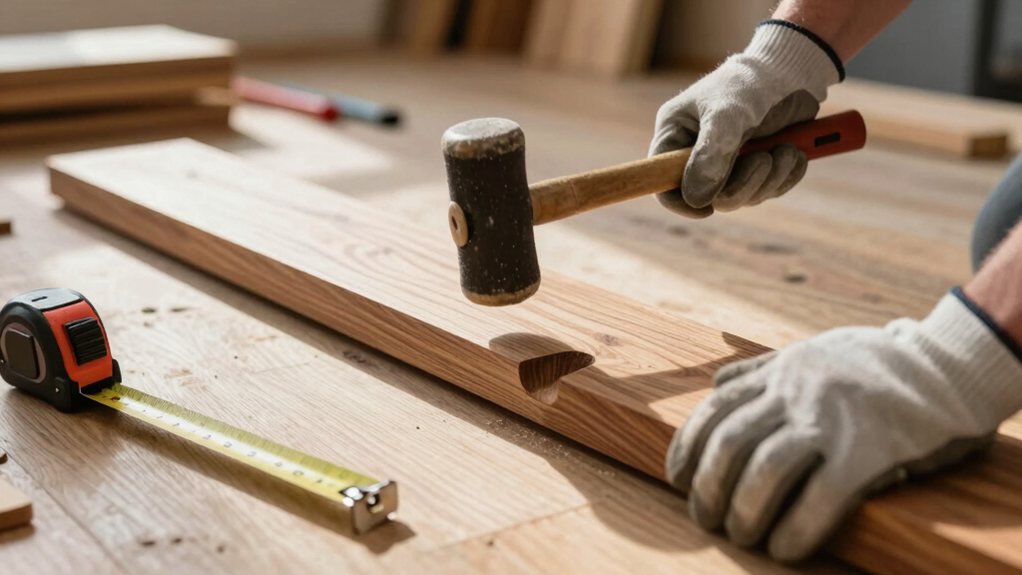
Ready to bring your floor to life? Your hardwood flooring installation begins by snapping a chalk line parallel to your longest wall, a key guide.
For your first row, place boards groove-side toward the wall. Remember to use spacers to leave a necessary expansion gap of about half an inch all around.
If you’re nailing to a wooden subfloor, use a flooring nailer** on subsequent rows, angling through the tongue every 6–8 inches. Mix boards from different boxes as you go for color variety, and always stagger end joints** by at least 6 inches for strength.
Once finished, you can finally reinstall baseboards against the wall, covering the gaps for a clean, professional look. Before installing, inspect for water damage under sinks and around appliances and replace any rotten subflooring.
Keeping your beautiful hardwood floor looking its best is a bit like caring for a favorite piece of furniture—it just needs a little regular love. To take care of your finished floor, always follow the manufacturer’s advice.
Sweep often to protect the top layer of hardwood from grit. Wipe spills quickly with a damp mop, but never flood your floors.
Control your home’s humidity to allow for expansion and prevent high spots or gaps. Use rugs in busy areas and felt pads under furniture legs.
For many home improvement projects, installing shoe molding gives a clean look and protects edges. With simple habits, your floor will stay gorgeous for years, making all your hard work worthwhile. When cleaning, choose pH-neutral formulas to avoid stripping the finish and maintain shine.
You’ve done it! Your beautiful new floor is down, and it’s something to be proud of. Remember, a little care goes a long way, so keep those spills wiped up and use those felt pads. Now, kick off your shoes and enjoy the warm, classic feel underfoot. You’ve not just improved your home, you’ve gained a fantastic new skill. Congratulations on a job well done