Phone:
(701)814-6992
Physical address:
6296 Donnelly Plaza
Ratkeville, Bahamas.

Phone:
(701)814-6992
Physical address:
6296 Donnelly Plaza
Ratkeville, Bahamas.
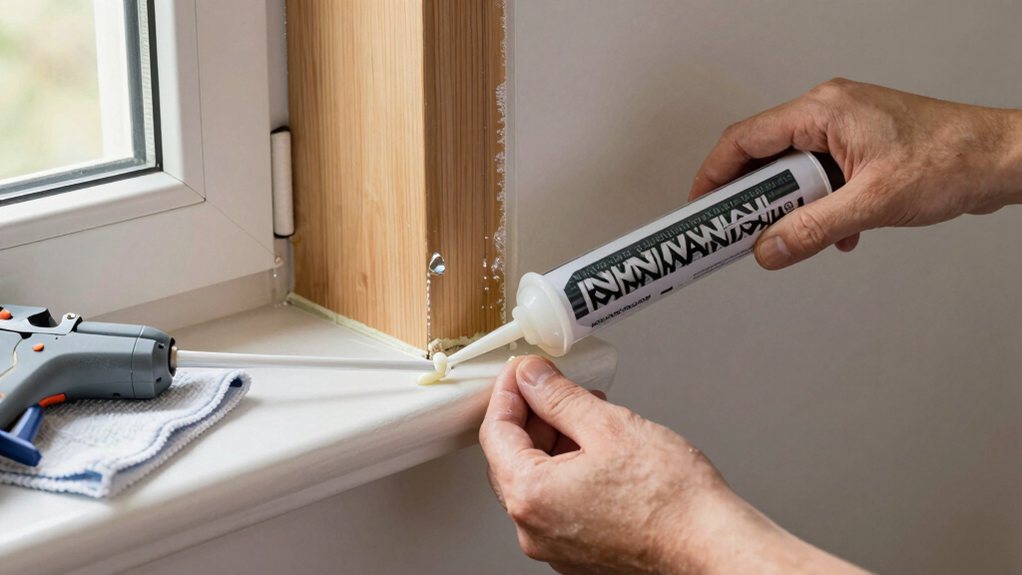
Prevent drafts with caulk and foam for tiny cracks and big gaps, and discover more clever tips to seal leaks for a cozier home.
First, you’ll want to find those drafts. On a windy day, try the paper test—slip a dollar bill in a closed sash and if it slides out easily, you’ve found a leak. For tiny cracks under 1/4 inch, a simple bead of caulk does the trick, while foam weatherstripping tape seals moving parts. For big gaps, low-expansion spray foam is your best friend. Getting this right makes your home instantly cozier, and there are more clever tips just ahead.
Table of Contents
Sealing those sneaky drafts around your windows and doors isn’t just a chore—it’s your single most effective home upgrade for instant comfort and savings. Why start here?
Those old single-pane windows are terrible insulators, so plugging their leaks gives you the biggest bang for your buck. You can find drafts with a lit incense stick—watch for the smoke to wiggle! For stationary gaps, a simple bead of caulk works wonders.
Use weatherstripping on moving window sashes and door edges. Tackle bigger holes with spray foam, and don’t forget door sweeps; a worn one is like leaving a tiny window open year-round. This targeted fix cuts energy bills and stops those annoying chills, making your home cozier immediately. Consider exterior door replacement weatherstripping for durable sealing and easy installation.
Before you grab the caulk gun, you’ll want to find the exact spots where drafts are sneaking in.
You can start with simple visual checks, looking for daylight around the edges on a sunny day, and then try a classic DIY airflow test with a lit incense stick to see where the smoke wavers. These easy methods help you target your sealing efforts so you’re not merely guessing where the cold air’s coming from. For best results, consider using a professional caulking tool kit to ensure you have the right tools for clean, durable seals.
Have you ever noticed a mysterious chill near your windows or doors, even when they’re shut tight? Your first step is a simple paper test. Close a window on a strip of paper; if it slides out easily, you’ve found a leaky sash or worn weatherstripping.
On a windy day, turn off the lights and shine a flashlight around window frames and window trim. Any visible daylight reveals sneaky gaps and cracks.
For trickier drafts, slowly move a lit incense stick along the seams. Watch the smoke—if it wavers, you’ve pinpointed a leak. Also, check for secondary clues like peeling paint or dust streaks near the frame, as these often mark long-term problem areas. For a quick DIY solution, consider installing self-adhesive transition strips or peel-and-stick weatherstripping to seal small gaps and improve the airtightness.
Once you’ve spotted those visual clues, you’re ready to get a bit more hands-on to feel exactly where the drafts are coming in.
These simple do-it-yourself (DIY) airflow tests pinpoint the specific spots where cold air enters, so you know exactly where to apply caulk and weatherstripping.
A professional caulk gun kit includes quality sealants and applicators that make sealing those detected leaks faster and more durable.
Since you’ve gathered your supplies and found all those sneaky drafts, the next step is picking the perfect sealant for each gap, because using the right material is what makes your hard work last.
For small, stationary gaps a quarter inch or less, you’ll want to use caulk to seal them up—acrylic-latex for most indoor spots.
If a gap is a bit bigger, up to about half an inch, just push a foam backer rod in first, then sealing and insulating is easy with a neat caulk bead on top.
When you find larger gaps or weird-shaped holes up to three inches wide, grab a low-expansion foam sealant spray made for windows.
For anything truly huge, stuff in batt insulation and seal its edges.
Consider hiring professional door frame installation if you need help ensuring tight seals and correct framing.
Now that you’ve matched the perfect sealant to your gaps, let’s roll up our sleeves and jump into the hands-on part: applying caulk to your window and door frames.
This do-it-yourself (DIY) project is your key to sealing air leaks around your home for good.
1. Prep is everything: Remove any old, cracked caulk and loose paint, then clean and dry the joint thoroughly.
For deep gaps, use a backer rod so you’re only filling about 1/4 inch.
2. Apply the bead: Cut your caulk tube nozzle at a 45° angle, load your gun, and apply a steady, continuous bead to slightly overfill the gaps.
3. Smooth the caulk: Immediately use a wet finger or tool to press and shape the bead into a neat, concave seal, making sure it bonds to both sides.
4. Finish strong: Let it cure fully, then paint if needed.
Also, different sealant types require specific curing times, so follow manufacturer instructions to avoid discoloration or compromised seals.
You’ll love the clean, draft-free results around windows and doors!
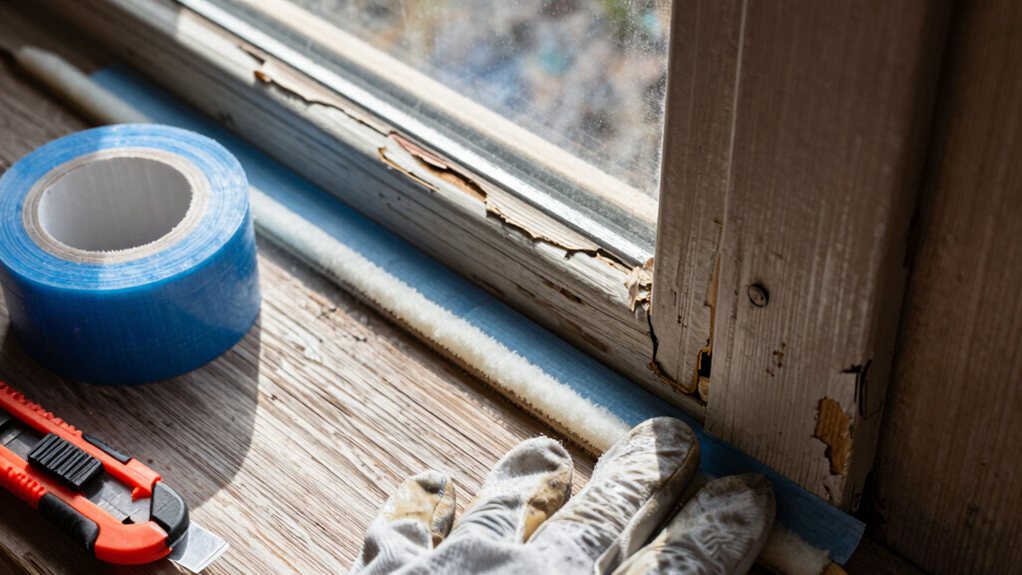
Now it’s time to measure and cut your weatherstripping to length, which is easier than it sounds if you take your time.
You’ll apply it carefully to the clean surface, making sure it compresses just enough to seal without sticking. A good test is to close the door on a piece of paper; if it slides right out, you’ll know you need a little more compression for that perfect, draft-free seal. For best results, consider matching weatherstripping to your premium door hardware set to ensure consistent performance.
Grab your tape measure and let’s get to work, because a precise fit is the secret to a truly draft-free seal. You’ll measure the full perimeter of your window sash or door jamb, recording each side separately.
This careful prep lets you cut continuous strips without any gaps at the corners. Here’s your four-step plan for success:
With your strips cut to the perfect length, it’s time to put them to work and seal those leaks for good.
First, clean the surface around the frame so your DIY weatherstripping sticks tight. Apply it firmly, pressing along the entire length so it lies flat behind the window or door sash.
Your goal is a snug seal that compresses about an eighth of an inch when closed—this will dramatically reduce air sneaking through cracks without making the door hard to shut. Think of it like a gentle, continuous hug for your window.
After you’re done, test your work by closing the door on a sheet of paper; if you can pull it out with a slight drag, you’ve nailed it and saved yourself from drafts! Also, be sure to thoroughly clean and degrease the frame to remove grease and grime that can prevent adhesion, as proper degreasing significantly improves long-term performance.
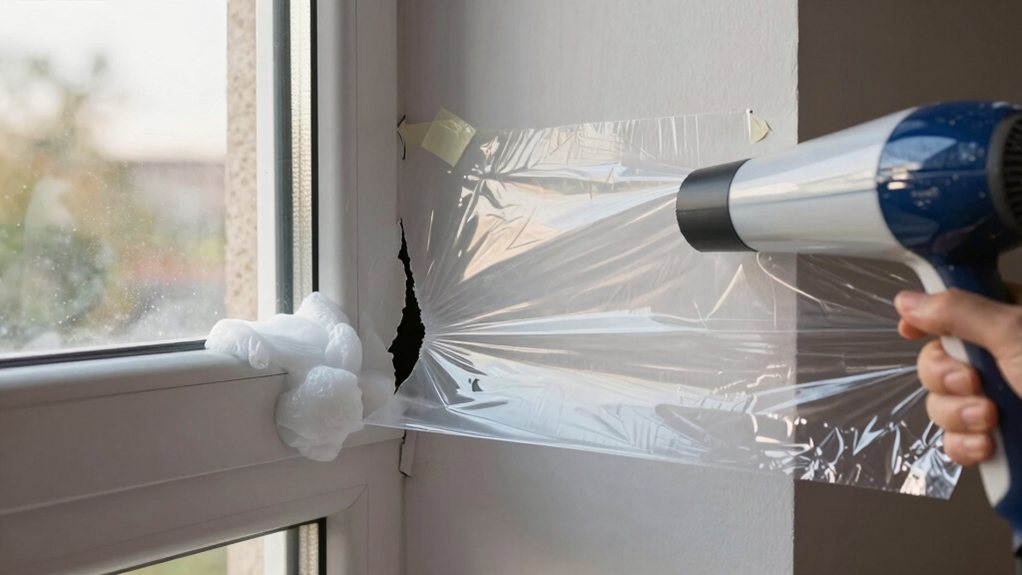
1. For gaps, choose low‑expansion foam for narrow cracks and standard foam for bigger voids, but always use a product labeled for windows/doors.
2. Apply foam in short bursts to seal leaks partially—it expands!
Let it cure fully, then trim it flush.
3. Never overfill; high‑expansion foam can warp your frames.
4. For a seasonal fix, use interior shrink film kits.
Apply the tape, mount the film, and shrink it tight with a hair dryer for a draft‑free seal.
Consider using a professional foam applicator gun to control dispensed volume and reduce mess during application.
How often should you check your seals? Inspect them at least once a year or after a rough storm, looking for drafts, peeling paint, or a window’s sticky operation. That air sneaking in wastes your heating and cooling dollars!
Re-caulk and replace worn weatherstripping every few years, as these materials don’t last forever. It’s smart to hire a professional for tricky leaks, high exterior work, or if your home was built before 1978—you’ll need a pro to building materials meet lead-safe rules.
They’re also key for sealing near chimneys. For major drafts, consider an energy audit to pinpoint leaks without trapping poor air quality inside. A little upkeep saves a lot of comfort! Consider installing a whole house air purifier to improve indoor air quality throughout your home.
You’ve tackled those sneaky drafts and made your home cozier. It’s a simple job with a big payoff, like giving your house a warm hug. Remember, check your seals each fall, and don’t be shy about calling a pro for the really tricky spots. Now, sit back, enjoy the comfort you’ve created, and maybe celebrate by not wearing socks indoors for a change.