Phone:
(701)814-6992
Physical address:
6296 Donnelly Plaza
Ratkeville, Bahamas.

Phone:
(701)814-6992
Physical address:
6296 Donnelly Plaza
Ratkeville, Bahamas.
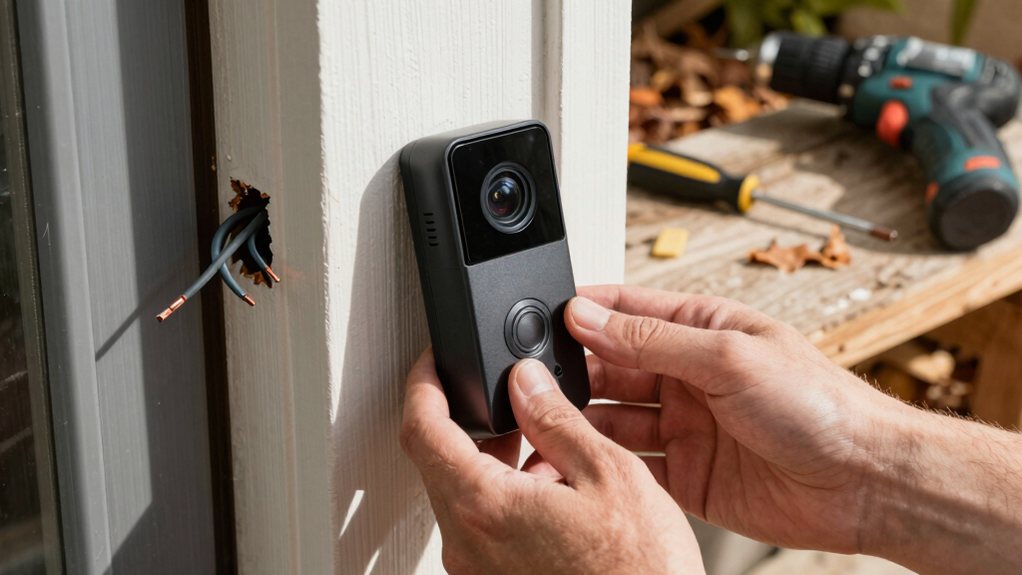
Uncover how to install a video doorbell yourself, with or without existing wiring, for a seamless DIY security upgrade.
You can install a video doorbell yourself, with or without existing wires. First, check your old chime and transformer for power. If you need new wires, choose a plug-in transformer based on your outlet’s distance. Pop open your siding to run the cable neatly, drill from the inside out, then mount the doorbell. Finally, plug in the power and set it up in the app. Stick around to get all the helpful details you’ll need for a seamless setup.
Table of Contents
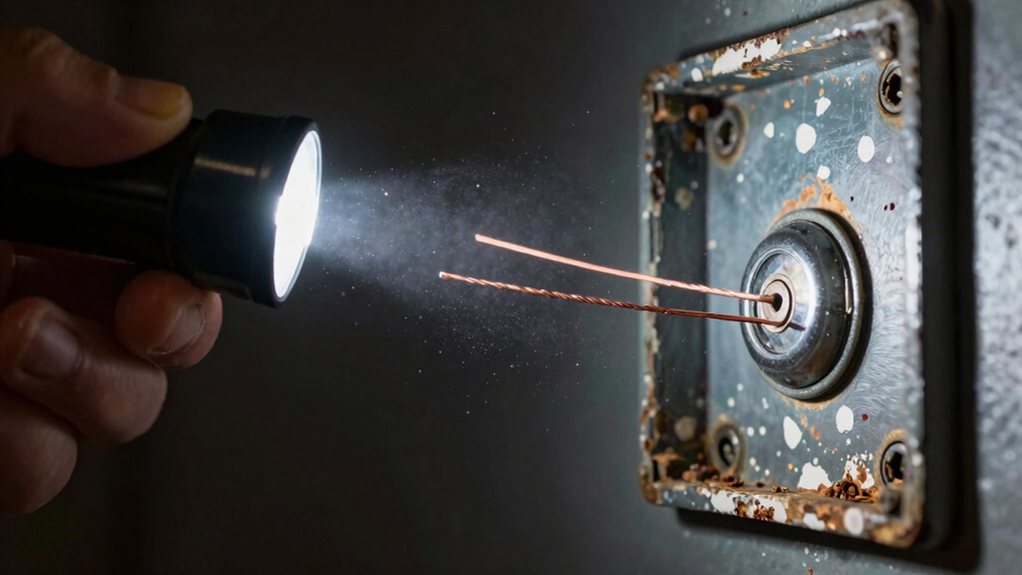
So, how can you tell if your home’s already set up for a smart video doorbell?
First, look for a chime box inside your house, often in a hallway; it’s a rectangular box that makes the classic “ding-dong.”
Next, check around your front door for thin wires, which are usually red and white.
The real giveaway is finding the transformer, a small box by your electrical panel that says 16–24 VAC.
If you’re feeling handy, you can carefully remove the chime cover to see the terminal screws where wires connect.
To make sure it’s all live, use a multimeter on those terminals—you should get a reading around 16-24 volts.
Just remember to turn the power off before you touch any wires!
You can also compare different models on the smart video doorbell page to find features that suit your needs.
You’ll find two common plug-in transformer styles: one with the wire already attached, and another adapter-style unit that lets you connect your own cable.
If your outlet is within about 10 feet of the doorbell, go with the pre-attached wire to avoid extra cabling; if it’s farther, the adapter style gives you flexibility.
Both are equally effective, surprisingly affordable (around $10 each), and easy to find online, so your choice really comes down to what keeps your installation looking tidy.
Ever wonder how those video doorbells get their power without a bulky battery swap every week? The secret is a plug-in transformer, and you’ve got two simple styles to pick from.
First, consider the one with a low-voltage wire pre-attached. It’s super handy if an outlet is within about 10 feet, saving you from splicing wires.
The second style has a separate plug that connects to your doorbell wiring, offering more flexibility for longer runs or tricky routing. Before you buy, check the plug orientation and socket compatibility to make sure a snug fit, and look for models with built-in surge protection for peace of mind.
Both are affordable, reliable, and make installation a breeze. They also integrate well with smart home electrical panels for centralized power management.
Now that you know the two main plug-in transformer styles, picking the right one for your home is all about distance.
If your outdoor outlet is within ten feet of the doorbell, grab the model with the pre-attached wire. It’s the simple choice, avoiding messy splices and keeping the install clean for better aesthetic impact.
For a farther outlet, choose the version where you attach your own longer wire. This prevents signal degradation over an extended, thin cable, guaranteeing your video feed stays crisp. Running a discreet wire also helps with neighbor privacy, as you won’t have a glaring cord crossing their view. Either way, you’ll get reliable power for about ten bucks, matching the transformer to your layout perfectly. Also, consider compatibility with nearby smart door lock products when planning your installation.
Good news about these handy plug-in transformers is they’re both affordable and easy to find, costing you around ten dollars each at major online retailers like Amazon. Since both styles are widely available, take a minute for a quick retailer comparison to check for seasonal discounts or bundled warranty options, which can be a nice little bonus.
You’re not making a major financial investment here, so you can choose based purely on your layout needs from the last section. This whole part is pleasantly straightforward—no hunting for rare parts or blowing your budget.
Just grab what fits your distance, maybe snag a sale price, and you’re all set to move on to the actual fun part: the installation. For broader home monitoring you can integrate with a wireless security camera system to enhance overall protection.
Before you get started on your video doorbell installation, it’s smart to gather all your tools and materials—it’s like prepping your ingredients before cooking a great meal.
Start with an inventory checklist.
You’ll need a drill, screwdriver, and a handy little siding tool to pop pieces open without damage.
Grab your chosen power kit, either the pre-attached wire transformer or the alternate for longer runs.
Don’t forget safety equipment like a voltage tester if using old wires, and portable lighting is a lifesaver for dim corners.
Have wire strippers, cable clips, and screws ready too.
Laying everything out first saves you frantic trips and makes the whole project feel like a breeze. Also consider including a reliable power drill among your tools, since power tools for home improvement often make installations faster and easier.
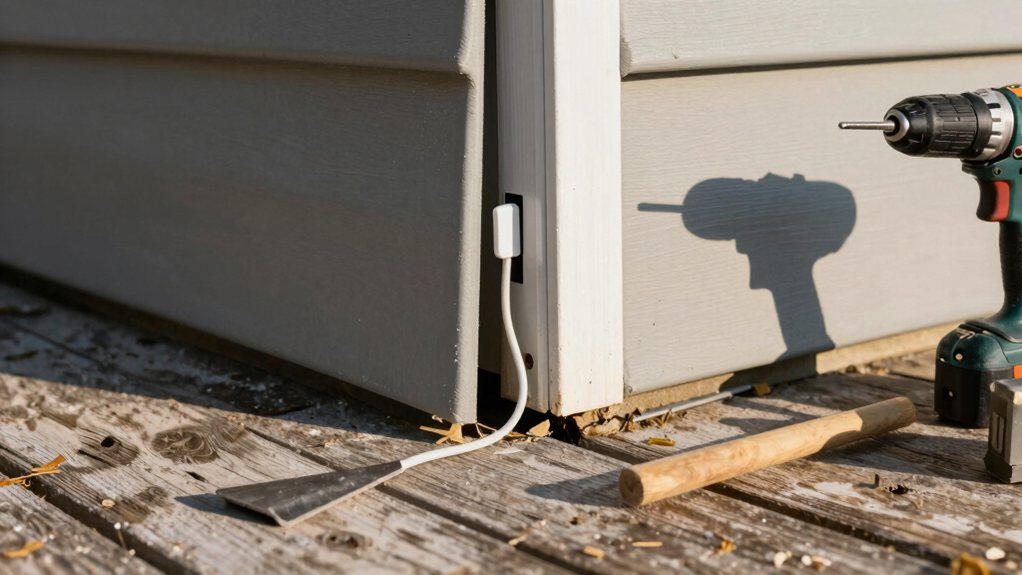
Let’s get hands-on by popping open your siding, which is way easier than it sounds and keeps everything looking tidy.
Use a small siding tool or your fingers to gently pry and slide a section open. This lets you access the wall cavity without drilling visible holes, which is essential for paint matching later.
Slide the siding upward near your doorbell’s location. Be mindful of seasonal swelling—it might be tighter in summer humidity.
As you open it, take a quick peek inside; consider it a free pest inspection! Drill from inside your house so the bit exits into this hidden cavity. Then, just fish your wire through. You’ll avoid a mess and preserve your home’s weatherproofing seamlessly. You can also consider adding exterior door weatherstripping to maintain weatherproofing around your entryways.
Now that you’ve popped open your siding, you’re ready to drill from the inside, which is a clever trick that keeps your exterior looking pristine.
From indoors, carefully drill through the wall’s sheathing, aiming for that open cavity. This method prevents a visible hole outside and helps minimize thermal bridging, keeping your home efficient.
Next, feed your doorbell cable through this new hole and pull it gently into the house. Be sure to seal the interior hole afterward to block sound transmission and prevent rodent intrusion—trust us, you don’t want uninvited guests!
Keep the transformer unplugged while you work. Finally, neatly tuck any extra wire back into the siding cavity so everything lays flat and hidden for a clean finish. For a clean seal on siding penetrations, consider using a professional caulk gun kit to apply weatherproof sealant neatly.
With your cable safely inside, you’re ready to mount your doorbell and get that cable looking neat.
First, choose your mounting height, typically about 48 inches, so the camera sees faces, not belts.
Adjust the camera angling now for the perfect view of your porch.
Before tightening everything, take a moment to neatly fold and snap any excess cable along the siding, then trim the slack.
This keeps the wire flush and tidy, a simple step for a pro look.
Finally, secure the doorbell snugly to activate its tamper protection, which deters unwanted removal.
Now you can plug in the transformer, power up, and celebrate—your smart doorbell is almost ready to greet visitors!
For exposed installations, choose fixtures and sealants rated for IP65 waterproof protection to ensure long-term durability.
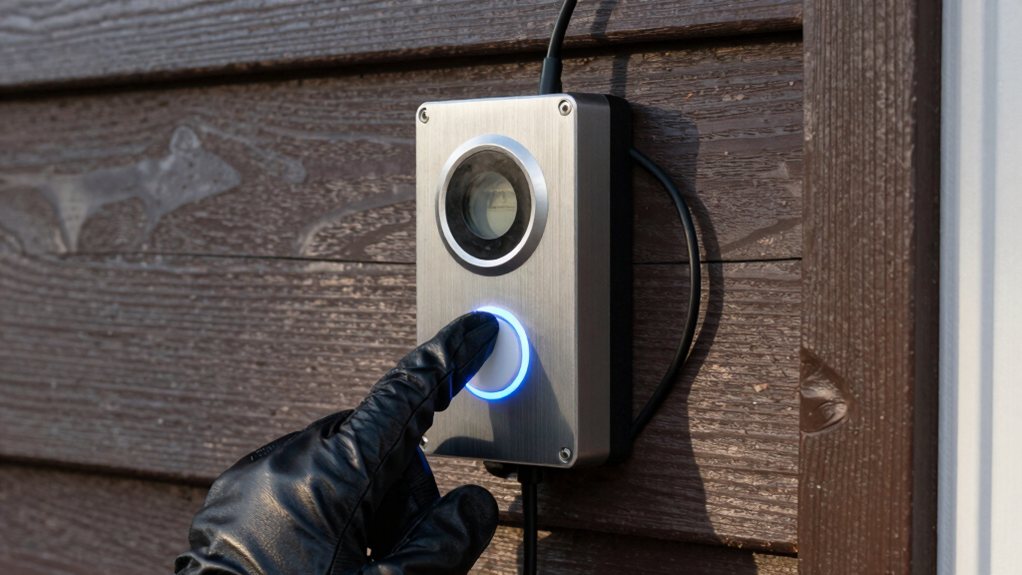
Picture that satisfying moment of plugging in your new video doorbell—it’s the final step before it springs to life.
Once you plug in the transformer, that little LED should light up.
Now, grab your phone for the app configuration.
Follow the prompts to connect the doorbell to your Wi-Fi; this is where you’ll also set up privacy settings like motion zones.
Test everything immediately: check the live video, say “hello” through the two-way audio, and make sure alerts ping your phone.
The app will likely prompt for firmware updates—go ahead and install those for the latest features.
Finally, tuck any extra wire away neatly and give it one last power test.
You’re all set!
Consider integrating it with a smart home automation system for centralized control.
If you run into a few hiccups after installing your video doorbell, don’t worry—most issues are easy to fix.
Let’s look at your power source, how you handled the siding, and the way you routed the wire, as these are common trouble spots.
A quick check here can get your doorbell working perfectly, saving you a lot of future frustration. If mounting affects the door frame, consider professional door frame installation to ensure a secure fit.
How can you guarantee your new video doorbell gets the steady power it needs to protect your home? Start by selecting the right plug-in transformer. If your outlet is within 10 feet, get the style with the pre-attached wire for a tidy setup. For farther outlets, choose the separate plug-and-cord version to avoid straining. Measure your distance first!
This choice promotes energy efficiency and stable operation. While these units offer great surge protection, remember to unplug everything during installation. Route the wire neatly, cutting any slack before the final connection.
A proper setup acts as a reliable battery backup for your system, keeping your camera alert and your home secure without any frustrating power hiccups.
Now that you’ve sorted out your power source, let’s tackle one of the trickier parts—getting your wire through the siding without making a mess. First, pop the siding open with a small tool or your fingers; this preserves your home’s curb appeal, a key part of aesthetic preservation.
Slide the panels aside to access the wall cavity, checking for material compatibility to avoid damage. Drill from the inside out into this open space, which also aids ventilation considerations by keeping your wall’s airflow intact.
You can then route the wire neatly behind the siding without ugly exterior holes. Finally, tuck any extra wire back, snap the siding closed, and you’re done—looking clean and professional.
Routing wires neatly behind your siding solves the pesky problem of exposed cables, making your installation look sharp and professional.
First, choose your transformer wisely based on outlet distance to avoid voltage drop.
Then, gently pop open a siding section to tuck the wire behind it—no ugly drilling! Feed the wire from your interior drill hole back out through this hidden channel.
Remember to keep everything unplugged until the doorbell is fully mounted for safety.
Neatly fold and secure any excess wire along the siding seam, cutting slack so you avoid messy loops.
For a final pro touch, use waterproof connectors for durability, consider conduit aesthetics for longer exposed runs, and employ cable labeling for future reference.
And there you have it—your video doorbell is all set up! Whether you worked with existing wiring or went wireless, you’ve added a smart layer of security to your home. Remember, if you hit a snag, most issues have simple fixes, like checking connections. Now, enjoy the peace of mind and maybe have a little fun seeing who’s at the door. Great job taking on this project yourself