Phone:
(701)814-6992
Physical address:
6296 Donnelly Plaza
Ratkeville, Bahamas.

Phone:
(701)814-6992
Physical address:
6296 Donnelly Plaza
Ratkeville, Bahamas.
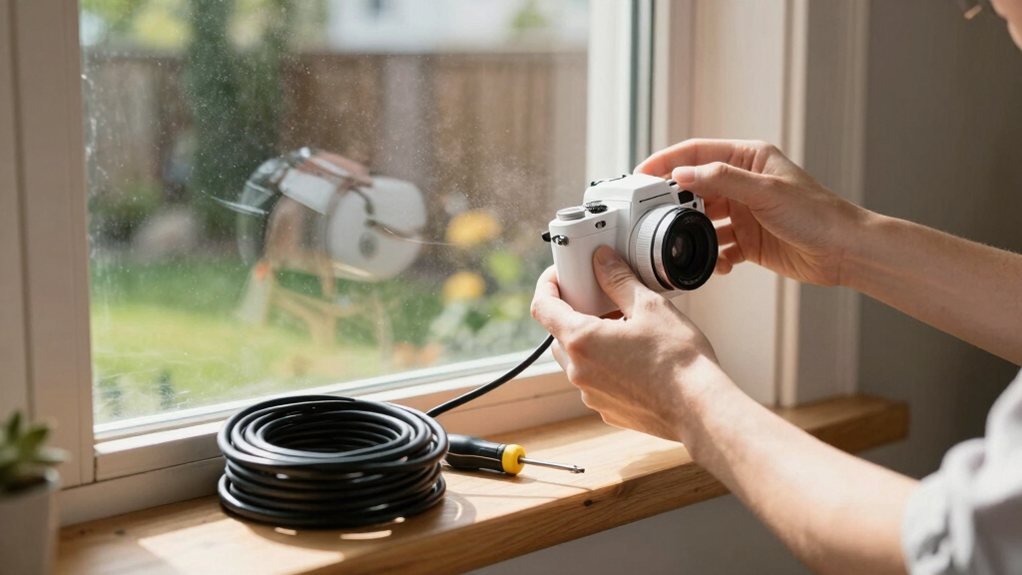
Gather simple tips for your DIY security camera setup and discover clever tricks to enhance your home surveillance.
Start by walking your property to spot vulnerable areas and note your daily routines. Choose wireless cameras with weatherproof ratings, placing them at main entries and using smart doorbells for alerts. You’ll pick between an NVR for quality or cloud for convenience, then adjust motion zones to avoid false alarms from passing cars. Mount them with the right tools, test your feeds, and tweak settings until everything’s clear. Stick around to uncover even more clever tips for your setup.
Table of Contents
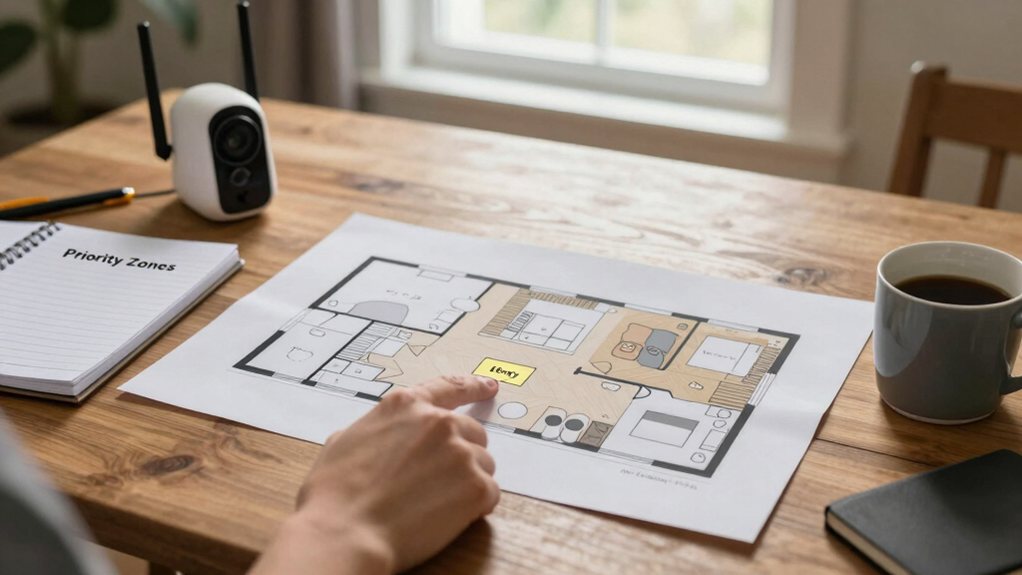
Mapping out your home’s security priorities is a smart first step, and it’s honestly easier than you might think. Grab a notebook and walk around your property. Think like a detective!
Your main job is a simple risk assessment. You’re looking for spots a burglar might target, like a hidden back door or a dark side yard. Also, consider your occupant routines. Does your family often use the patio in the evening? That area needs good lighting and maybe a camera.
You don’t need a complicated blueprint; just jot down your concerns. This process saves you money by focusing your efforts. You’ll feel more in control, turning a worrisome task into a manageable, even empowering, weekend project. Consider products like a wireless security camera system designed for home protection when choosing equipment.
Now that you’ve scoped out your property’s weak spots, you’re probably wondering, “Where does all that camera footage actually go?”
That’s where your recording hub comes in—think of it as the brain of your whole DIY security system. Your main choices are an NVR (for modern IP cameras), a DVR (for older analog cams), or a cloud service. Each has pros and cons, so let’s break it down.
Think of your recording hub as the brain of your DIY security system, choosing between NVR, DVR, or cloud storage.
You can also integrate your cameras and other devices through a smart home automation hub for centralized control.
So, you’ve chosen your recording brain—fantastic! Now, let’s match the right ‘eyes’ to each spot.
For outdoors, check the Weatherproof Ratings; an IP65 or higher camera laughs at rain and dust. Point a wide-angle lens at your driveway, but a discreet dome camera works better for a front porch where style matters.
Inside, Privacy Considerations are key. You might avoid cameras in bedrooms and bathrooms, opting instead for a simple sensor.
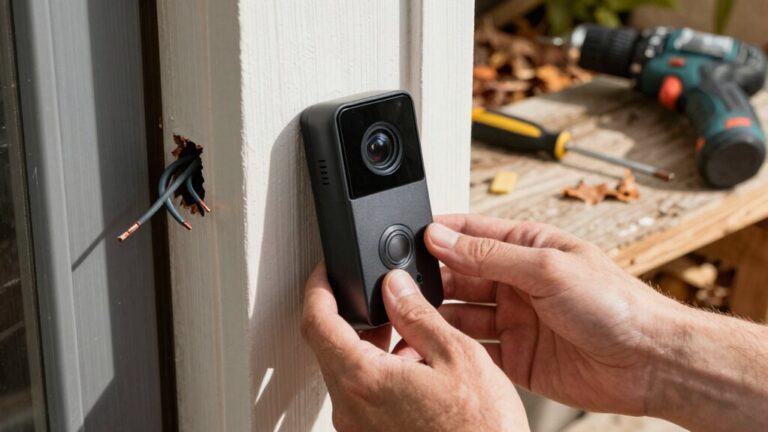
A compact camera on a bookshelf can watch the living room without feeling intrusive. Think about what each location truly needs—no one needs a 4K close-up of the bird feeder. It’s about smart coverage, rather than plastering cameras on every wall. Consider installing a smart video doorbell at main entrances to provide real-time alerts and two-way communication.
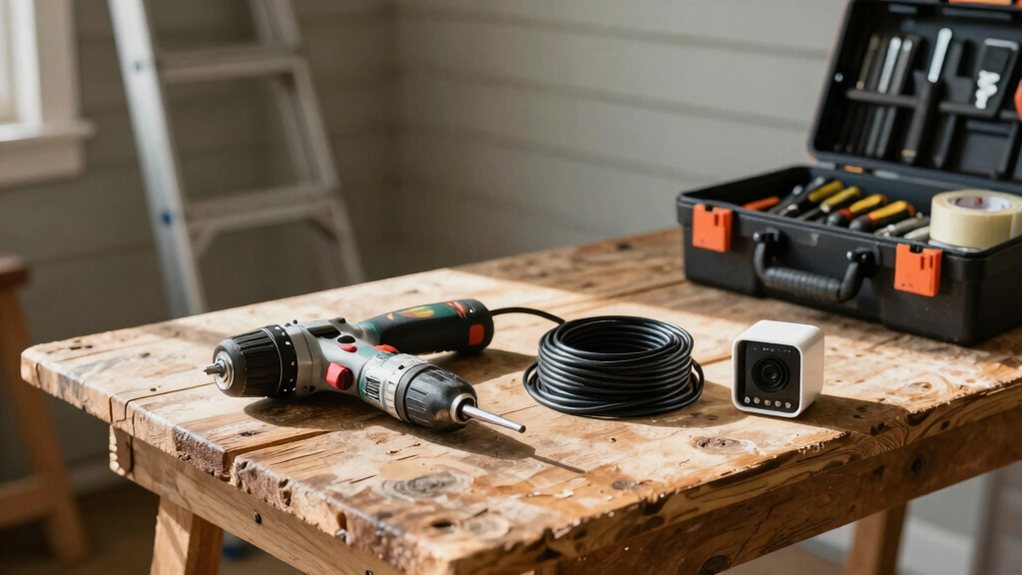
Trust me, scrambling for a tool mid-project is frustrating.
With everything organized, you’ll feel like a pro and can focus on the task, not the hunt.
Let’s get those cameras up! Consider keeping a professional safety equipment kit on hand for comprehensive protection.
First, you’ll want to pick the best spots for your cameras, aiming for high corners that cover main entry points like doors and driveways.
Next, make sure you mount them securely using the right hardware for your siding or surface, so they don’t take an unexpected dive during a storm.
Taking your time with this step means your cameras will have a clear view and stay put, giving you real peace of mind.
Also, ensure any outdoor devices have wet-location certification if they will be exposed to rain or snow to maintain longevity.
Now that you’ve got your cameras out of the box, figuring out exactly where to put them is your next big move—and it’s more important than you might think.
Poor placement leaves blind spots, while smart positioning maximizes your view. Here’s a simple four-step checklist to nail your camera locations:
Getting this right makes your whole system way more effective and keeps the peace with everyone around you. Integrating your cameras with a smart home automation system can centralize control and alerts for smoother operation.
With your cameras’ ideal spots mapped out, it’s time to get them up there securely, because a shaky or loose mount can turn your high-tech sentry into a useless decoration.
Start by choosing the right hardware for your surface; brick needs masonry anchors, while siding may need special brackets. This vital anchor selection guarantees your camera stays put through wind and weather.
Always check your local legal setbacks from property lines to avoid future headaches with neighbors.
Tighten everything firmly, but don’t go superhero-strength and strip the screws. A final gentle wiggle-test confirms a solid install. Now your camera is locked in, ready to watch over your domain without giving you a scare by suddenly looking at the ground. For mounting heavier devices you might consider using professional floating shelf hardware, which is designed to support substantial weight.
Powering up your cameras and connecting them to Wi-Fi is where your DIY system truly comes to life.
This step makes everything real, but don’t just plug things in randomly.
A little planning now prevents major headaches later.
1. Use Surge Protection: Always plug your camera’s power adapter into a surge protector. It’s cheap insurance against power spikes from storms or your fridge kicking on.
2. Check Your Signal: Before mounting, test the Wi-Fi strength at each camera location with your phone. A weak signal leads to frustrating video dropouts.
3. Network Segmentation: Consider setting up a separate guest network just for your cameras. This clever trick helps keep your main network secure and running reliably.
4. Follow the App:**** Your camera’s mobile app will expertly guide you through pairing. Just tap ‘add device’ and follow the prompts—it’s usually surprisingly simple.
If you plan to combine devices, verify compatibility with your smart home lighting system to avoid network or protocol conflicts.
Now that your cameras are set up, you’ll want to fine-tune their alerts so you’re notified about real events, rather than a stray leaf.
You can adjust the motion detection sensitivity and pick the perfect recording resolution for clear video without filling your storage too quickly.
Taking a few minutes to tweak these settings makes your system smarter and saves you from checking false alarms all day.
Consider integrating a thermal imaging camera to improve detection in low-light or obscured conditions.
If you’re tired of your security camera alerting you every time a leaf blows by or a squirrel dashes through the yard, it’s time to fine-tune its motion sensitivity.
Adjusting these settings helps you catch what matters, without the false alarms that drive you nuts. Most apps let you draw detection zones and tweak sensitivity sliders.
Play with these settings over a few days. You’ll find a sweet spot where you’re informed, not inundated. Also consider your camera’s motion sensor range—typical sensors detect movement from about 3–26 ft—when drawing zones and setting sensitivity.
Once you’ve got your motion alerts sorted so they’re actually useful, you’ll want to make sure the video you’re capturing is clear and manageable.
Start by setting your recording resolution. Higher resolution, like 4K, gives you super-sharp detail but creates huge files. Lower resolutions save storage space but can miss important details, like a license plate. Find a happy medium, like 1080p, which is usually great for most needs.
Some advanced software offers frame interpolation to make motion appear more seamless, and tweaking color sampling can improve image quality without bloating file size. Experiment a little!
You want footage that’s crisp enough to be helpful, but not so massive it fills your hard drive by Tuesday. It’s about balancing quality with practicality.
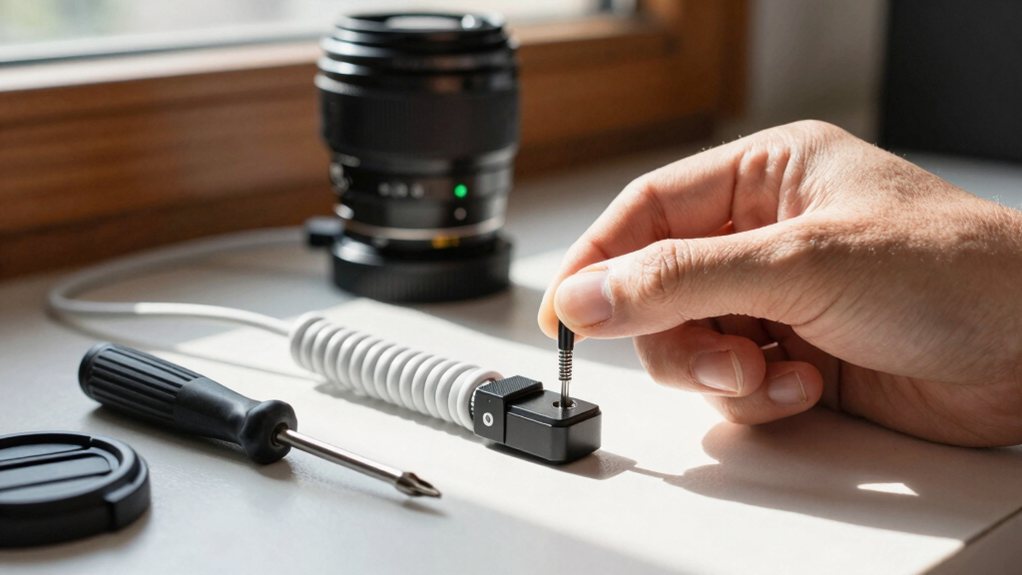
To keep your system running efficiently, you’ll want to set up regular checkups, like making sure your cameras are clean and your software is updated.
Sometimes, you might run into connectivity problems, but don’t worry, as most can be fixed with a simple router reboot.
Think of it like giving your security setup a quick tune-up to avoid bigger headaches later.
This routine is simple but mighty, giving you real peace of mind.
Even though your cameras are meant to keep an eye on things, sometimes they can lose their connection and leave you in the dark, which is incredibly frustrating.
First, power-cycle your router and camera; it’s the classic “turn it off and on again” fix that works surprisingly often.
If that fails, check for IP conflicts, where two devices fight over the same network address, causing a digital traffic jam. You can usually resolve this in your router’s settings.
Next, try some DNS troubleshooting by switching your device’s DNS server to a public one like Google’s (8.8.8.8). It’s like giving your camera a better phonebook to find the internet.
A stable connection means peace of mind, so don’t get discouraged—these steps usually get you back online.
Consider these four powerful upgrades:
You’ve done it! Your DIY system is now up and running, giving you serious peace of mind. Remember to check those feeds occasionally and clean the camera lenses. With your new setup, you can relax a bit more, knowing your home has these extra watchful eyes. It’s a great feeling, mixing smart tech with simple effort. Now, go enjoy that added security—you’ve earned it.