Phone:
(701)814-6992
Physical address:
6296 Donnelly Plaza
Ratkeville, Bahamas.

Phone:
(701)814-6992
Physical address:
6296 Donnelly Plaza
Ratkeville, Bahamas.
Learn tape measure reading tips and avoid errors to ensure your projects are always perfectly measured and...
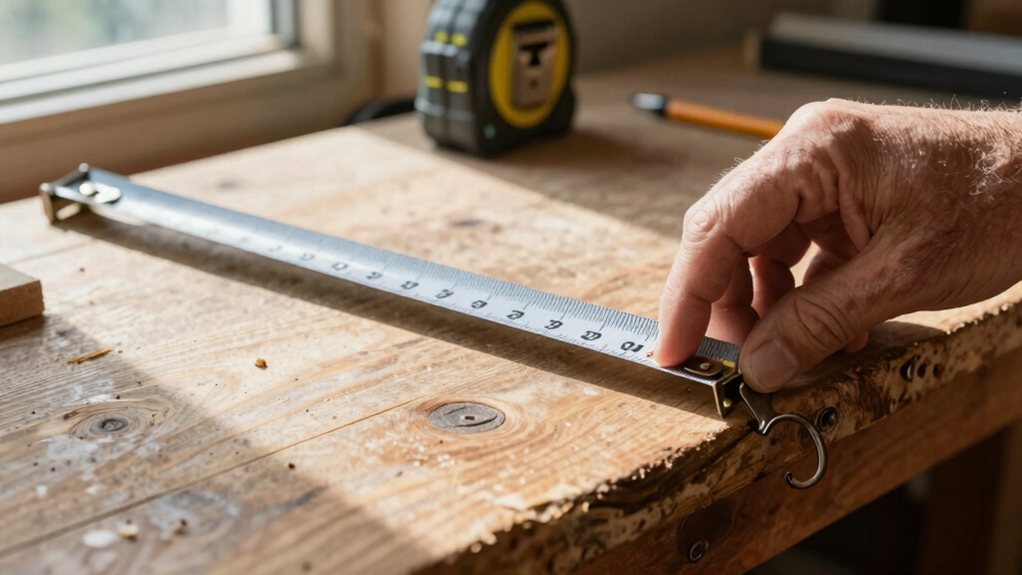
To read a tape measure, start with the large numbers for whole inches. Find the half-inch mark halfway between them. For finer work, count the tiny marks: every eighth is a slightly longer line, and the smallest are sixteenths. Remember, the hook slides on purpose, so don’t just press it flat—use it snugly. Keep your tape taut and double-check to avoid common slips. There’s plenty more to master for perfect measurements every time.
Table of Contents
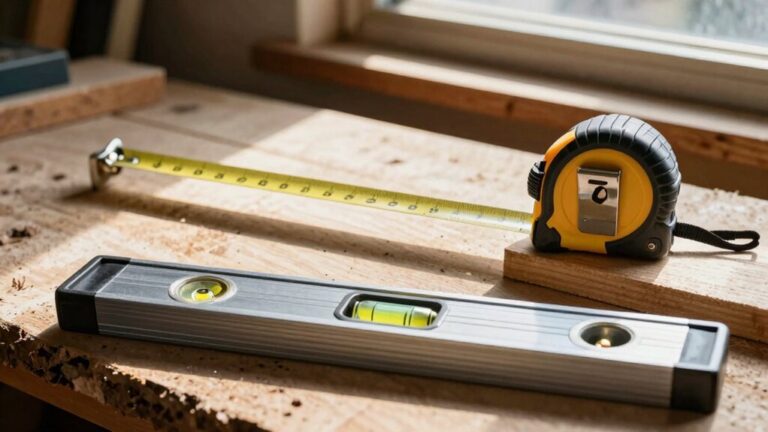
Before you can start measuring like a pro, it helps to get on a first-name basis with the different parts of your tape measure. The case, or housing, protects the coiled metal blade. Its durability depends on the case materials, often tough plastic or rubber for a good grip.
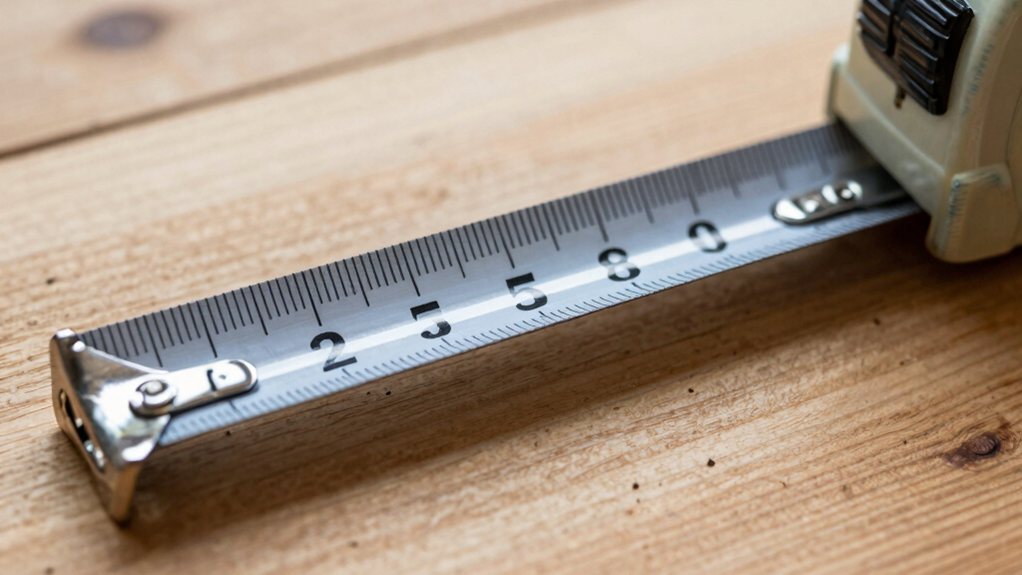
Find the thumb-operated button; that’s your locking mechanism. Press it to hold the blade extended, preventing it from snapping back.
The hook at the end is designed to move slightly, guaranteeing accurate measurements whether you’re pushing against a surface or pulling from an edge. Understanding these simple parts builds your confidence, so you’re not merely pulling a tape—you’re using a precise tool correctly from the start. Many professionals prefer tool kits that feature durable case materials to protect their tape measures.
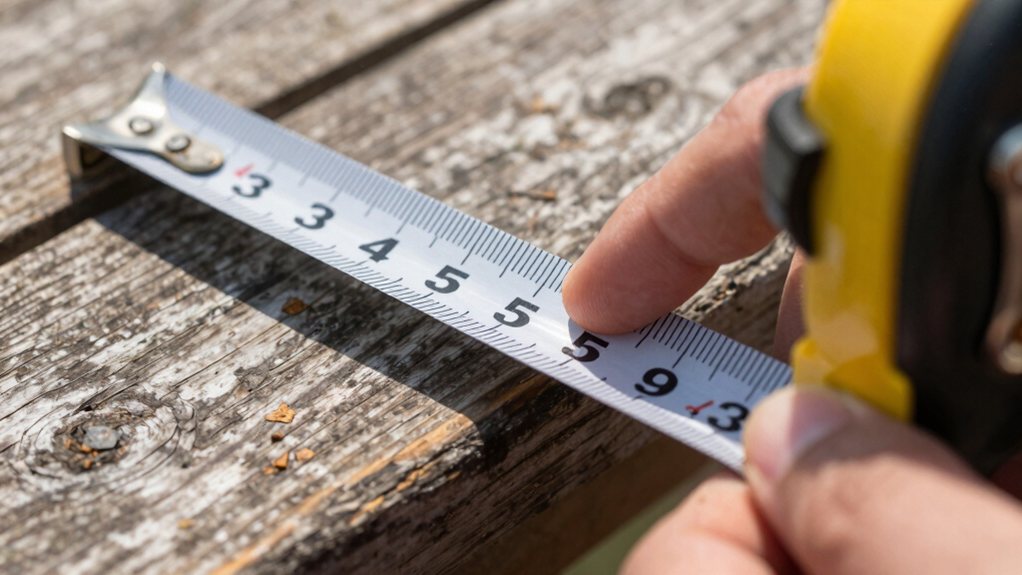
Now that you’re familiar with your tape’s parts, you can focus on what those numbers and marks actually mean. The large, bold numbers indicate whole inches. It’s a simple count: 1, 2, 3, and so on.
For half-inches, look for the next longest mark, usually exactly halfway between the whole numbers. This is where a little math refresher helps—half of something is just dividing it by two. For longer or more precise measurements, consider using laser measuring tools designed for professionals.
Ever wondered why your DIY project’s measurements sometimes go awry? It often comes down to your baseline selection.
You can’t just press the metal hook against a surface and assume you’re at zero. That hook is designed to slide slightly to account for its own thickness, whether you’re measuring from an inside or outside edge.
Don’t simply press the tape hook to a surface—it slides intentionally to compensate for its own thickness.
For true accuracy, you must establish a solid datum establishment. This means consciously deciding where your ‘zero’ point is and making sure the tape measure is aligned perfectly from that spot.
If you’re measuring from a board’s end, make sure the hook is snug. For an inside corner, butt the tape’s case firmly against it and read from the printed mark. Also, before committing to cuts in tile or layout work, perform a dry run to catch issues early.
Since you’ve got your starting point nailed down, let’s zoom in on those tiny lines that often seem like a secret code.
The smallest marks are sixteenths, with the slightly longer ones being eighths.
A great visual grouping trick is to notice that every fourth sixteenth mark is a quarter-inch, and every eighth mark is a half-inch—this creates a rhythm.
For precise counting techniques, don’t start from zero each time. Find the last biggest inch mark, then count the smaller lines past it. “One little line, two little lines…” it’s like a mini treasure hunt!
With a bit of practice, you’ll glance at a measurement like 5 and 8 little lines and instantly know it’s 5 1/2 inches. You’ve got this. If you need precise alignment for projects, consider using a professional laser level kit to speed up layout and ensure accuracy.
You’re getting the hang of reading those tiny marks, but even the best of us can slip up when using a tape measure.
Even the most careful among us can make mistakes when using a tape measure.
First, avoid tape slack. A bent or sagging tape gives a false reading, so always pull it taut against your surface.
Next, watch out for unit confusion. Don’t mix inches with centimeters on a dual-marked tape; pick one system and stick with it.
Another goof isn’t checking the hook’s movement—that little metal end is designed to slide slightly to account for its own thickness.
Also, forgetting to account for the tape’s case when measuring from a corner throws numbers off.
Finally, always double-check your mark. A quick second look saves a lot of rework and frustration.
Consider pairing your tape measure with a Professional Tool Kit Set to keep everything organized and accessible.
Mastering a tape measure truly involves more than just reading numbers; it’s about applying a few professional tricks that guarantee precision.
First, maintain a consistent tension on the tape. Pull it snug, but don’t stretch it, as that can add inches you don’t actually have.
For inside measurements, remember the tape’s case length—often printed on its side—and add it to your reading.
Always note your numbers down immediately; good measurement documentation prevents frustrating “what was that number?” moments later.
And here’s a favorite tip: use the tape’s hook to grab onto edges, letting you work solo without a helper. These simple habits make your projects more seamless and your results far more reliable. For long-term durability, check substrate flatness according to ASTM F710 before installing flooring.
You’ve got this! With a little practice, you’ll be reading those tiny marks like a pro and avoiding those sneaky beginner errors. Remember, always check your starting point and double-check your fractions. It’s a simple skill that builds confidence for all your projects. Now, grab your tape measure and put your new knowledge to work—you’re ready to measure anything accurately and with ease.