Phone:
(701)814-6992
Physical address:
6296 Donnelly Plaza
Ratkeville, Bahamas.

Phone:
(701)814-6992
Physical address:
6296 Donnelly Plaza
Ratkeville, Bahamas.
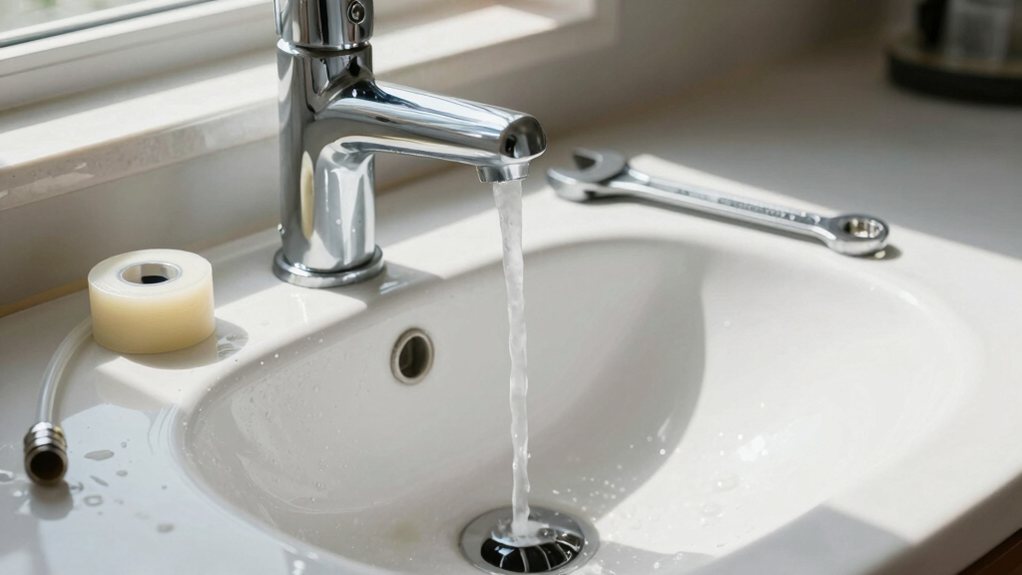
Learn to swap your bathroom faucet quickly with these simple steps—discover the surprising tool that makes it effortless.
You can swap your bathroom faucet in under 30 minutes with some simple prep. First, gather your new faucet, a basin wrench, pliers, and some plumber’s putty. Shut off the water supply, then disconnect the old lines and mounting nuts underneath. Pop the old faucet out, slide the new one in, and secure it from below. Connect the supply lines, turn the water back on, and check for leaks—it’s easier than you think, and there’s more helpful detail waiting for you.
Table of Contents
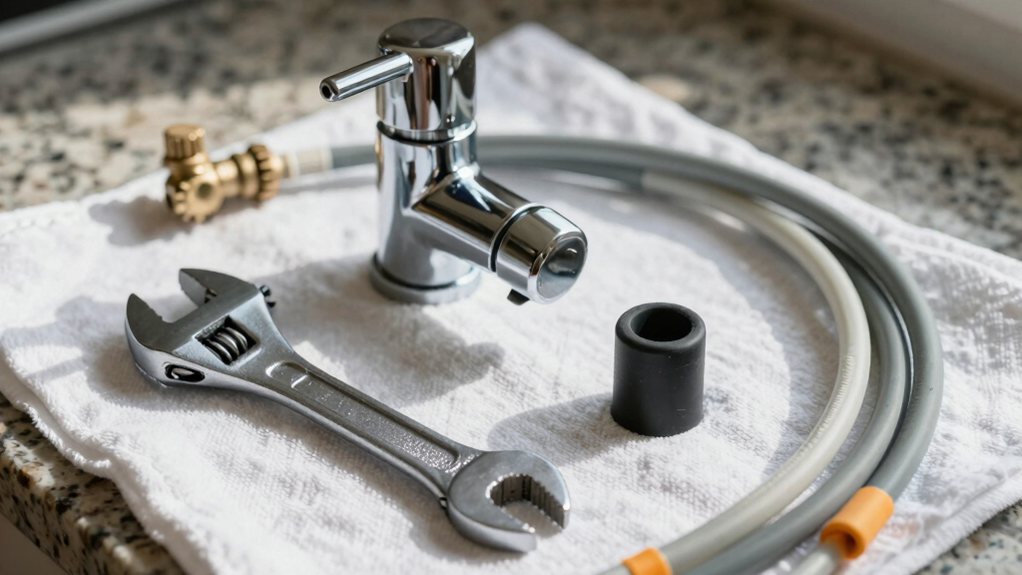
Before you can tackle the faucet itself, you’ll need to gather a few necessary tools and materials.
Start with a basin wrench and adjustable pliers, which are lifesavers in tight spaces. Good tool organization is key; lay everything out on a towel so you’re not hunting mid-project.
Start with a basin wrench and adjustable pliers for tight spaces, and lay out your tools beforehand to avoid mid-project frustration.
You’ll also need a new faucet, plumber’s putty, and supply lines. When shopping, consider eco friendly supplies like water-saving faucets—they’re good for the planet and your wallet.
Don’t forget a bucket for residual water and old rags for cleanup. Having it all ready before you start makes the swap feel less like a chore and more like a quick, satisfying win. Trust me, a little prep saves a lot of frustration later. If you don’t have everything, consider purchasing a Professional Plumbing Tool Kit to get all the essentials at once.
Consider installing an under sink cabinet organizer to keep supplies off the floor and protect the plumbing while you work.
Getting under the sink might feel like a bit of a contortionist act, but you’re ready to tackle it now that your water is off and your workspace is prepped.
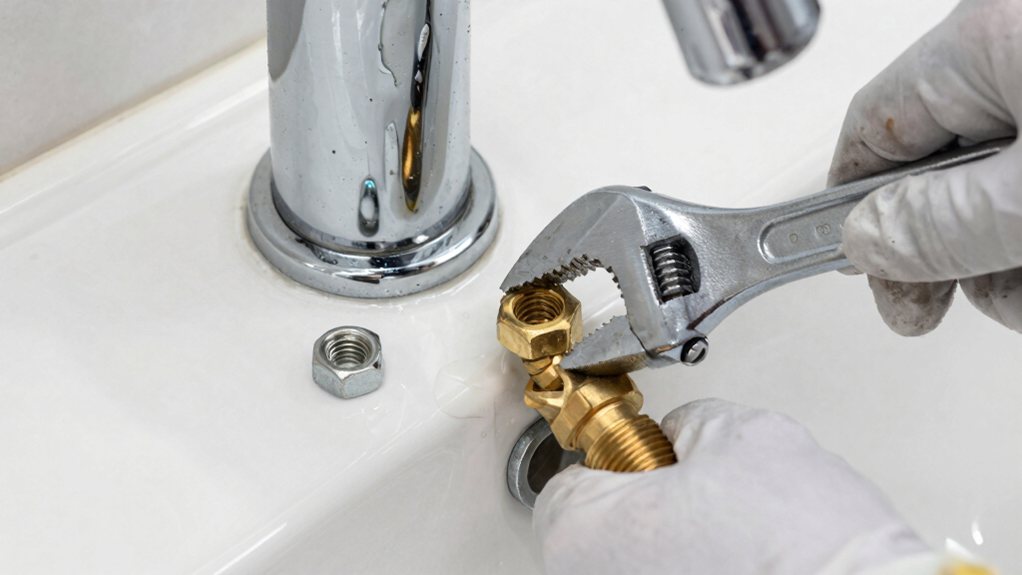
First, disconnect the water supply lines from the faucet tailpieces using an adjustable wrench—have a small bucket handy for any leftover drips.
Next, locate the mounting nuts holding the faucet in place; these can be stubborn, so patience and penetrating oil are your friends.
Once loose, you can lift the old faucet right out from the top. Before you toss it, consider salvage options, as some metal parts are recyclable.
For proper waste disposal, check your local regulations, because just heaving it into the trash isn’t always the right move. You’re halfway there!
Having penetrating oil on hand makes loosening corroded mounting nuts much easier.
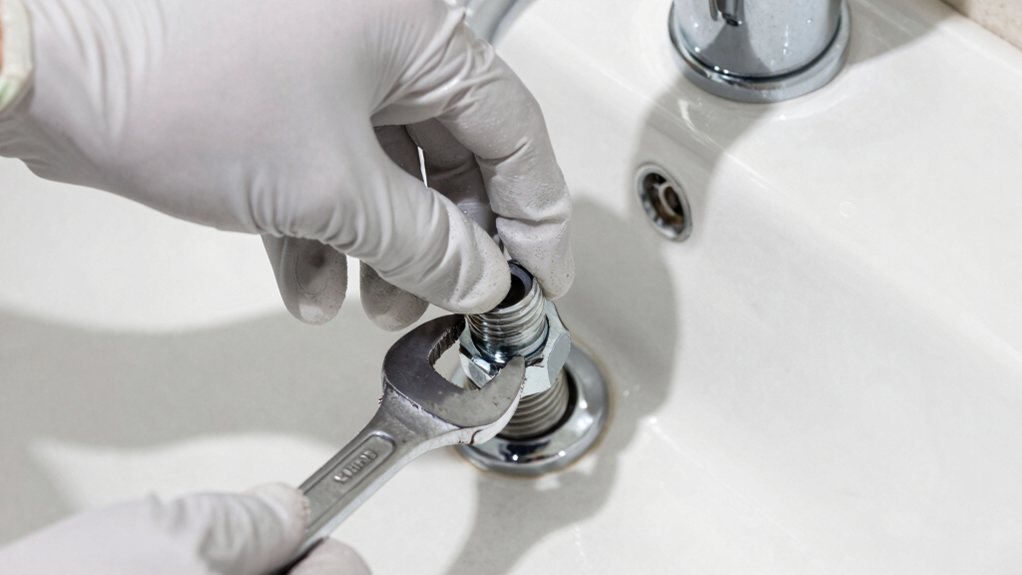
Now that your old faucet is out, you can slip your new one into place and lock it down—it’s like giving your sink a shiny new smile. Choosing a premium bathroom faucet can elevate the overall look of your bathroom.
First, slide the faucet through the sink hole, then add any provided escutcheon plates for a clean look.
Underneath, you’ll secure the faucet with its mounting hardware.
Many modern faucets use a clever concealed mounting system, which hides the nuts and bolts for a sleek finish.
Just hand-tighten everything first, then give the nuts a final snug turn with a wrench, but don’t overdo it—think firm handshake, not superhero grip.
Connecting the water supply lines is where your new faucet truly comes to life, turning it from a stylish fixture into a fully functional part of your daily routine.
You’ll likely use flexible braided stainless lines, which are durable and easy to work with.
First, identify your adapter types—your new faucet’s tails might be different from your old shut-off valves.
Hand-tighten the supply line nuts onto both the faucet and the shut-off valve connections.
Give each one a final snug turn with an adjustable wrench, but don’t over-tighten! You’re not trying to win a strength contest.
Once connected, slowly turn the water back on at the main valve and check for any drips.
A small victory dance is perfectly acceptable here.
For longer-lasting performance, choose lines and fittings made with SUS304 stainless to resist corrosion and ensure durability.
Now, take a deep breath and run through this quick victory checklist:
Go ahead and celebrate your DIY win. Explore luxury kitchen faucet options for inspiration and complementary styles.
Even though you’ve checked for leaks and everything looks great, you might run into a few hiccups after your new faucet is installed.
First, if a small drip persists, double-check your connections and confirm you used the right sealant compatibility.
Not all plumber’s putty works with every sink material, so a quick tube read can save you a headache.
Another common snag is finish matching.
Your shiny chrome faucet might look slightly different from the old drain assembly, which is totally normal due to aging.
Don’t stress!
For a perfect look, consider buying a matching drain kit when you purchase the faucet.
A little forethought makes your final result look professionally done and keeps you smiling.
When updating fixtures, consider coordinating with your bathroom vanity cabinet to ensure cohesive style.
For routine cleaning of finished floors, use pH-neutral formulas to avoid stripping the finish.
So, you’ve just swapped your faucet and given your bathroom a fresh, new look. It’s a great feeling, isn’t it? You’ve tackled a real DIY project, saved some money, and learned a handy new skill. Just remember to double-check for drips over the next few days. Now, go enjoy your handiwork—maybe wash up and admire that shiny new fixture. You’ve totally earned it!