Phone:
(701)814-6992
Physical address:
6296 Donnelly Plaza
Ratkeville, Bahamas.

Phone:
(701)814-6992
Physical address:
6296 Donnelly Plaza
Ratkeville, Bahamas.
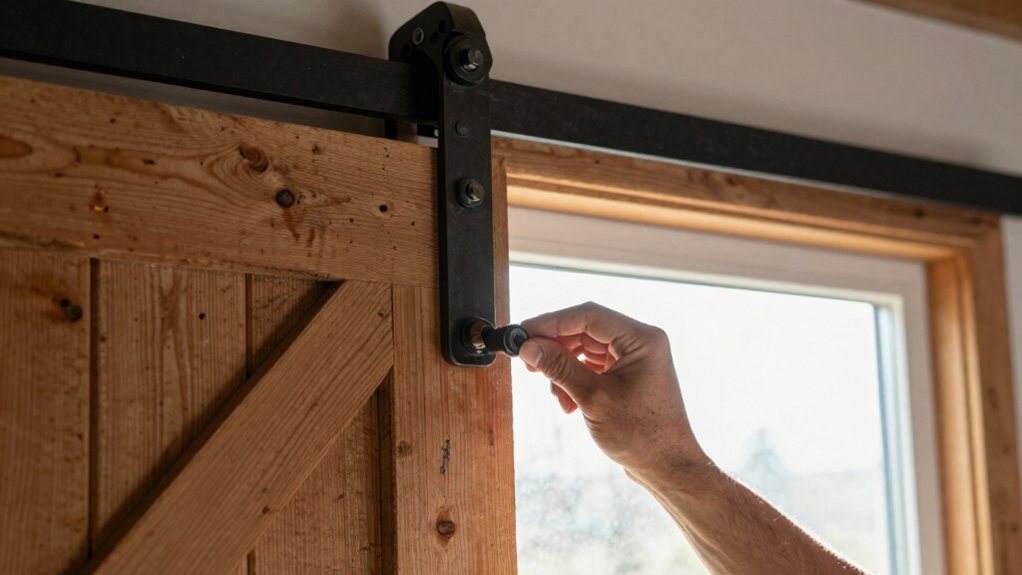
Install your barn door track with confidence using our step-by-step guide for a flawless, professional result.
To build your barn door, first measure the opening and select a sturdy hardware kit. You’ll need a solid header board screwed into wall studs to hang the track securely. Mount the hanger brackets on the door, then align and fasten the level track with spacers. Hang the door, add safety stops and a bottom guide, and test the slide. Stick with us for all the finer details and pro tips to get it just right.
Table of Contents
Before you can hang your beautiful barn door, you’ve got to pick the right hardware kit—and it’s more than merely grabbing the shiniest box off the shelf.
Selecting the perfect barn door hardware requires careful thought, not just picking the prettiest package.
First, measure your door frame opening. Choose a kit with a track length that matches your door span, usually needing some extra overlap.
Always check the kit’s weight rating against your barn door; you don’t want a sagging surprise later!
Keep in mind that a complete kit includes a bottom guide and anti-jump discs; cheaper versions often skip these, causing headaches. Also, confirm the mounting hardware is meant for solid studs, not just drywall. Finally, pick a finish you love, since those hangers and stops will be on full display.
Consider investing in a premium door hardware set to ensure quality components and proper compatibility.
Now that you’ve got your hardware kit ready, it’s time to get your wall prepped for action—this is where you’ll guarantee your barn door hangs strong and glides effortlessly for years to come.
Never mount the track directly to drywall; it just won’t hold.
Instead, cut a solid header board to your exact track length using your miter saw. Find your wall studs with a stud finder, then level and screw this header firmly into them with 3″ deck screws. Think of it as creating a super-strong backbone.
Pro tip: temporarily hang your hardware on the door and prop it up to mark your perfect rail height. Paint the header to match your wall, and you’ve built a flawless, hidden foundation. For best results, use a professional stud finder to locate studs accurately before fastening the header.
Now, let’s get those hanger brackets on your door, starting with careful placement and alignment.
You’ll need to choose the right fasteners and install them securely so everything holds up perfectly.
Finally, we’ll make a couple of simple adjustments to make sure your door rolls evenly and looks great.
Be sure to select the correct fasteners compatible with floating shelf hardware for maximum support.
Mounting your hanger brackets with careful alignment is the secret to a barn door that glides effortlessly, instead of one that wobbles or scrapes down the track.
First, nail down your roller spacing by positioning each hanger the same distance from the door’s edge—about three inches is a good rule of thumb. This guarantees perfect vertical alignment for the rollers and gives you consistent edge clearance.
Next, check that the distance from the top of the door to the roller head is identical on both sides, aiming for about an inch and a half. This keeps your door riding level.
Finally, install those little anti-jump discs on the top edge, right inside each hanger, and tighten everything down securely.
For best long-term performance consider consulting professional door frame installation to ensure the track and frame are properly aligned and supported.
Selecting the right fasteners and securing your hangers is like choosing the right anchor for a ship—get it wrong, and things drift, but do it right, and you’ve got steady sailing.
First, remove any bolts that came pre-installed. You’ll source your own to match your door’s thickness; shorter bolts for thin doors prevent poking through!
Opt for good corrosion resistance, like zinc-coated, since these hangers bear the weight. Mind the thread standards to confirm your washers and jam nuts fit perfectly.
Pre-drill pilot holes at your marked spots so your bolts drive straight. As you tighten each fastener with a wrench, have a friend tap the bracket with a soft mallet to seat it fully.
Snug everything down now, but save the final torque for after a test slide. Using a professional drill bit set helps ensure precise pilot holes and longer tool life.
With your track securely mounted and the right fasteners in hand, you’re ready to attach the hangers to the door—a step that’s like giving your door a sturdy pair of shoes so it can glide effortlessly. Use your template to mark hole locations, then punch them so your drill bit won’t wander.
Pre-drill and position each bracket about three inches from the edge, making sure both rollers sit at the same height. Snug everything down with a wrench.
Before you hang the door, fit the anti-jump discs on its top edge. After a few test slides, re-tighten all fasteners; this routine maintenance prevents wobbles later. Once mounted, you can add a soft close mechanism and admire your handiwork before moving on to finish sealing the wood. Consider selecting components from a cabinet hardware kit to ensure you have all necessary fasteners and fittings.
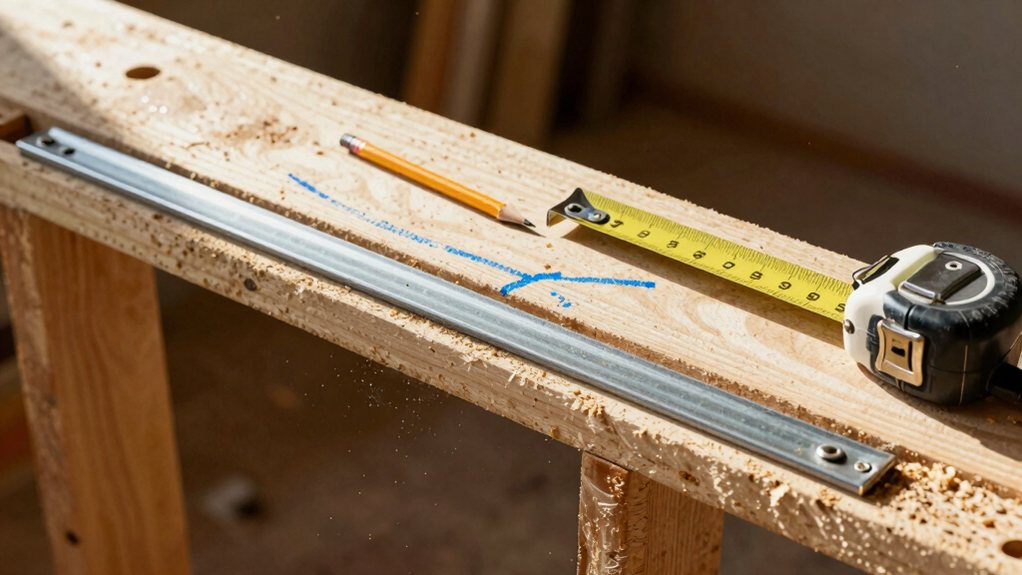
This prep prevents headaches, guaranteeing your door rolls perfectly. Consider choosing a compatible garage door opener kit to ensure smooth operation.
Now you’re ready to secure the track firmly in place.
Start by holding it against the header, marking and drilling your first hole, and installing a spacer and fastener to hold that end.
Then, use a level to position the opposite end perfectly straight before you mark, drill, and fasten it, adding spacers and screws every foot or so along the studs for solid support.
Also consider ceiling storage systems to maximize overhead space and ensure the track doesn’t conflict with garage storage solutions.
Once you’ve got your header board prepped, you’ll position the track against it and get ready to mark your holes, which is the moment your barn door starts to become a permanent fixture.
Hold the track perfectly level against the header. You’ll mark the large hole on one end first, drill, and install that initial spacer and fastener to act as your pivot point.
This is your template creation moment. Then, support the track, use a level to align the far end, and mark that hole before securing it.
This two-point system guarantees a straight rail.
Consider also the stability principles used in a professional picture hanging system when planning spacer placement for maximum load distribution.
With your track positioned and the holes marked, you can start making things permanent by driving in your first fastener.
Hold the track firmly against the header, drill your marked hole, and install a spacer and fastener into a stud.
This is your anchor point.
Use a level when securing the opposite end, making sure the rail is perfectly straight—this prevents binding and accounts for thermal expansion.
Then, work your way down, adding spacers and fasteners at least every foot.
Tighten them snugly with a wrench; the spacers provide essential noise dampening and corrosion protection by keeping metal off wood.
Don’t forget those little hole caps for a clean finish and to keep dust out.
Also consider coordinating finishes with console table hardware to match your room’s aesthetic.
Get your track perfectly level and locked in place—it’s the key to an easy‑sliding door that won’t stick or wobble.
Hold the track against the header, mark and drill for the large end hole, then install your first fastener and spacer. This anchors the rail.
Now, grab your level. Align the opposite end of the 72” track so it’s straight before you tighten that final fastener.
Here’s your secure‑track checklist:
You’re ready to hang your barn door—this is where you’ll see all your careful planning come to life. First, run a quick Safety Checklist: confirm your track is solidly fastened to wall studs or a header. Lift the door carefully with a helper, tilting it to set the rollers into the rail. It’s a satisfying moment!
Make sure the door hangs plumb and that you have a Smooth Operation as you slide it; the rollers should glide effortlessly. Install the track stops and anti-jump discs, then test the full travel to guarantee it can’t derail.
Finally, fit the bottom guide to prevent swing. A quick check now prevents headaches later, making Seasonal Maintenance just a simple tightening of hardware.
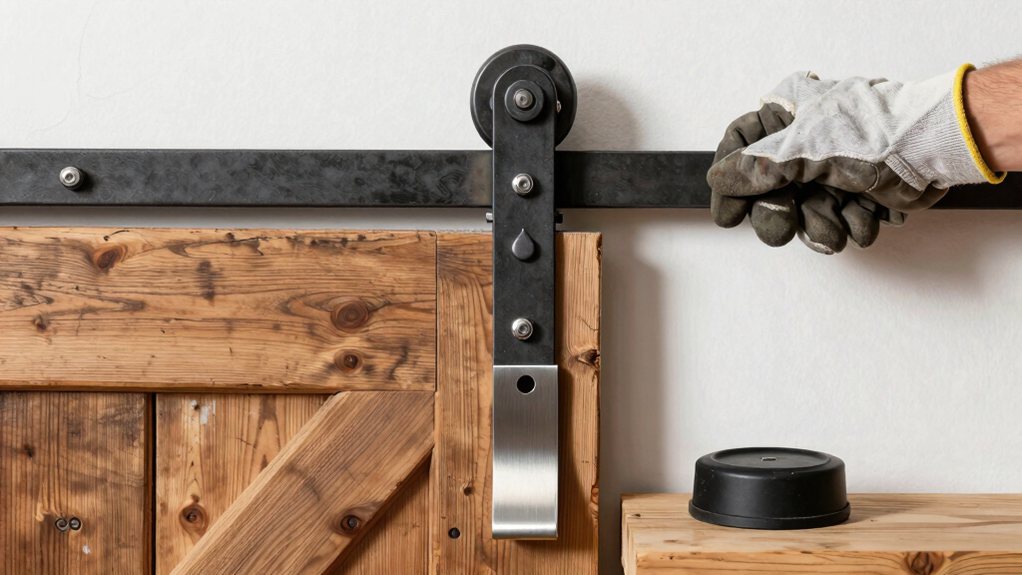
Now that your barn door is hanging beautifully, let’s secure it for safe, effortless sliding by adding the necessary hardware that keeps it on track—literally.
Complete your barn door’s flawless glide by installing the hardware that ensures it stays securely on track.
These final pieces prevent derailments and keep everything running seamlessly for years.
Here’s your simple four-step setup:
For long-term care, establish a simple maintenance schedule—check fastener tightness after a week’s use.
While not typical for interior doors, consider weatherproofing techniques or security locks if using it for a garage or exterior entry.
Before we can call this project officially finished, there’s one critical—and satisfying—step left: giving your door its very first test slide and making any last tweaks.
Gently slide the door across its full travel. Listen for any grinding or catching; a little roller lubrication on the bearings often solves this and adds sound dampening.
Watch the bottom edge to confirm consistent floor clearance—it shouldn’t scrape. Check that it glides seamlessly into the end stops without hitting the wall.
If it wobbles, revisit your anti-jump hardware or bottom guide. Finally, admire your work! Open and close it a few times, feeling for any remaining snags. Those final small adjustments make the difference between a good install and a great one, giving you that professional, silent glide.
And there you have it—you’ve built and hung your own barn door! Give it a good slide back and forth a few times to admire your handiwork. Remember, if it sticks or wobbles a bit, don’t sweat it; those final tweaks are just part of the process. Now step back and enjoy the stylish, space-saving function you’ve added to your home. Great job, you DIY champion!