Phone:
(701)814-6992
Physical address:
6296 Donnelly Plaza
Ratkeville, Bahamas.

Phone:
(701)814-6992
Physical address:
6296 Donnelly Plaza
Ratkeville, Bahamas.
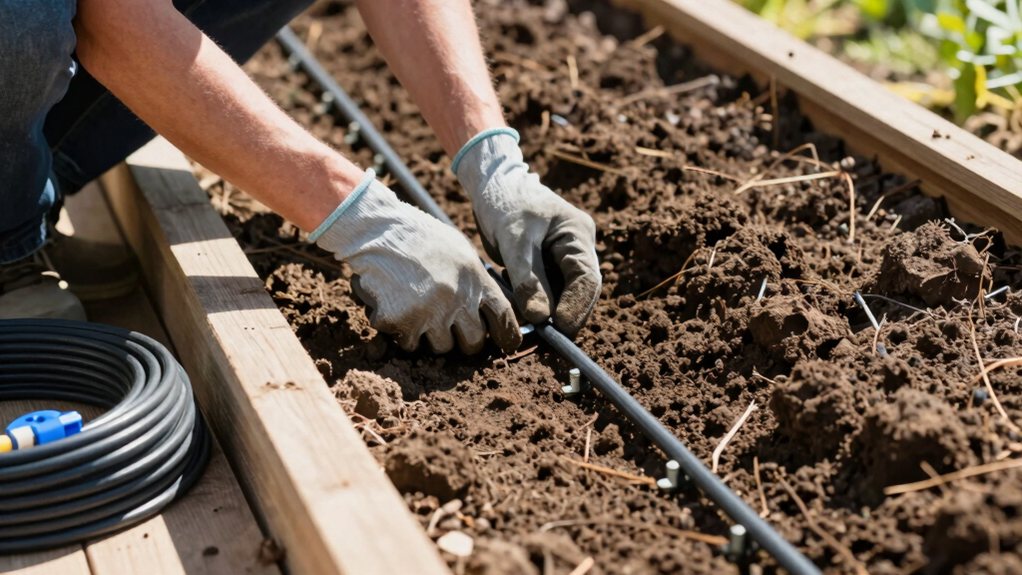
To transform your garden beds with drip irrigation, discover our easy step-by-step guide to efficient watering.
You’ll start by planning your zones on a simple map, grouping plants with similar water needs. Then, connect a timer, backflow preventer, and pressure regulator to your faucet. Run a buried main line along your beds and branch off with 1/4″ tubing or drip tape secured with barbed fittings. Cap the ends for flushing, test for leaks, and set your timer. Your back will thank you, and there’s plenty more to explore to get your garden thriving.
Table of Contents
You’ll often find that dragging a hose around becomes a real chore, especially during those hot, dry weeks. A drip system makes watering your garden a whole bit easier.
Automated timers handle the job reliably, so you avoid daily hose duty and human forgetfulness in the middle of summer. More importantly, drip delivers water right at the roots, providing consistent soil moisture that improves plant health and reduces disease risk.
Small emitters precisely meter water to individual plants, which helps make sure nothing is wasted compared to broad hand watering. You’ll give each plant exactly what it needs, from arborvitae to tomatoes, while saving water and your back. It’s a smart upgrade that lets you enjoy your garden more. Consider pairing drip irrigation with a raised garden bed kit to maximize efficiency and ease of installation.
Before you lay any tubing, grab some graph paper and sketch a to-scale map of your garden, marking every bed and the faucet.
This map will be your best friend, helping you measure run lengths for your main supply lines and decide where to place trenches and fittings. You’ll also use it to calculate your garden’s total water needs, making sure your timer and regulator can handle the job. Consider also investigating vertical hydroponic tower systems to learn how vertical layouts can influence water distribution in compact spaces.
How often do you find yourself dragging hoses across the yard, wishing for a simpler way to water?
A good map reveals what you’d need.
First, group plants by their water need; your tomatoes need to use more water than your drought-tolerant arborvitae hedge.
This lets you create separate irrigation zones, so everything gets the right amount without waste.
Next, note each zone’s total emitter flow on your map.
You need to check that your single faucet can supply enough gallons per hour.
If a zone’s demand is too high, simply split it into two sequential runs on your timer.
This planning prevents the comedy of a weak dribble at the end of the line when everything is turned on at once.
With your garden’s water zones sketched out, the next step is to figure out how to get all that water where it needs to go.
Start by sketching a map, marking your faucet, beds, and containers; you’ll be able to see the best routes.
Plan two main 1/2″ supply lines, running them straight under curbs or edges to minimize fittings.
Dig shallow trenches, going a bit deeper near the faucet for slack.
This hides the tubing and allows gentle bends—no kinks!
Leave generous tails at each bed for future risers, using clamps for secure connections.
If you have a long run, consider renting a trencher; it’s a back-saver.
Smart planning now makes everything easier to maintain and expand later.
For compacting trench bottoms before laying tubing, consider renting a plate compactor to ensure a firm base.
Now that you’ve planned your layout, you’ll need to gather all the bits and pieces that make a drip system work.
You’ll want to collect necessary components like pressure regulators and tubing, along with basic tools like a punch and scissors. Don’t worry, it’s like assembling a simple puzzle, and we’ll walk through each part you need. A good option is to have a Professional Plumbing Tool Kit on hand, which consolidates many of the essential tools for installation.
1. Faucet Starters:
A hose Y-splitter, battery timer, backflow preventer, and a pressure regulator (25 psi for tubing, ~10 psi for tape).
2. Connection Components:
Proper hose-to-pipe thread adapters, 1/2″ black poly mainline, and sturdy tees or elbows.
3. Delivery Lines:
Drip tape or 1/4″ tubing with emitters,
spaced every 6 inches for even coverage.
4. Assembly Tools:
A hole punch, barbed fittings, crimp clamps, and end caps to seal everything securely.
Gathering the right tools for your drip irrigation system is a bit like assembling a friendly toolkit crew; each one has a specific job to make your installation seamless and successful.
You’ll need a trenching shovel or a rented trencher for long main-line runs, plus a specialized punch tool for cleanly piercing your 1/2″ poly supply line.
Don’t forget crimping pliers to secure clamps on your drip tape and basic wrenches for tightening fittings.
Prioritize safety gear like gloves and eye protection.
Practicing good ergonomic techniques, such as lifting with your legs when handling long tubing rolls, will save your back.
A little tool maintenance, like keeping blades sharp, makes the work easier and more enjoyable, letting you focus on your soon-to-be-happy plants.
Consider purchasing a professional tool set kit to have all essential tools in one purchase.
If you need a more powerful flow for flushing or cleaning, consider using a pressure washer electric as a temporary powered water source.
How exactly do you transform your basic garden faucet into a smart, efficient command center for your drip system?
Start by screwing a hose-thread-to-pipe-thread adapter onto your faucet.
This guarantees proper adapter compatibility and is key for thread sealing.
Add a hose Y, maybe with a brass 45-degree elbow for a neater line, giving you valve clearance to run a hose alongside your system.
Immediately after the Y, mount your battery-operated timer.
Follow it with a backflow preventer, arrow pointing with the flow, and then your pressure regulator—set it to about 25 psi for standard tubing.
This orderly setup protects your plants and automates watering with minimal fuss.
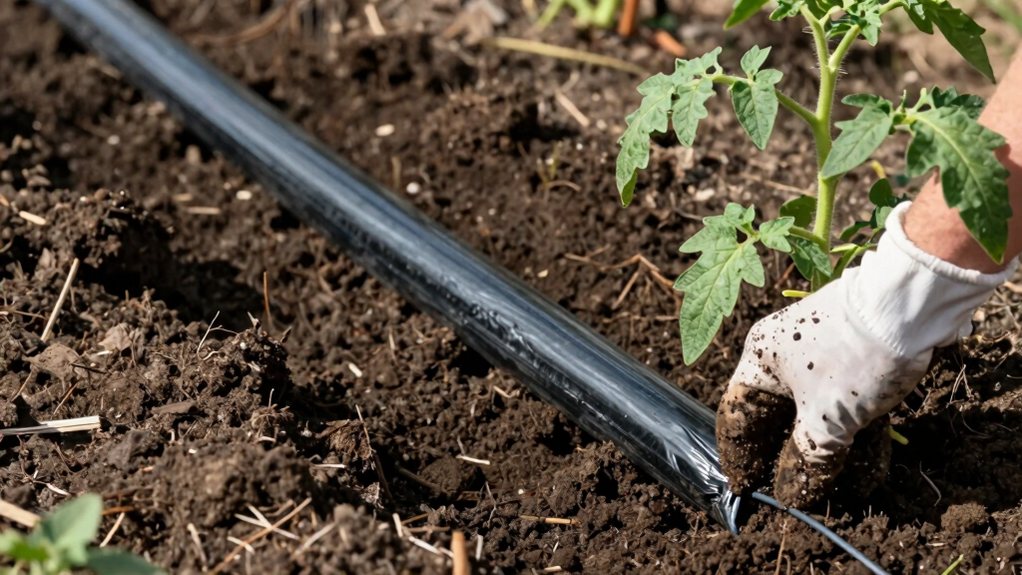
Now that you’ve got your faucet command center ready, it’s time to lay the main supply line, which acts like the backbone of your whole drip system. You’ll use 1/2″ black poly tubing, and this is where the real project begins.
1. Trench Smartly: Dig your trench about 2–6 inches deep.
Go a bit deeper near the faucet to create slack for freeze protection and neat aesthetic concealment.
2. Route and Protect: Run the line straight under hard edges where you can. This helps it avoid root barriers and keeps things looking tidy.
3. Plan for Growth: Use tee and elbow fittings to branch off to beds, leaving long tails at connection points for your future plant additions.
4. Secure and Test: Clamp all connections, test for leaks, then hose soil back into the trench to settle everything before your final landscaping.
Now you’ll branch that main supply line to reach each bed and container.
You can use 1/2″ tee couplers to split the line, and remember to leave a long tail near your pots so you can easily adjust things later. Adding small on/off valves on these branches is a smart move, letting you control individual zones without turning off the whole system. Consider routing drip lines to be easily accessible for premium cedar planter boxes to keep your stylish gardens both attractive and low-maintenance.
1. Punch and Insert: Use a drip punch to make a clean hole in the main line, then push in a barbed tee fitting.
2. Clamp for Strain Relief: Secure every connection with a stainless-steel clamp.
This strain relief prevents leaks and stops fittings from popping off under pressure.
3. Bury for Visual Concealment: Trench your lines 2–6 inches deep.
This visual concealment protects the tubing and keeps your garden looking tidy.
4. Add a Shut‑Off: Install a small valve at the tee.
This lets you isolate a bed, which is perfect for harvesting or if you need to make changes later.
Branch your main line to each container with a few simple steps, and you’ll give every pot its own dedicated drink.
After punching your main line, push a barbed tee into the hole and slip a long tail of 1/4″ tubing onto it, securing it with a silver clamp.
This secure anchoring prevents leaks.
The long tubing tail allows for flexible positioning, so you can easily move pots around later.
Run that tube into your container and create a small loop with 4–5 emitter holes to water the roots.
Consider adding a small shutoff valve at the branch; it acts as a quick disconnect, letting you turn off water to harvested beds while keeping active ones happy.
Finally, use removable end caps for easy flushing.
Connecting the drip tape to your garden beds and tubing to your containers is where your irrigation system really comes to life.
Here’s how to get water flowing precisely where you need it:
Now let’s button up those connections and cap off the ends—this final step locks in all your hard work and keeps your irrigation system running leak-free.
Use barbed adapters with stainless-steel clamps, crimping them firmly onto your tubing so they won’t blow off under pressure.
Slide drip tape fully onto its fitting and tighten the collar; think of these as tamper locks that keep everything secure. For open ends, use proper end caps, folding the tubing tightly before crimping. Choose caps with a removable piece for a winter blowout, saving you future hassle.
Finally, pressurize the system and check every joint, tightening any that leak. This also acts as a rodent guard, since a sealed system is less inviting to curious pests.
You can find durable mounting options similar to Professional floating shelf hardware to ensure reliable long-term support when adapting fittings in exposed outdoor installations.
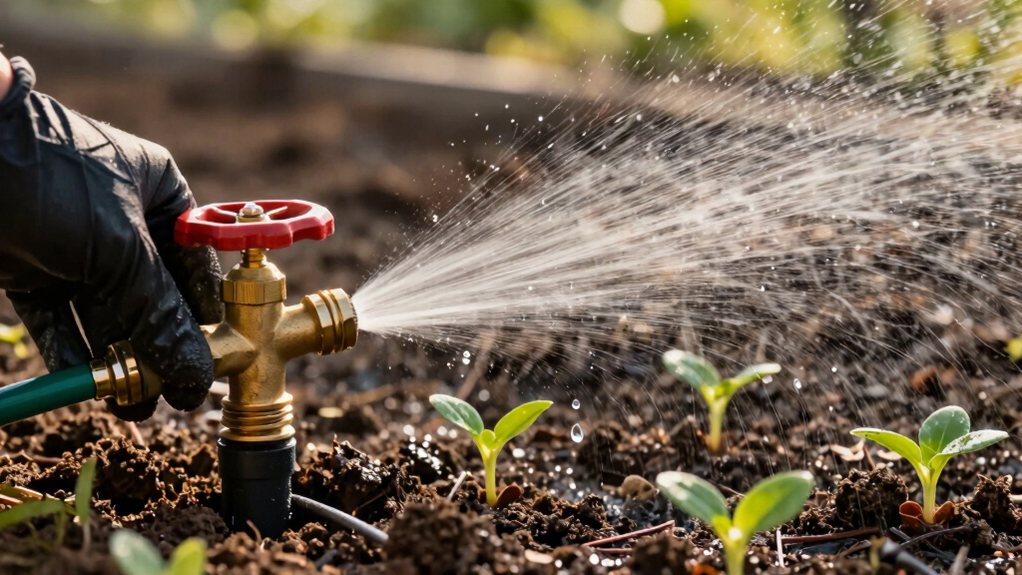
Using a gutter cleaning pressure washer can be more efficient for clearing debris from gutters, but ensure pressure settings are safe for your irrigation components.
Once your drip system is up and running without leaks, you can kick back and let a timer do the heavy lifting—because even plants appreciate a little automation. Install the timer right after your hose-Y connector.
For smart cycle optimization, set short daily watering in summer heat for drip tape, or longer runs for standard tubing. Don’t just set it and forget it!
Do a visual check weekly for dry spots or kinks. Make battery rotation an annual ritual to avoid a dead timer mid-heatwave.
Flush lines and clean filters to stop clogs. Before winter, drain everything to prevent freeze damage.
While fancy remote alerts are great, your own regular glance is the best guarantee of a happy, hydrated garden.
Consider integrating a smart home hub to centralize your garden automation with other connected devices.
And that’s it—your garden’s now on easy street! You’ve swapped tedious hose duty for a smart, water-saving system that does the work for you. Just set that timer, then kick back and watch your plants thrive. Remember to check for leaks now and then, and give your filters a quick clean. Enjoy your extra free time and the guilt-free lushness of your perfectly watered garden. Happy growing